

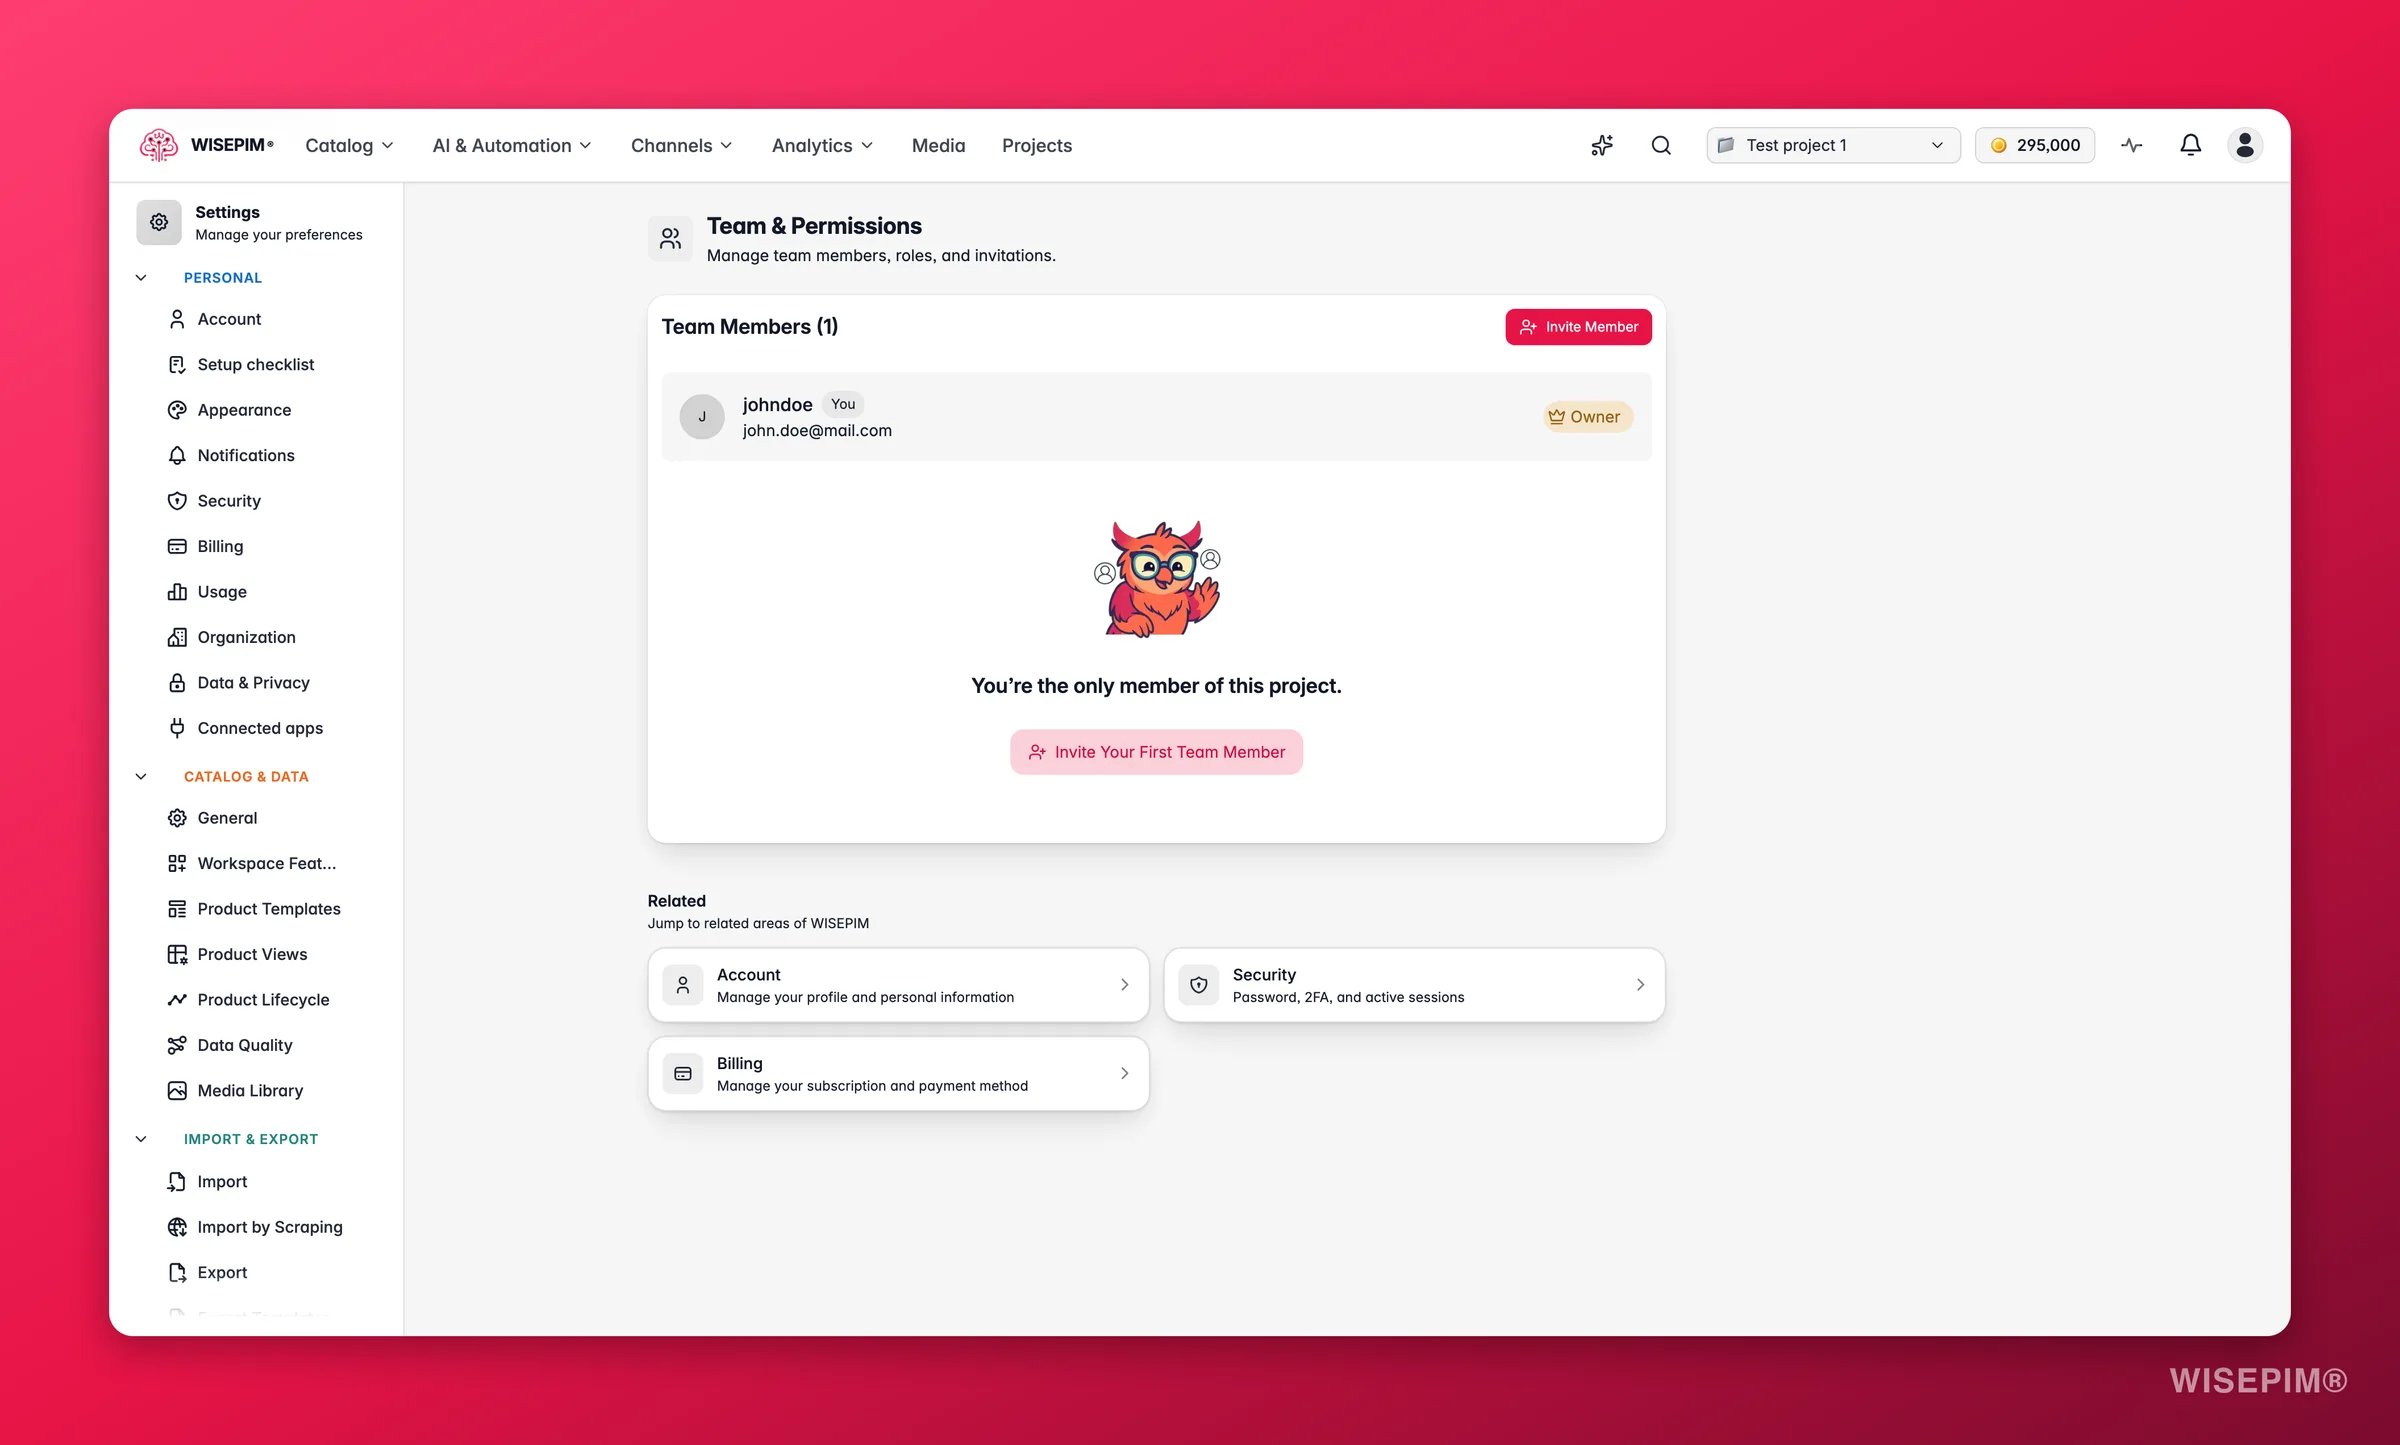
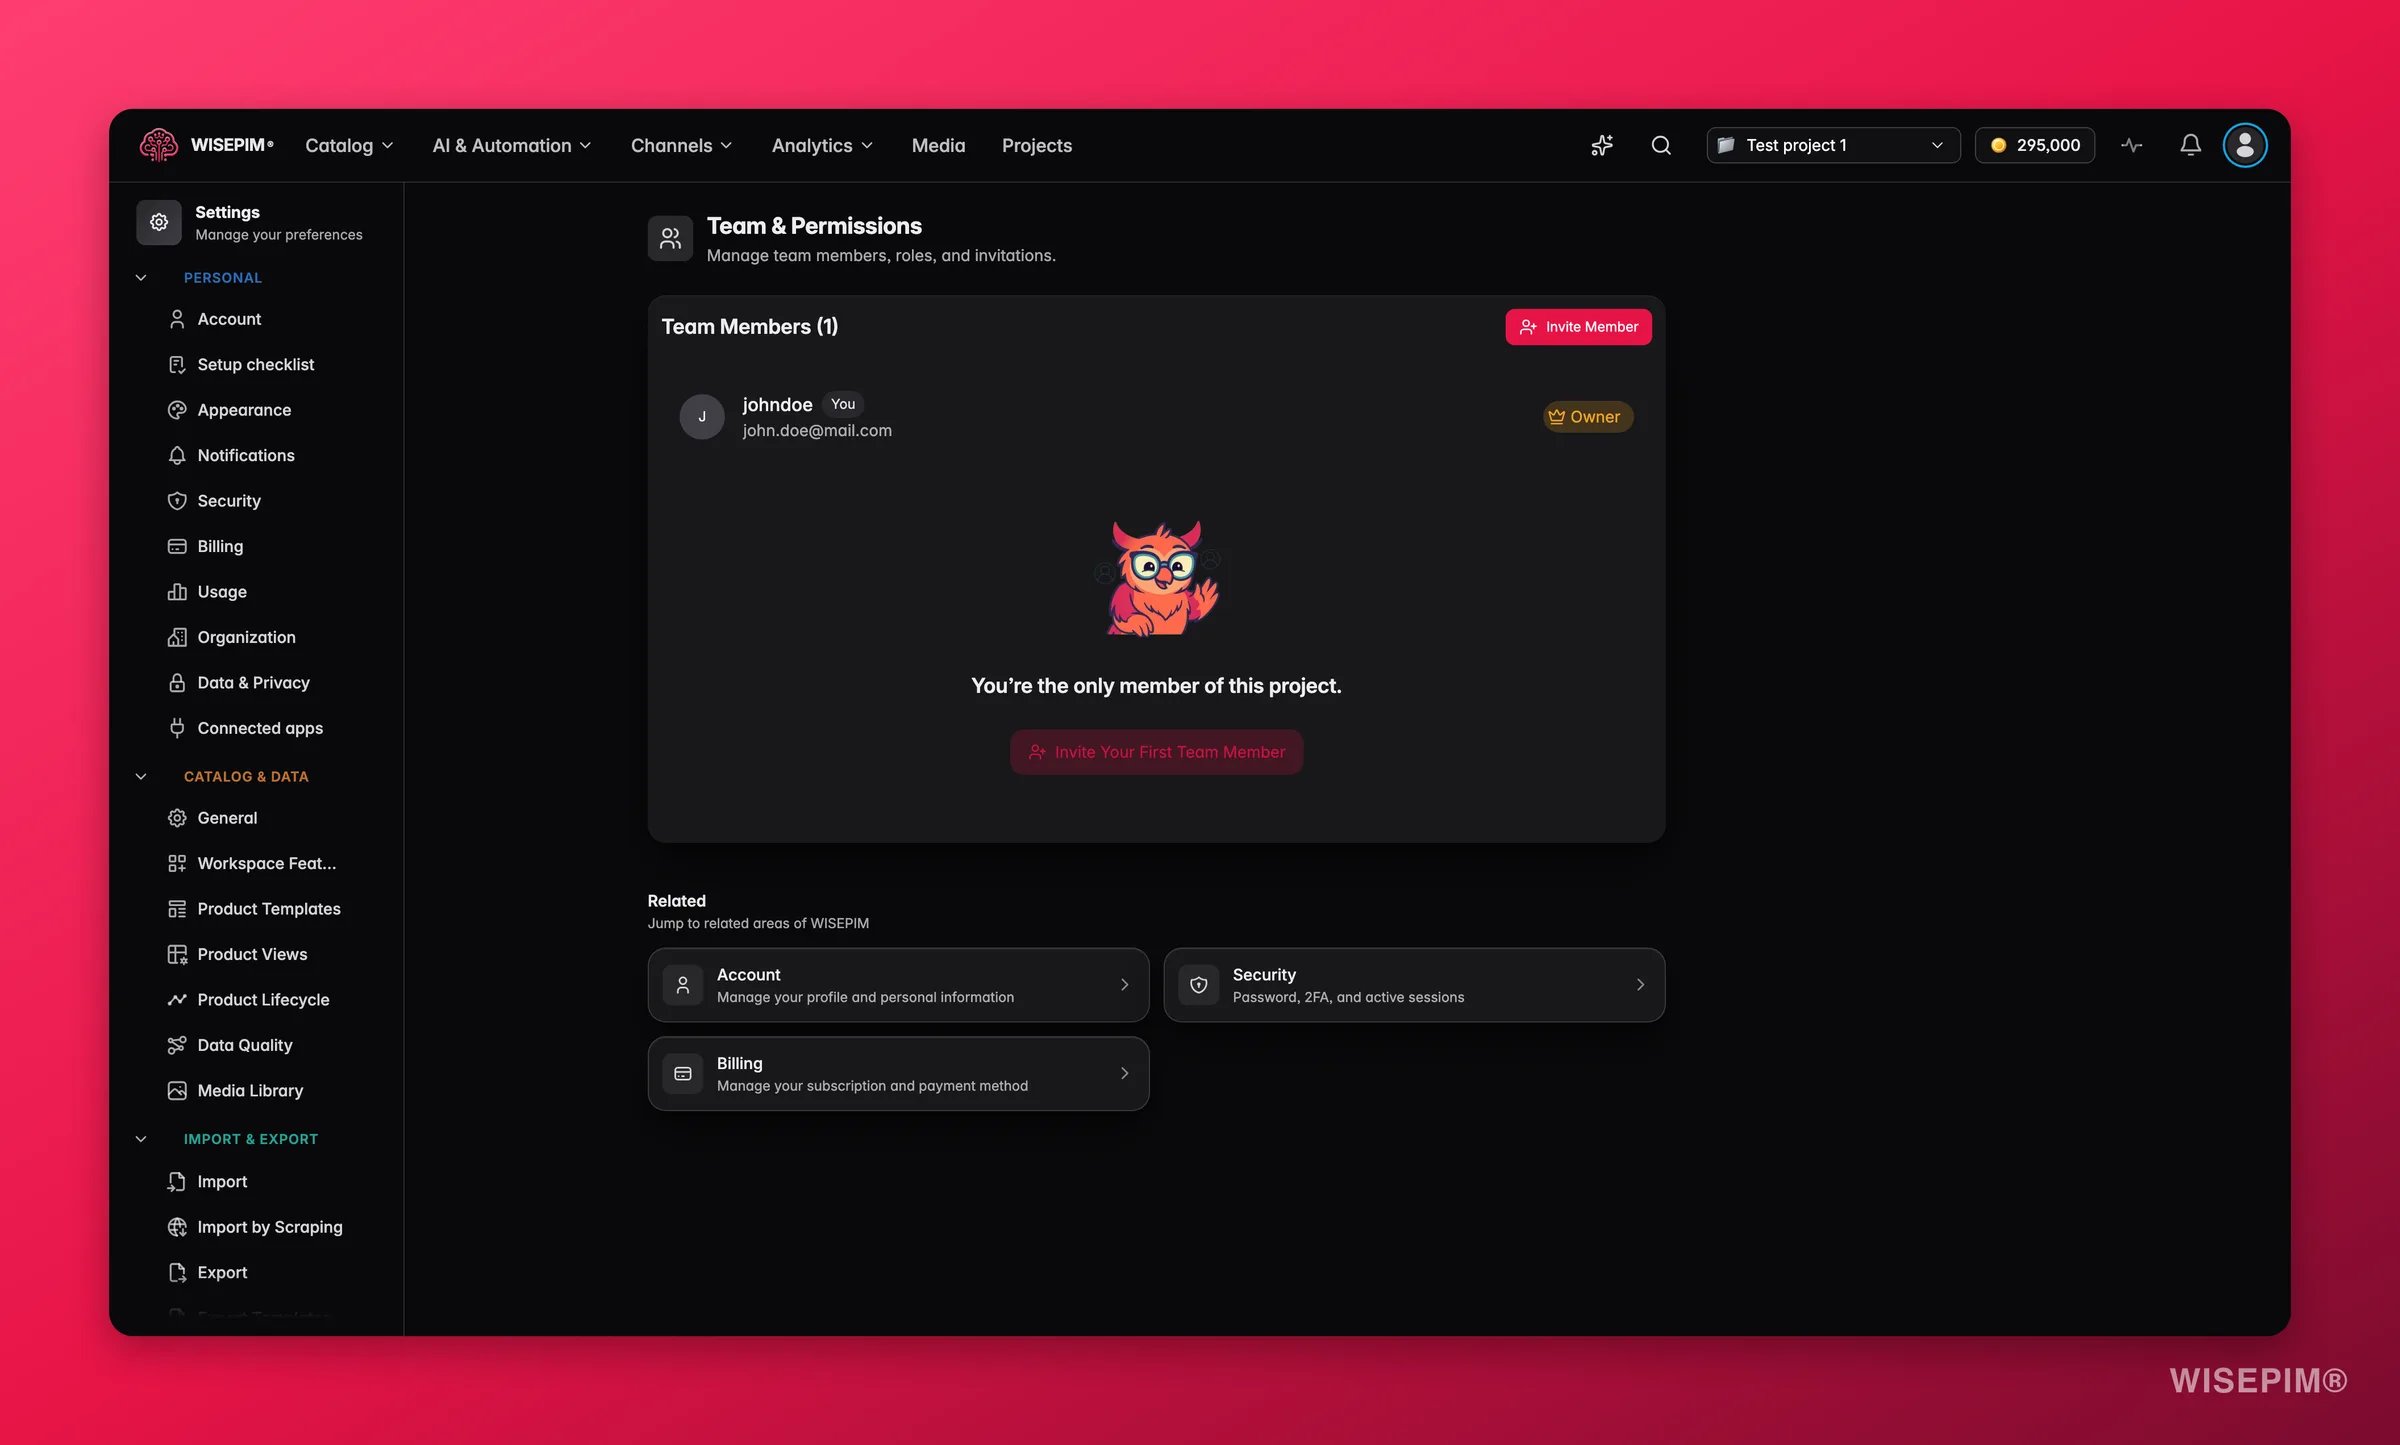
Teams are project-scoped. Each project has its own team, so you control exactly who can see and edit each catalog.
Open team settings
Invite a team member
Owners and Admins can add new people.1
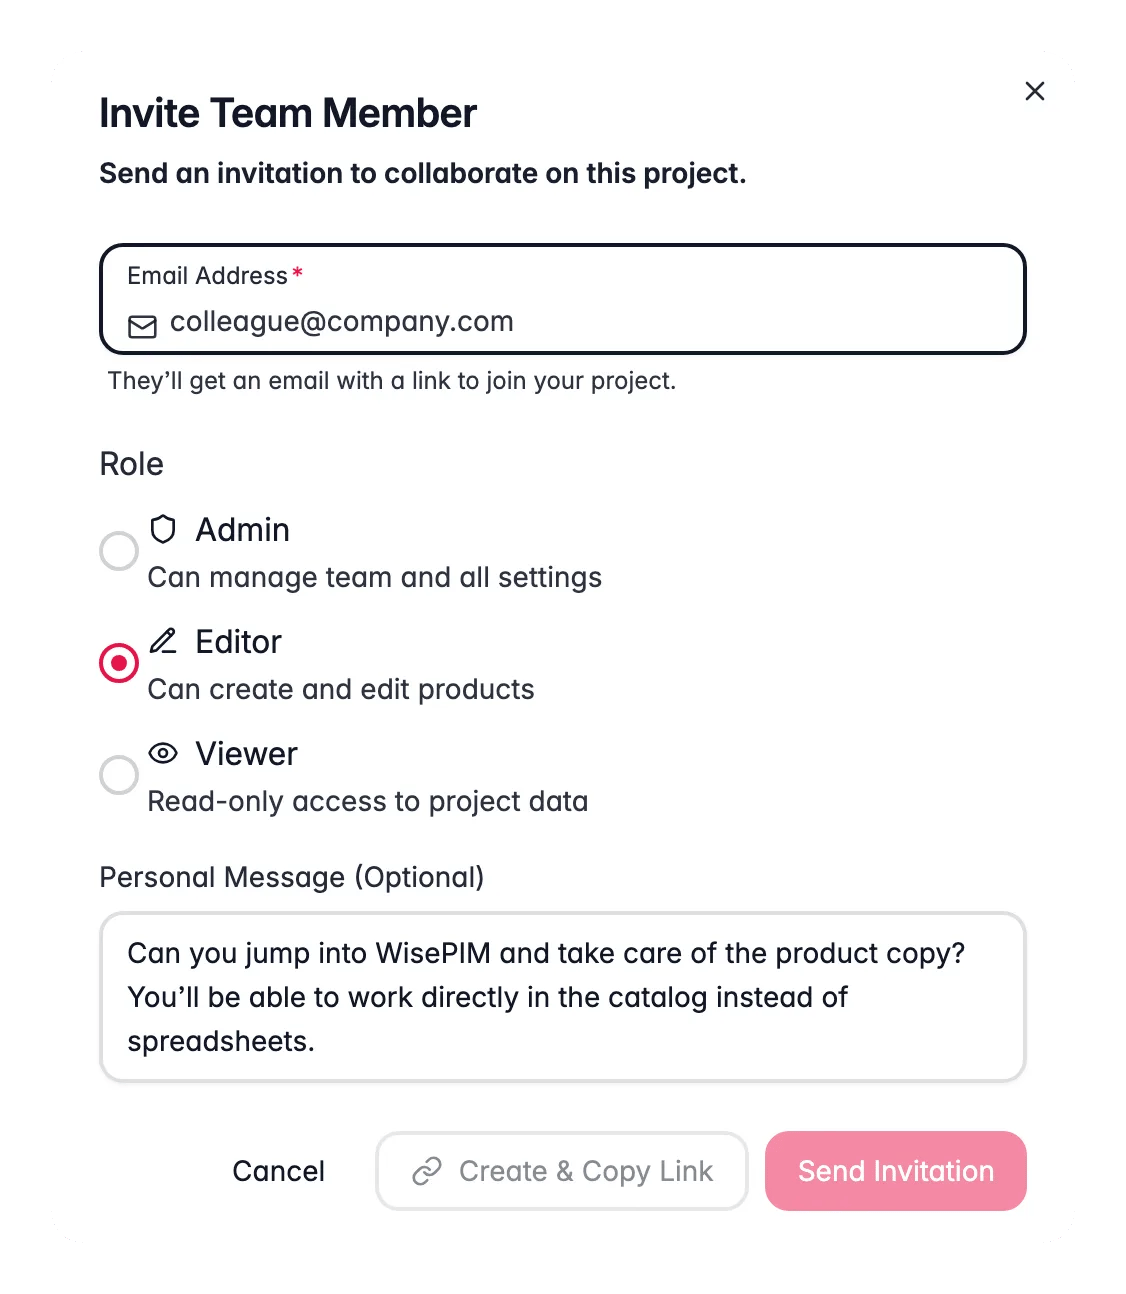
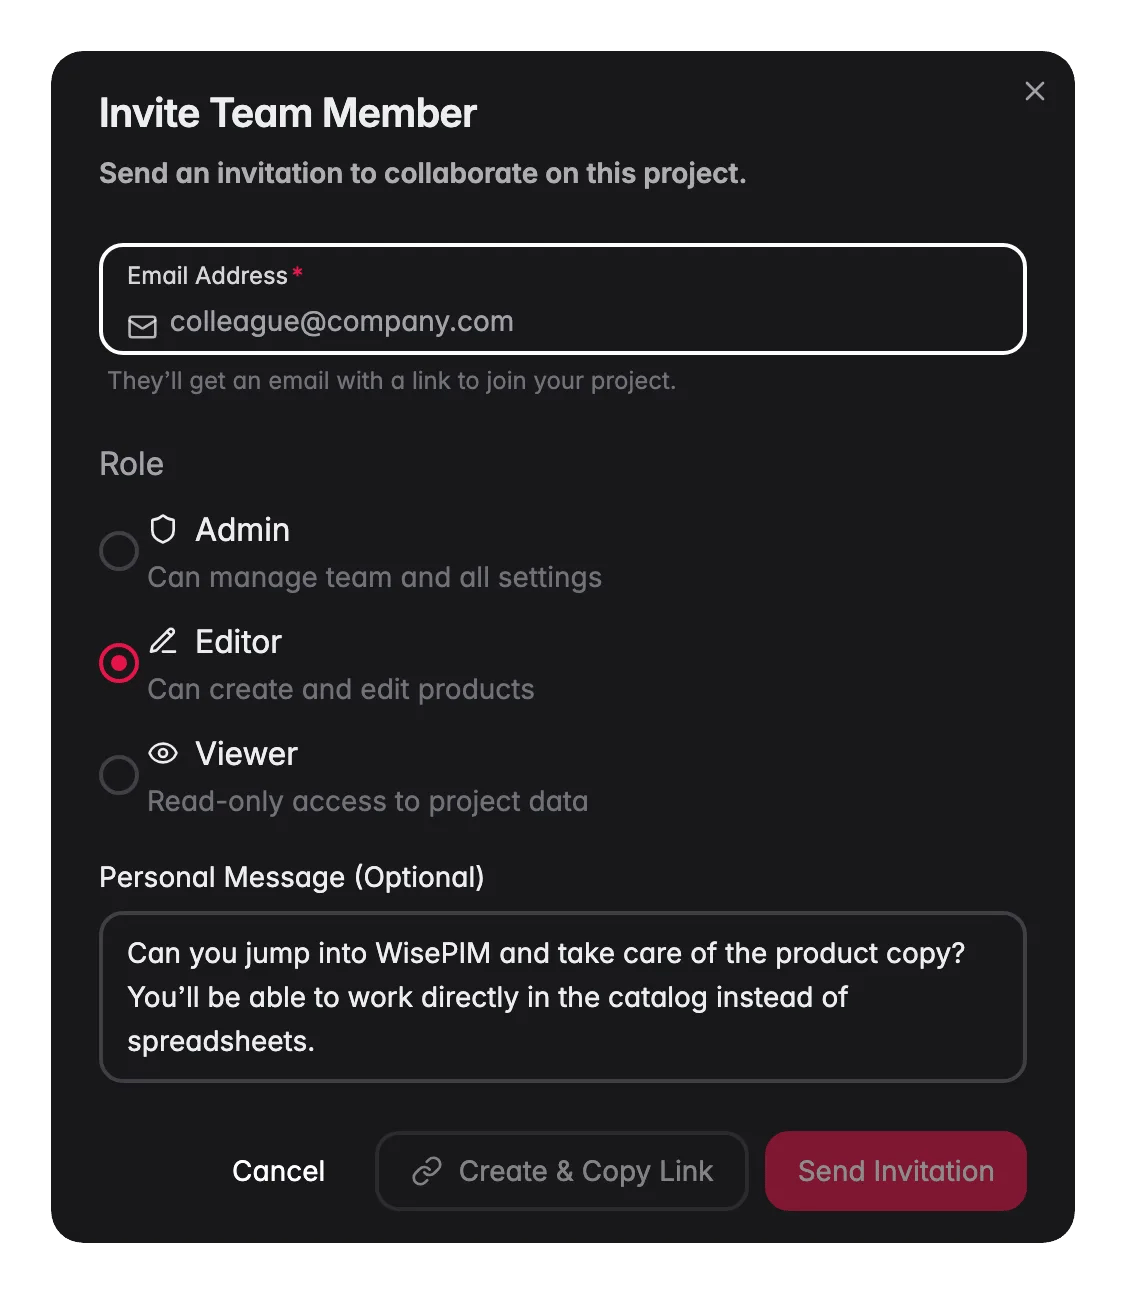
Open the invite modal
Click Invite Member in the top-right of the Team Members card.
2
Enter an email address
Type the email of the person you want to invite. They get an email with a link to join.
3
Choose a role
Pick Admin, Editor, or Viewer. Each option lists the permissions it includes, so you can choose with confidence.
4
Add a message (optional)
Write a short note so your colleague knows why you invited them.
5
Send the invitation
Click Send Invitation. The person appears under Pending Invitations until they accept.
Roles and permissions
Every member has a role that sets what they can do in the project. Pick the role that matches how much access the person needs.Fine-tune permissions
The permissions editor controls access in detail. You can set permissions for:- Product management: create, edit, delete, and bulk-edit products
- Import and export: who can bring data in or send it out
- Settings: who can change the project configuration
- Team management: who can invite or remove members
- Field-level access: which product attributes a member can edit
When you switch permissions on and off, WISEPIM checks whether they match a preset role and labels them for you. If they match no preset, the member gets the Custom role.
Change a member’s role
1
Find the member
Open the member list on the Team & Permissions page.
2
Open the actions menu
Click the three-dot menu on the right of their row.
3
Edit permissions
Select Edit Permissions. Pick a preset role, or switch individual permissions on and off for a custom setup.
4
Save
Click Save. The change takes effect right away.
Remove a team member
1
Open the actions menu
Click the three-dot menu on the member’s row.
2
Remove from project
Select Remove from Project.
3
Confirm
A dialog titled Remove ? asks you to confirm: ” will immediately lose access to this project. Their user account and work are not deleted.” Their past edits to product data stay.
Manage pending invitations
A sent invitation appears under Pending Invitations, below the active member list. Each one shows when you sent it, the assigned role, and when it expires. Expired invitations are clearly marked.Resend an invitation
Resend an invitation
Resend the email if the recipient never received it.
Copy the invitation link
Copy the invitation link
Copy the link to share it yourself, for example over Slack or another chat tool.
Cancel an invitation
Cancel an invitation
Cancel an invitation you no longer need. A Cancel this invitation? dialog asks you to confirm first.
Best practices
Start with Viewer
When unsure, invite people as Viewers. You can raise their role later once you know what they need.
Use Custom roles
Give members exactly the access they need, and nothing more, with a Custom role.
Review access regularly
Check your team list now and then. Remove anyone who no longer needs access to keep your data safe.
Add context to invites
Use the message field so new members know why you added them and what to do.
Related
Partner Dashboard
Give partners a focused view of the products they work on.
Agencies
Run multiple clients and brands from one WISEPIM account.
Security Settings
Manage passwords, sessions, and access security.