

You set up triggers in the visual builder. Click the trigger node on your canvas to open its settings panel. Each trigger type has its own settings.
Pick a trigger for your goal
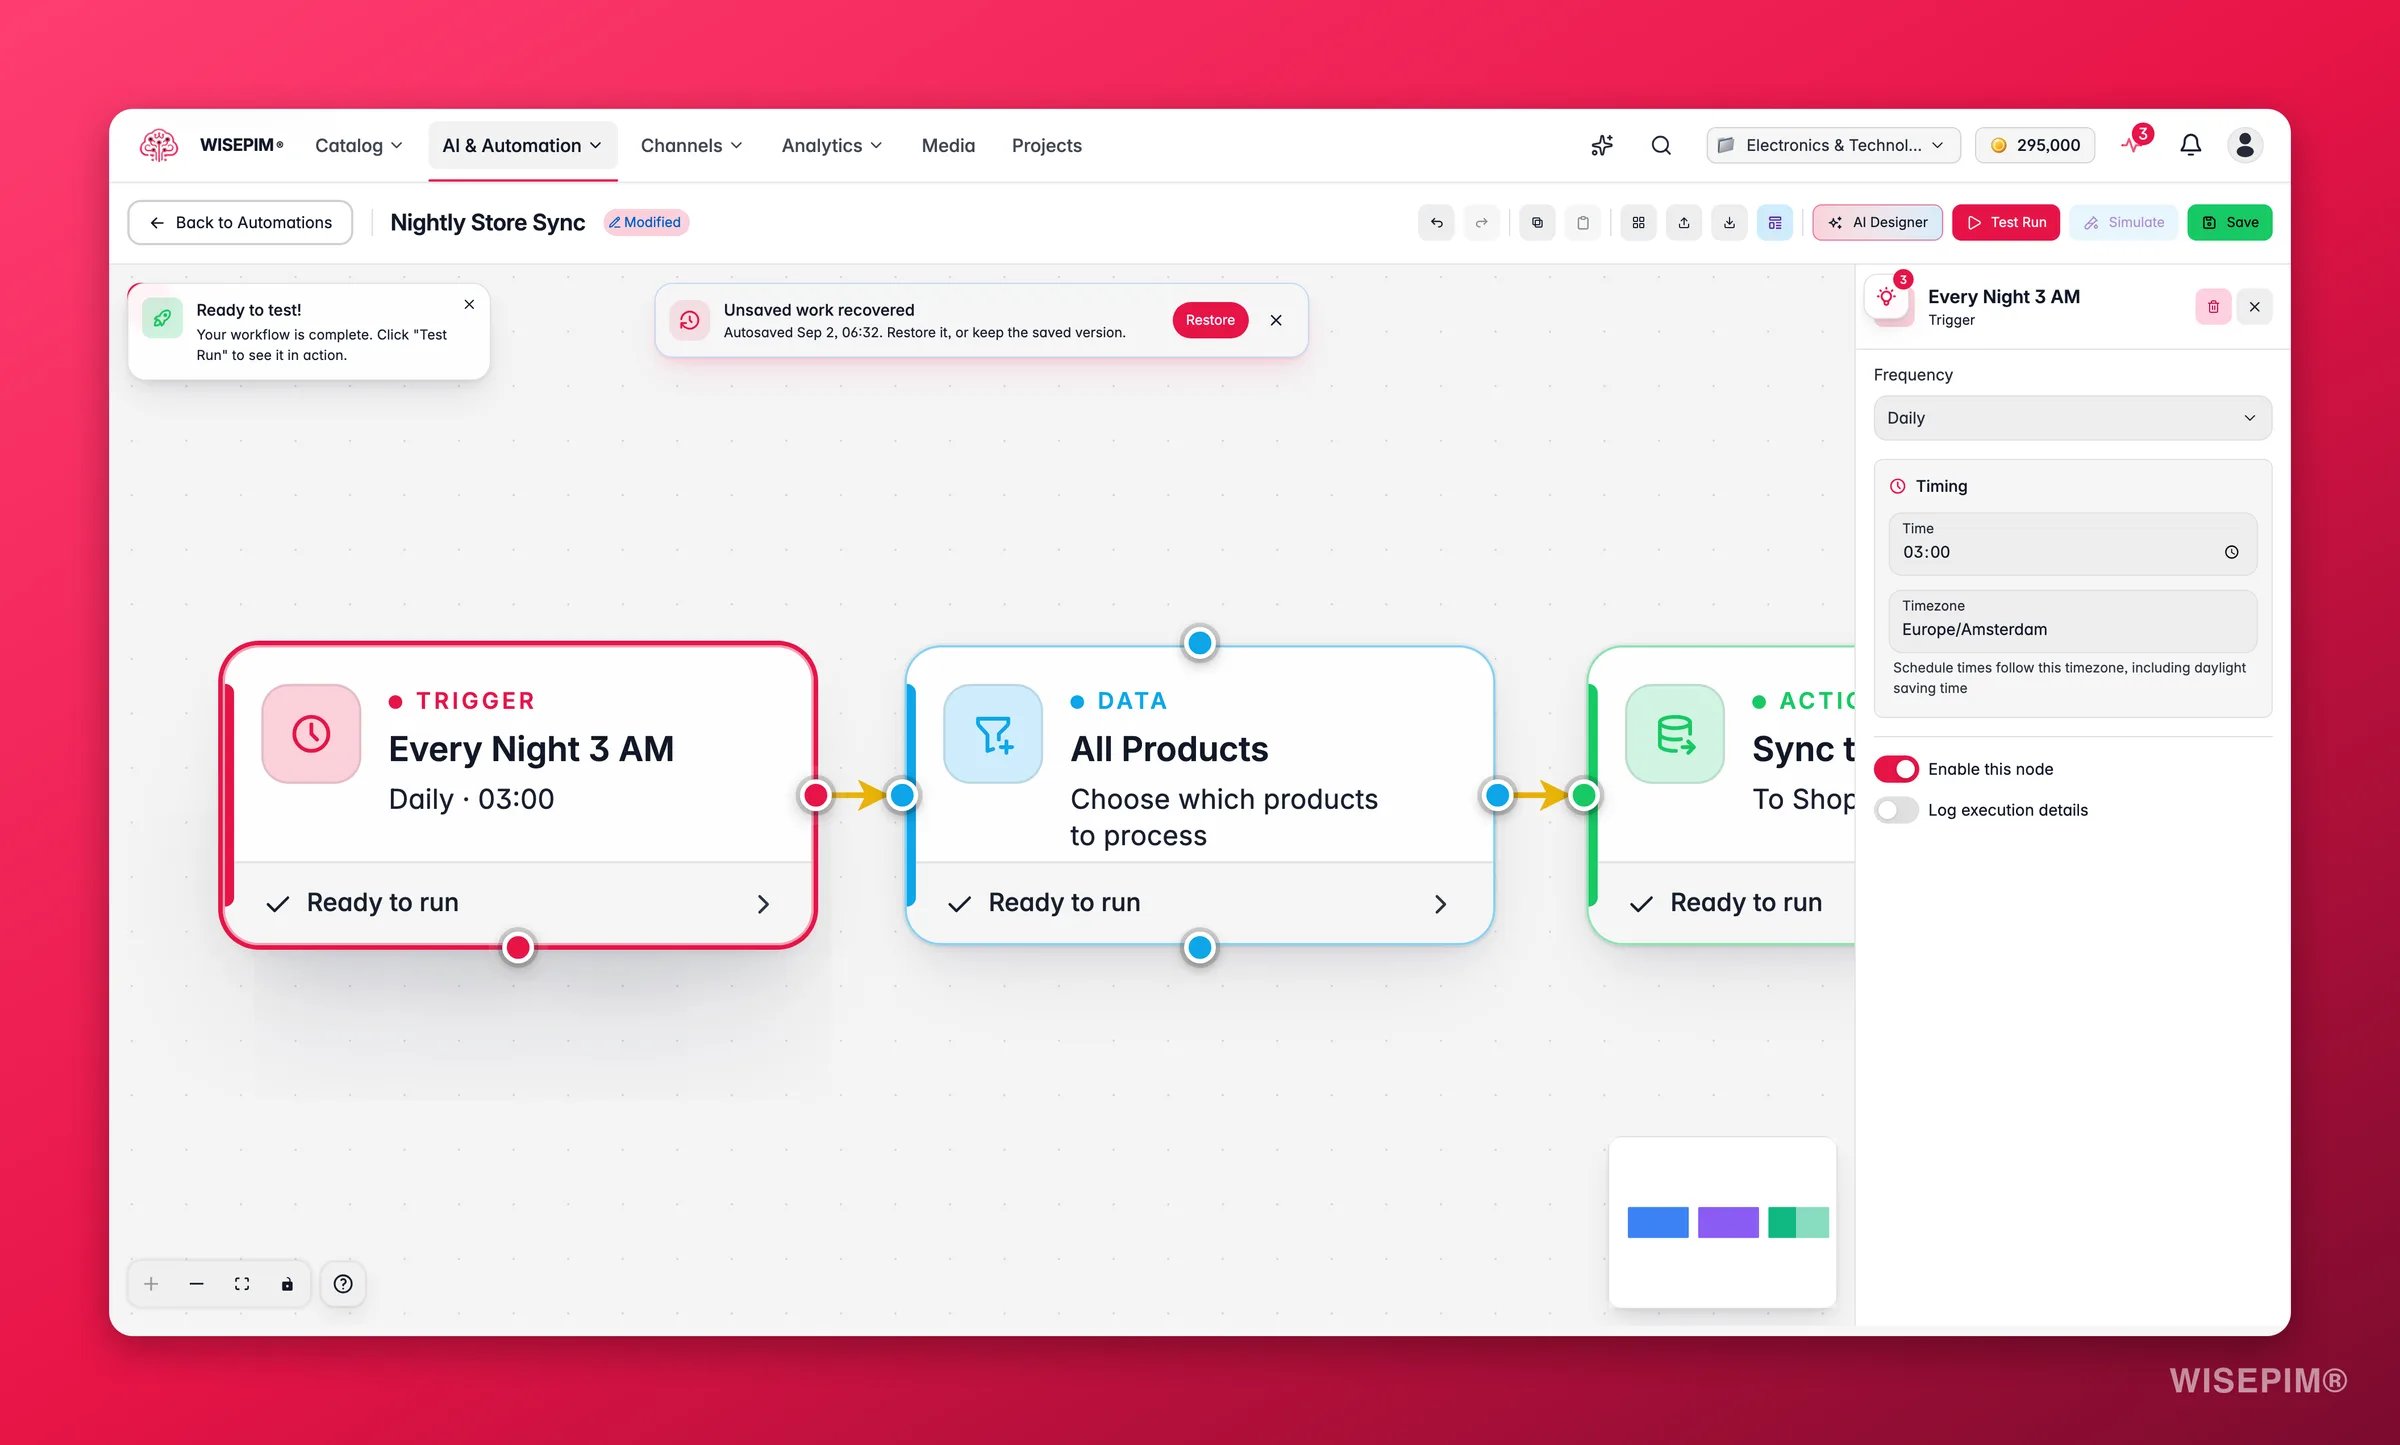
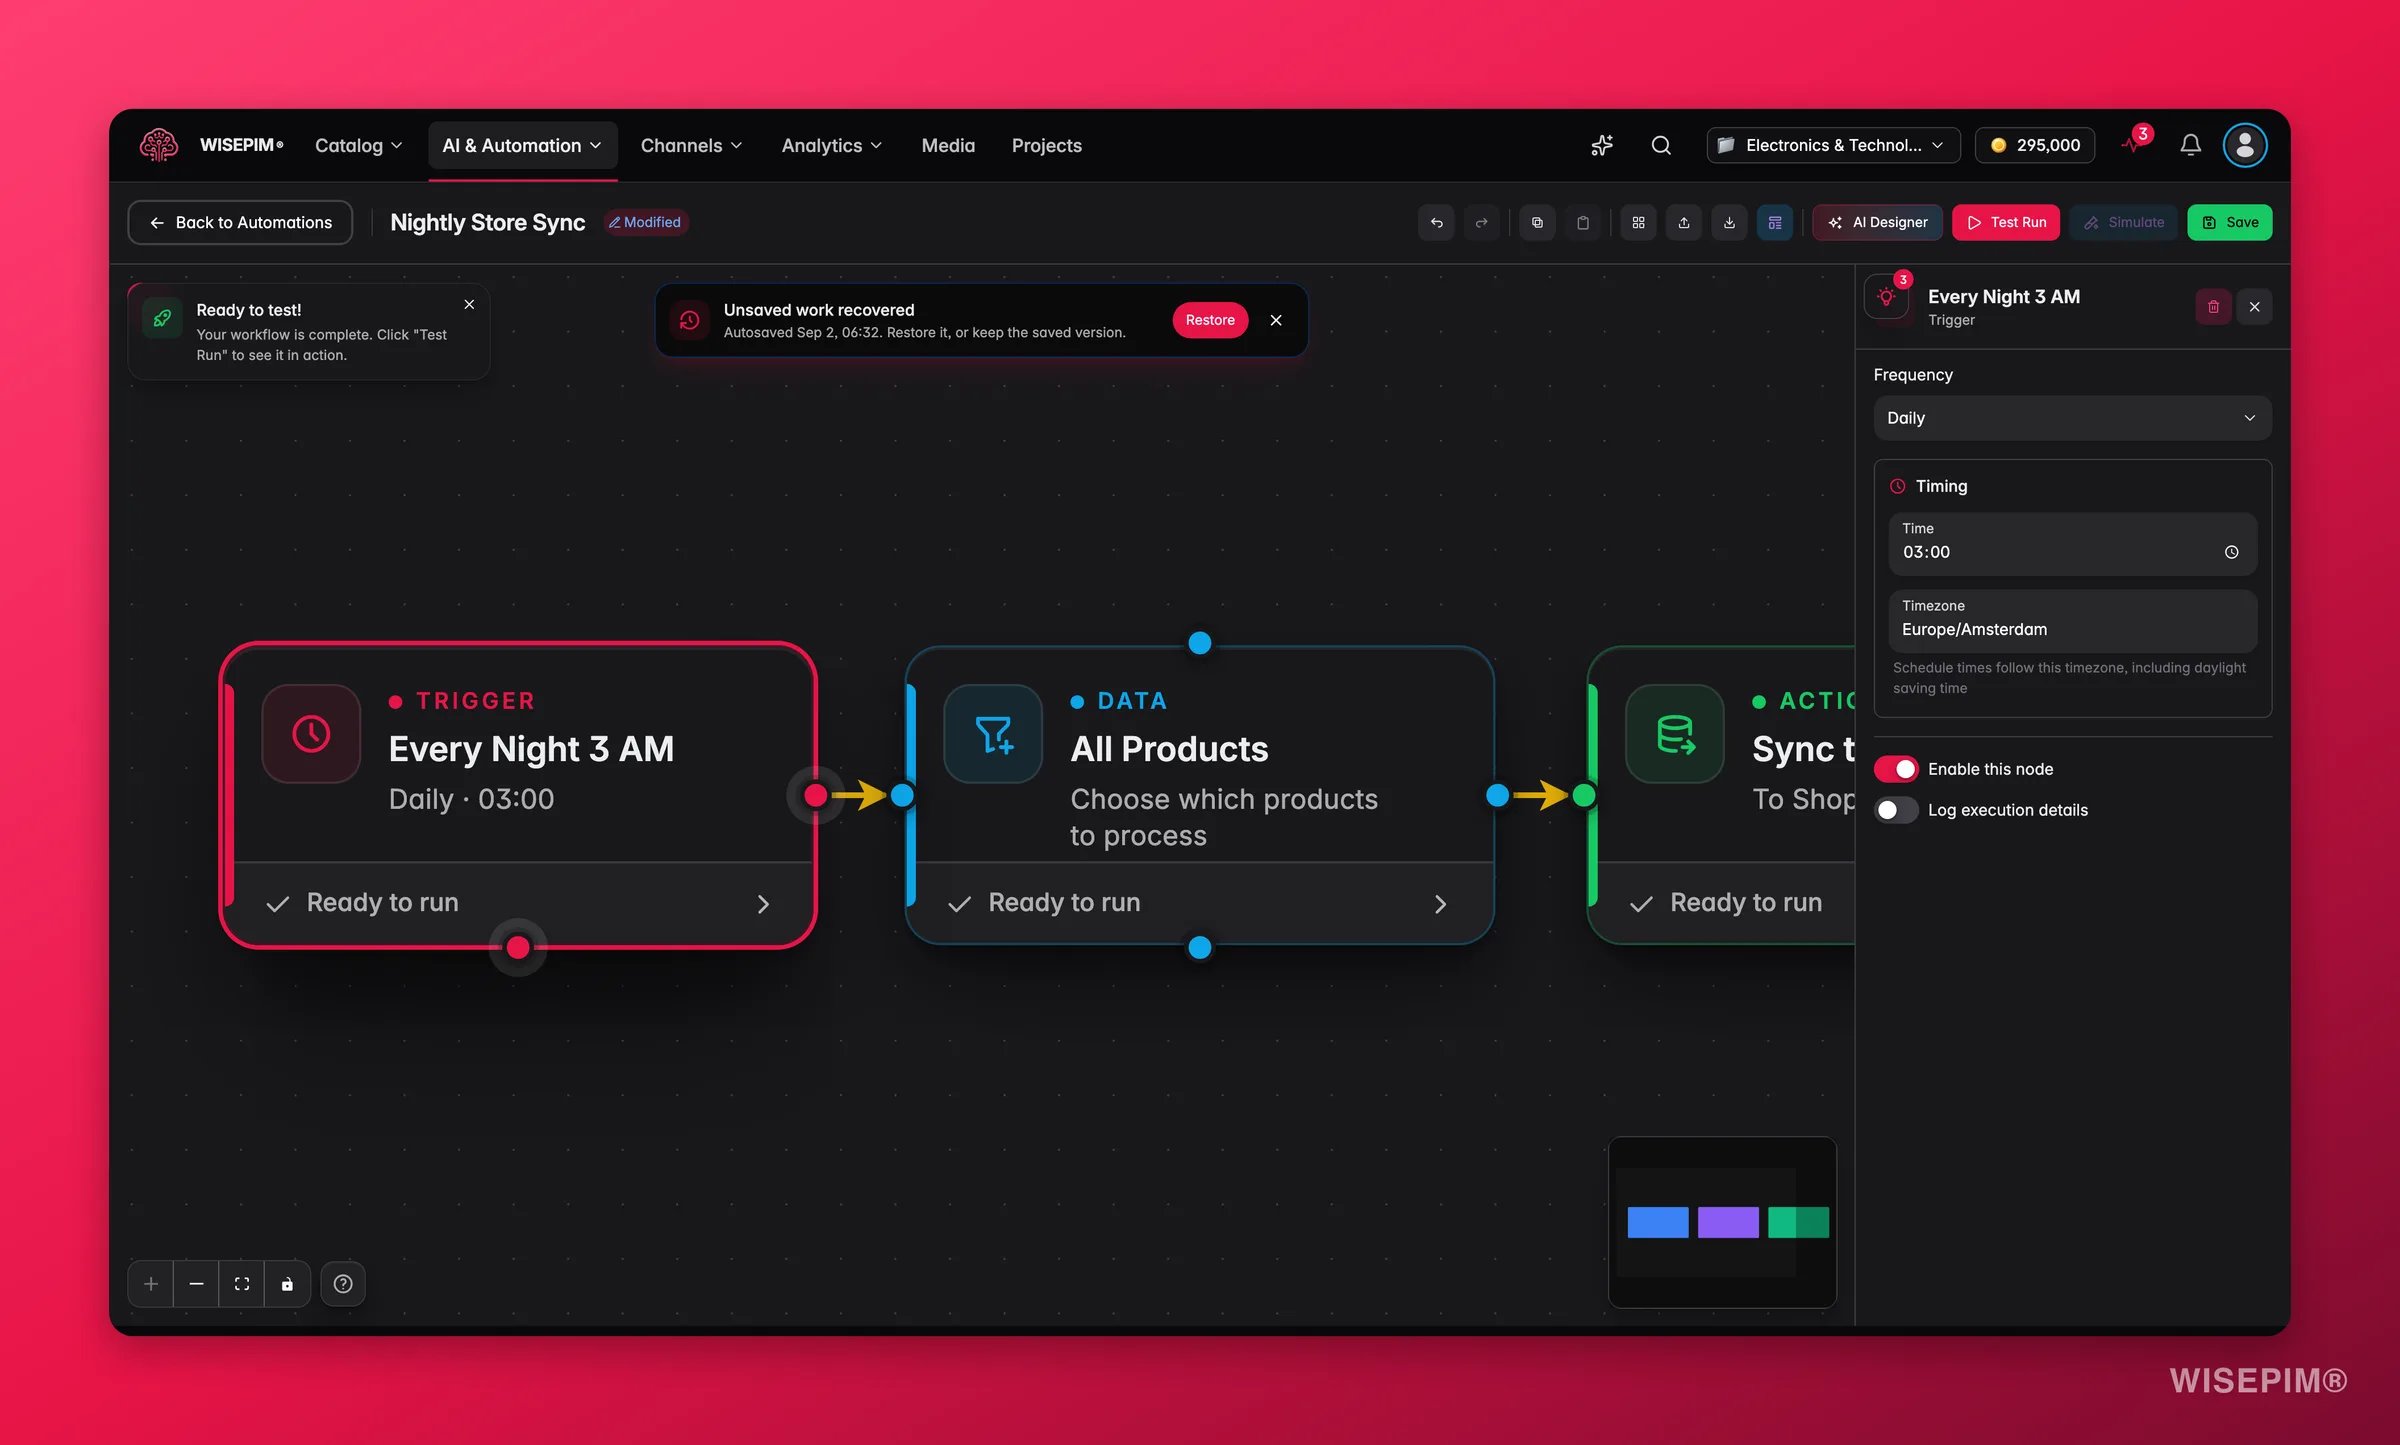
Set up your trigger
Each trigger has a few settings. Expand the one you need.Schedule
Schedule
Run your automation on a repeating schedule. Ideal for nightly syncs, weekly backups, and monthly reports.
Manual
Manual
Run the automation on demand with a single click. No settings needed.You can start a manual automation from:
- The automations list: click Run Now
- The visual builder toolbar while editing
- The automation detail page
Webhook
Webhook
Start your automation when an external system sends an HTTP request. Use this to connect WISEPIM with tools like Zapier, Make, or your own backend.
After Import
After Import
Run the workflow when a product import finishes. Great for post-import cleanup, AI enrichment, and team notifications. See Run right after an import below for the full setup.
After Export
After Export
Run the workflow when an export finishes. Use this to send confirmations, log exports, or start follow-up processes.
Product Updated
Product Updated
Fire the moment product data changes in WISEPIM. Use this to react in real time, for example to re-export updated products or notify your team.
Quality Changed
Quality Changed
Fire when a product’s quality score changes, as scored by Quality Guard. Use this to respond to quality gains or drops automatically.
Run right after an import
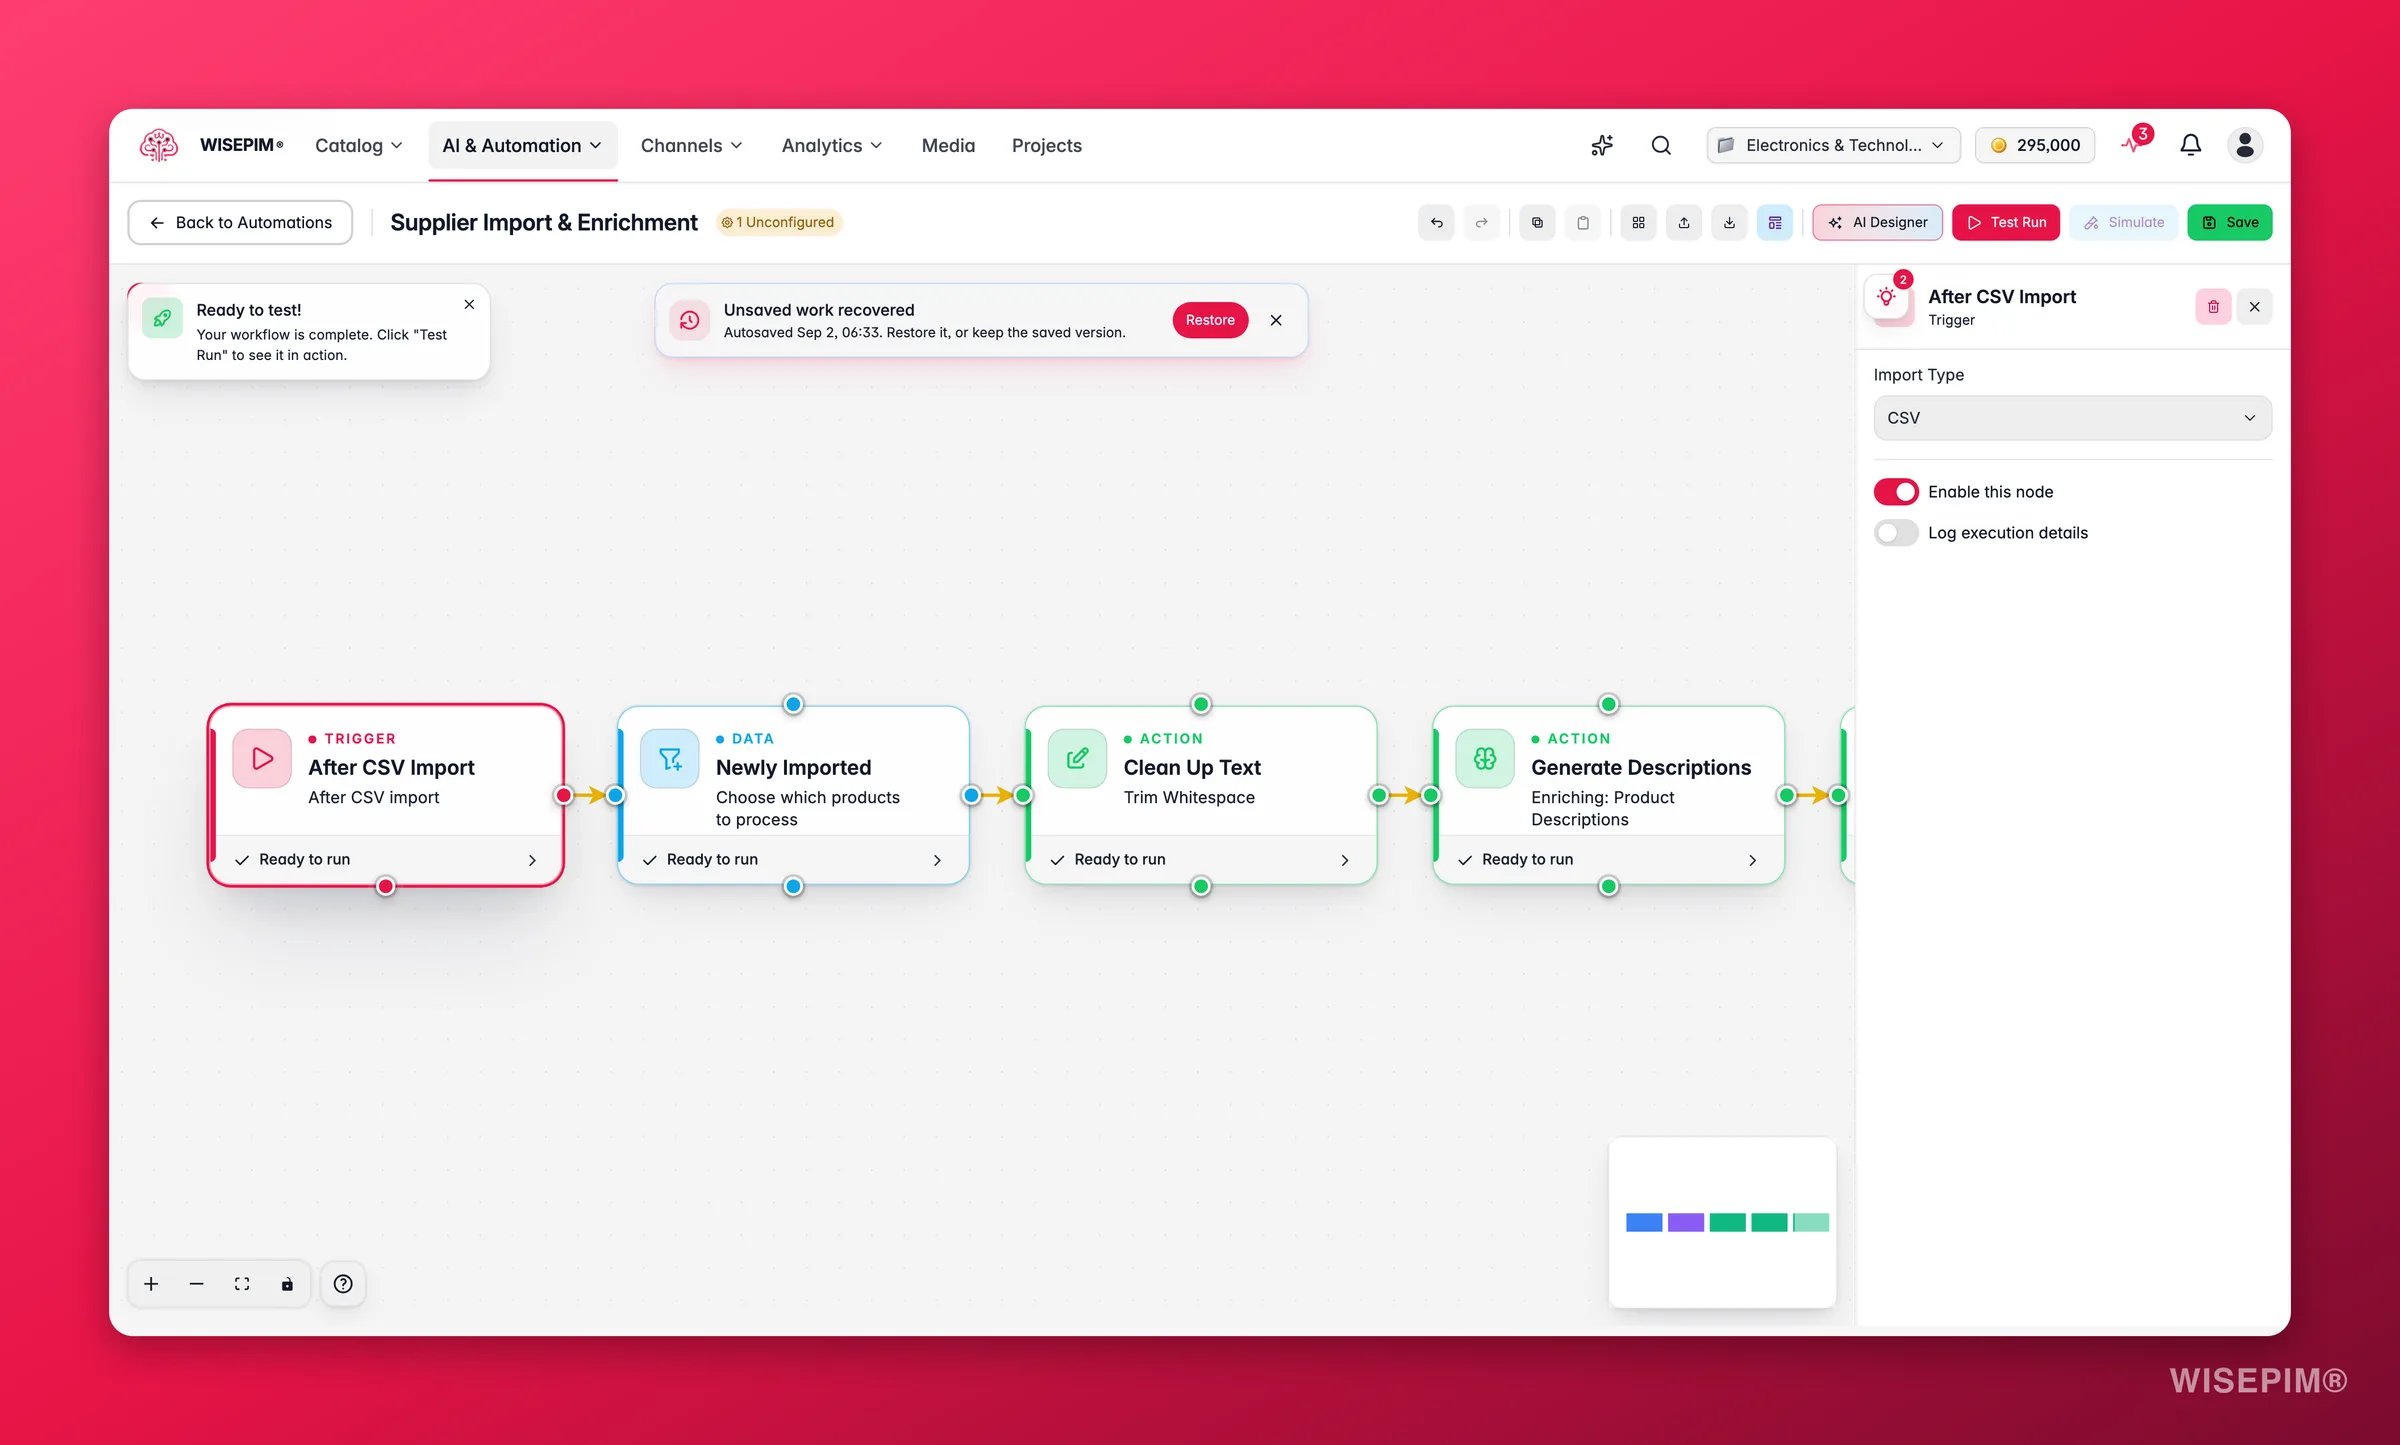
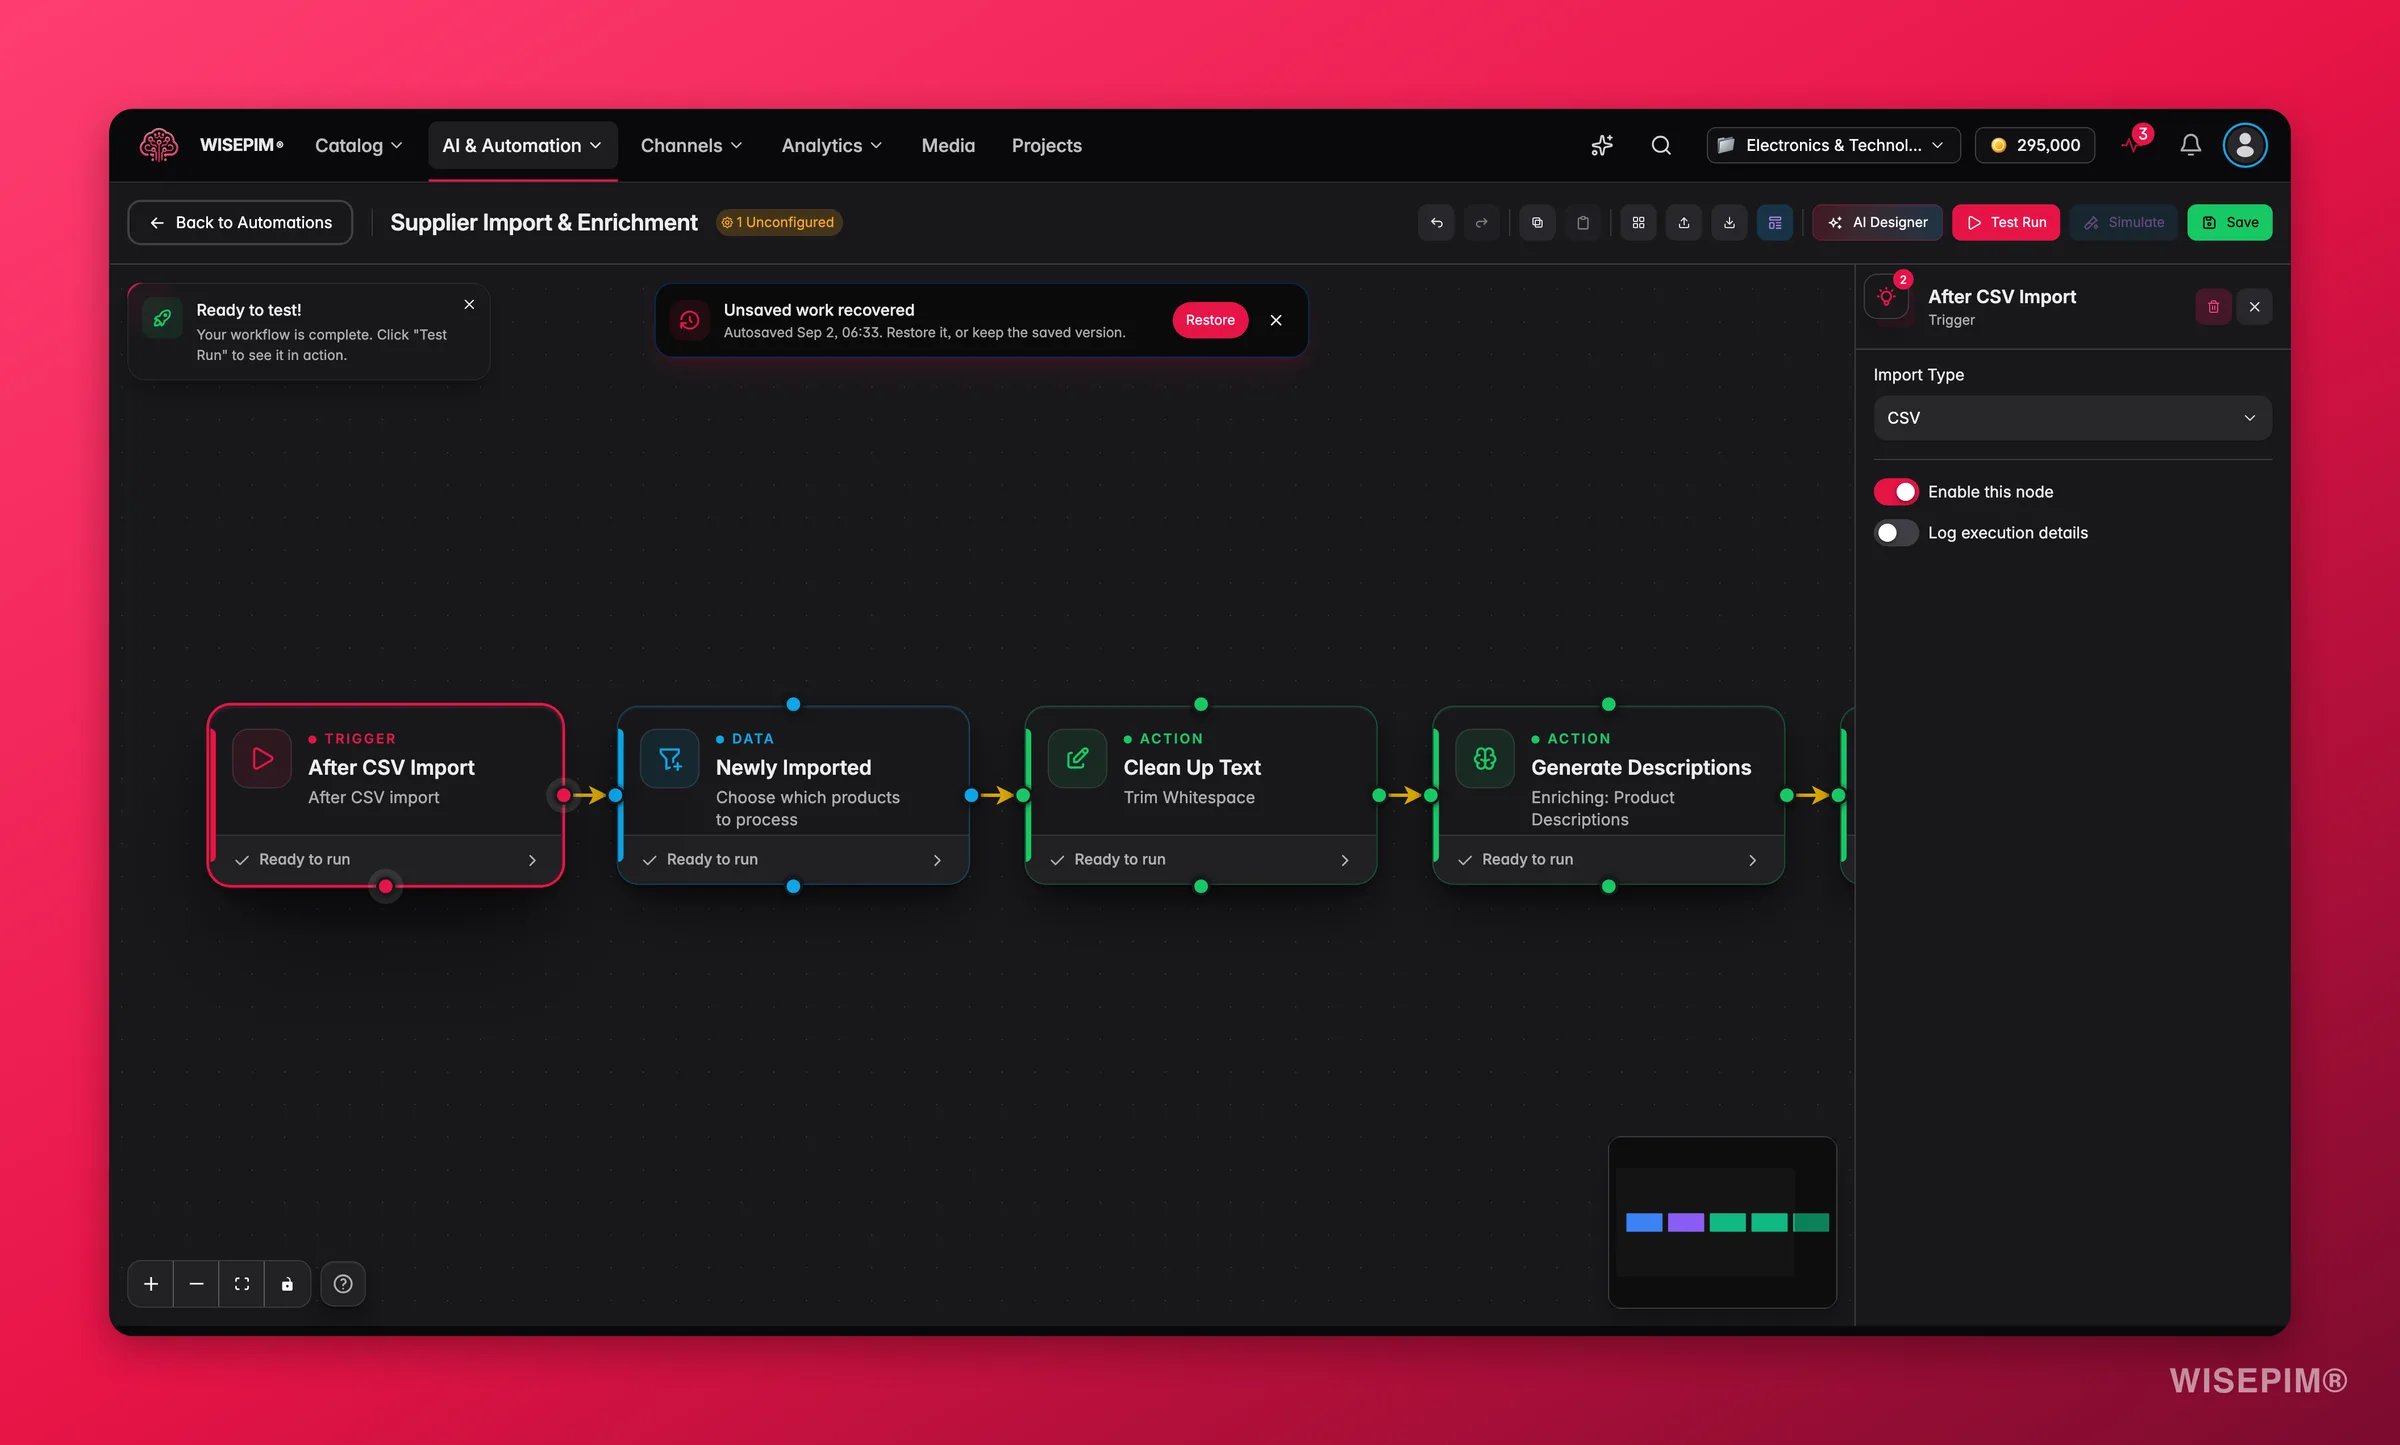
With no filter set, the automation runs after every product import. File uploads count too: CSV and Excel uploads match the CSV import type, and XML feed imports only match Any. Category, code-set, unit-of-measure and attribute imports, order syncs, demo data and scrape imports do not fire the trigger. A feed pulled by this automation’s own Import from URL node cannot re-trigger it, which prevents loops, but other automations can chain off that import.
A typical chain looks like this: After Import → Select Products (only the products that just arrived) → AI enrichment with Auto-Fill → Send notification to your team.
Related
Visual Builder
Build and configure your automation in the visual editor.
Action Nodes
See every action your automation can run after the trigger.