

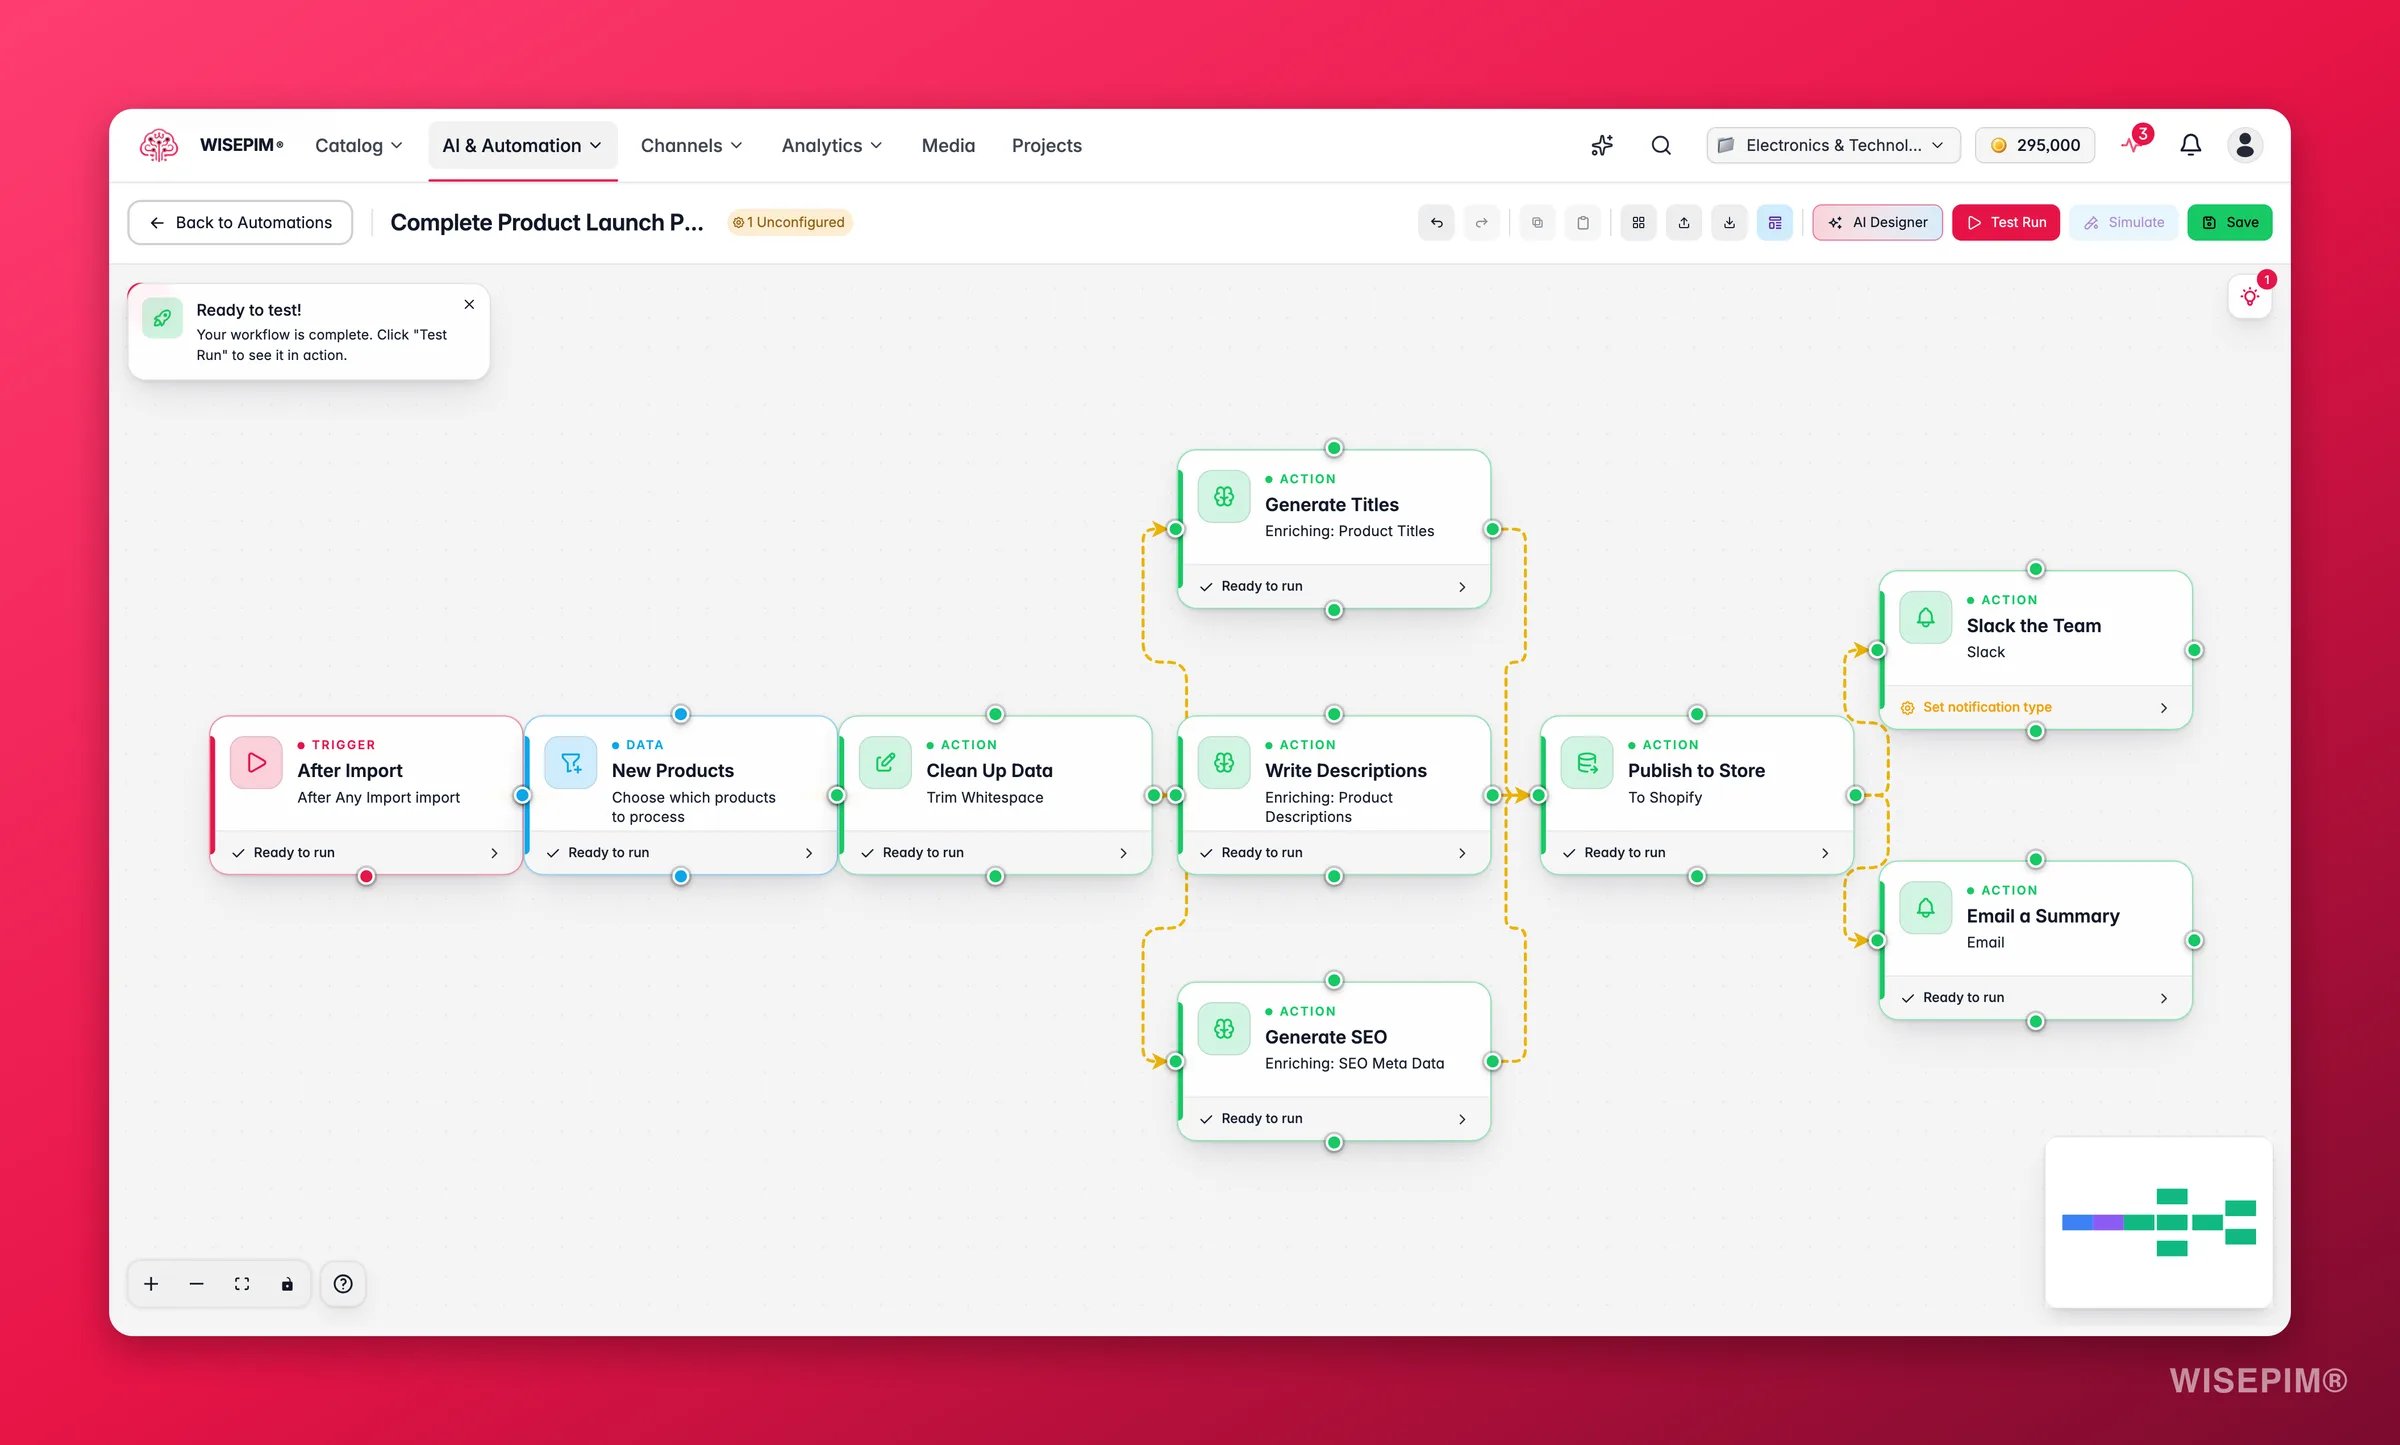
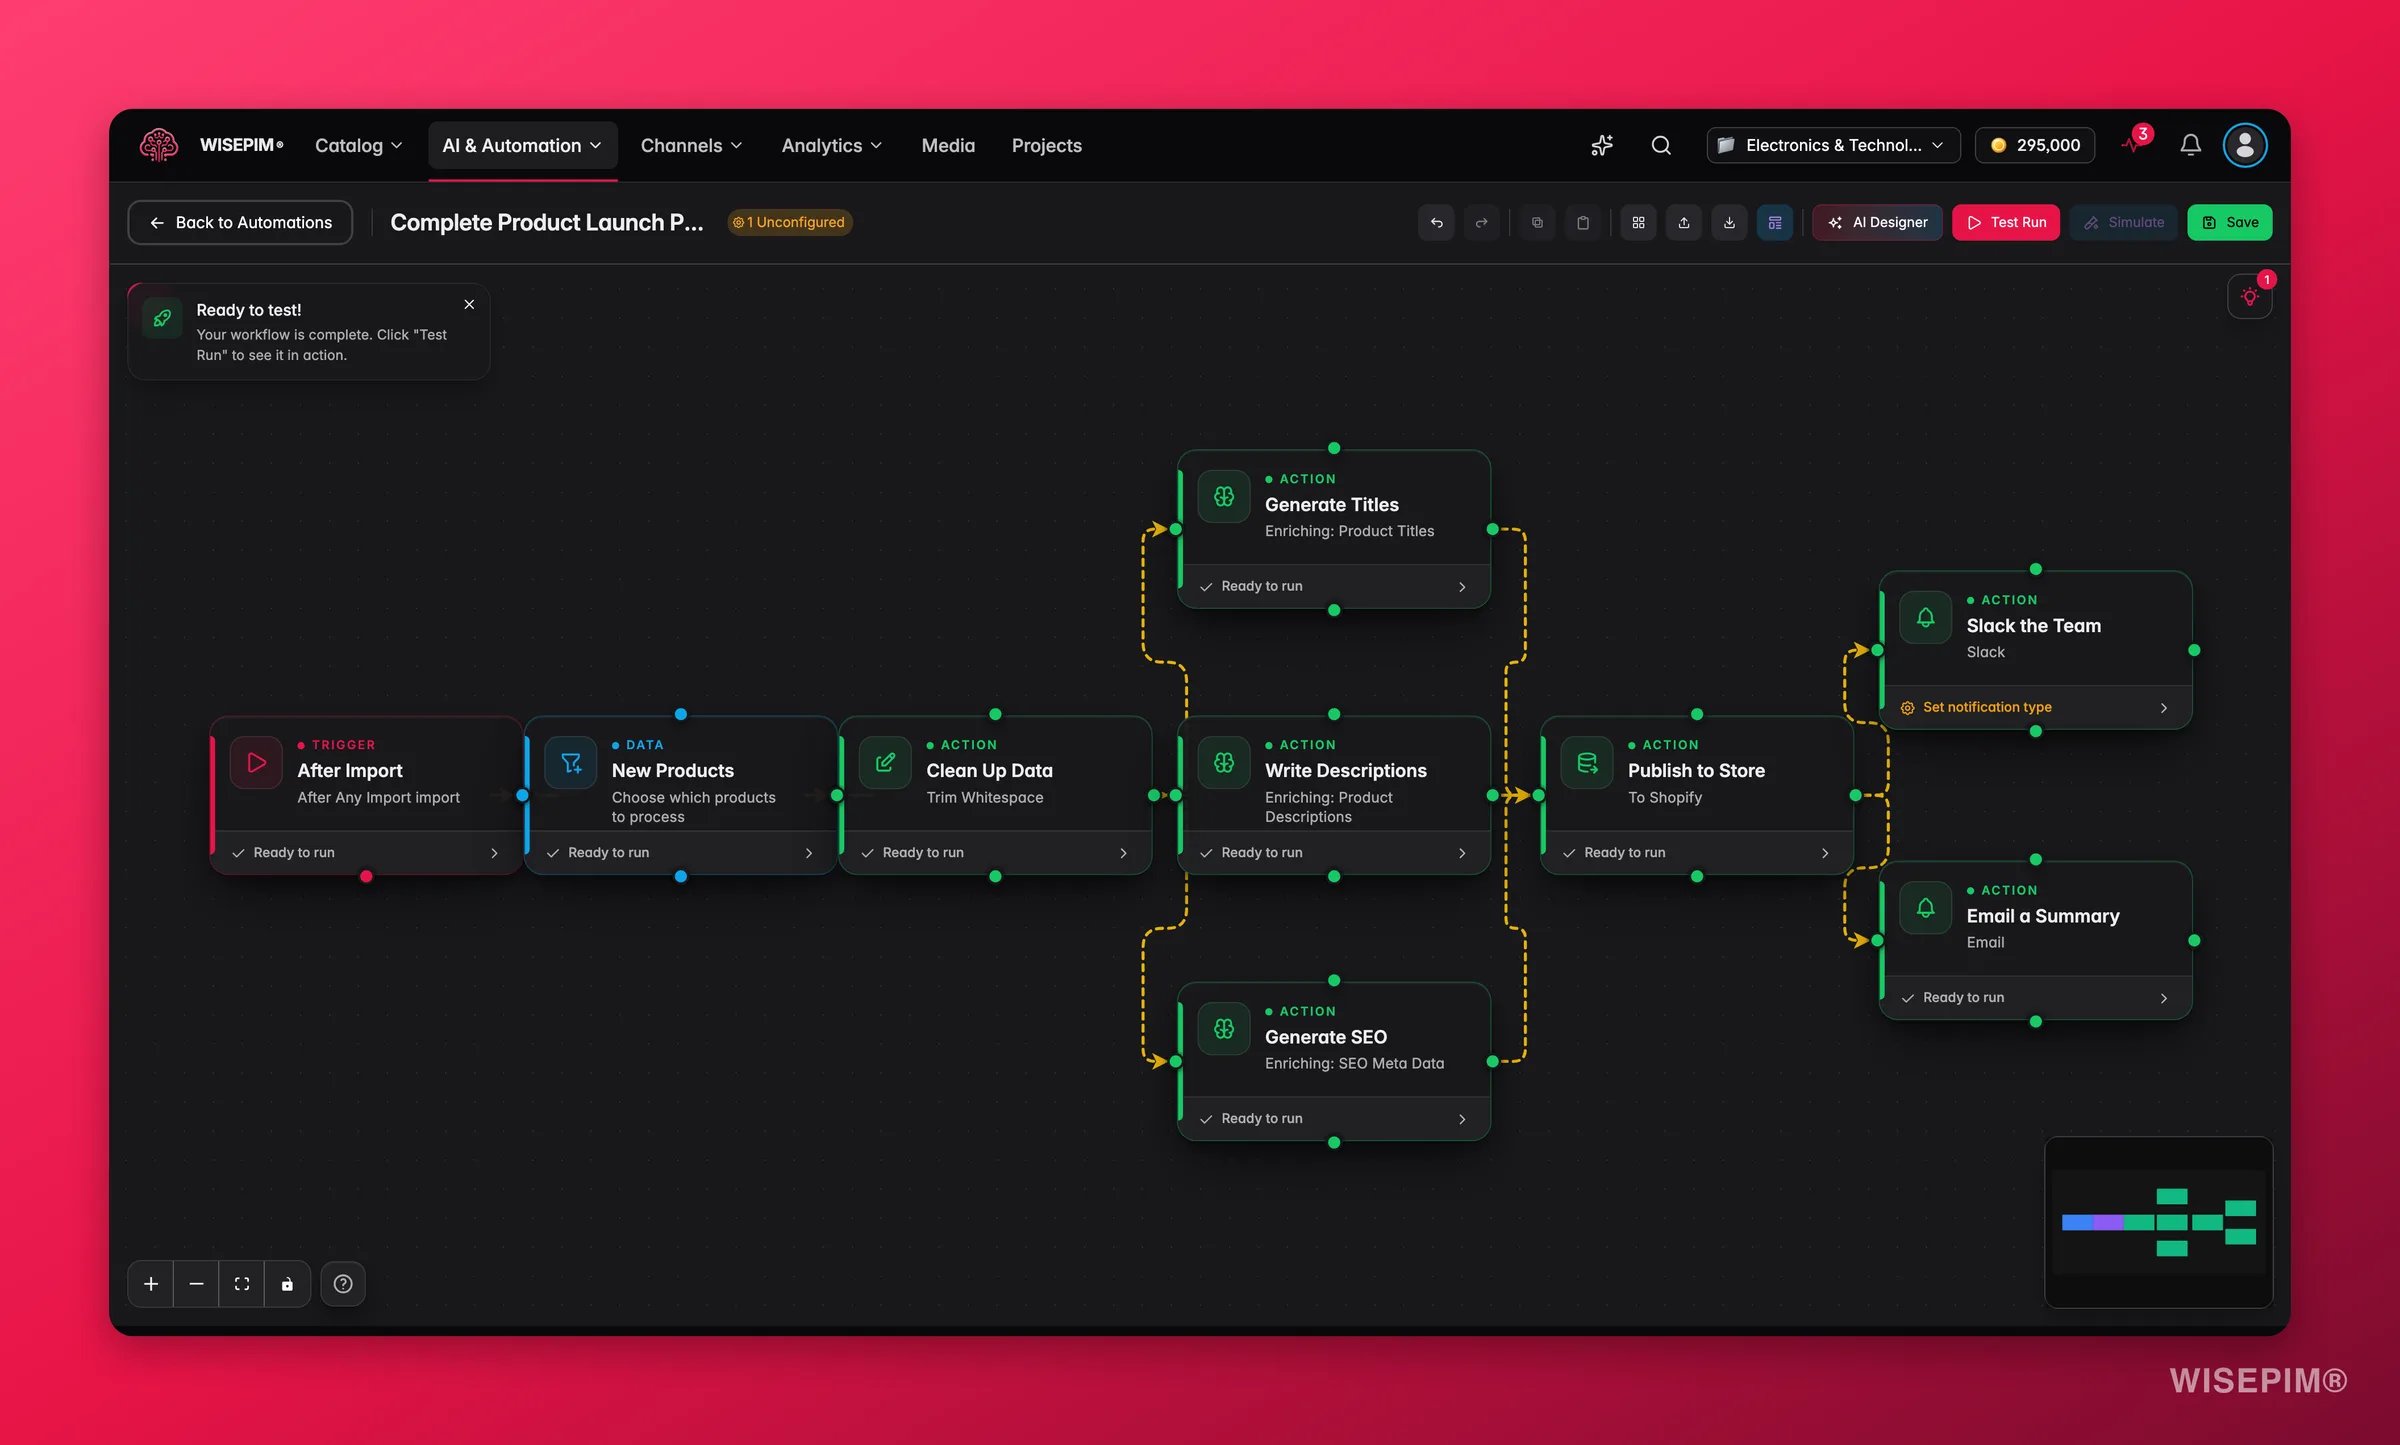
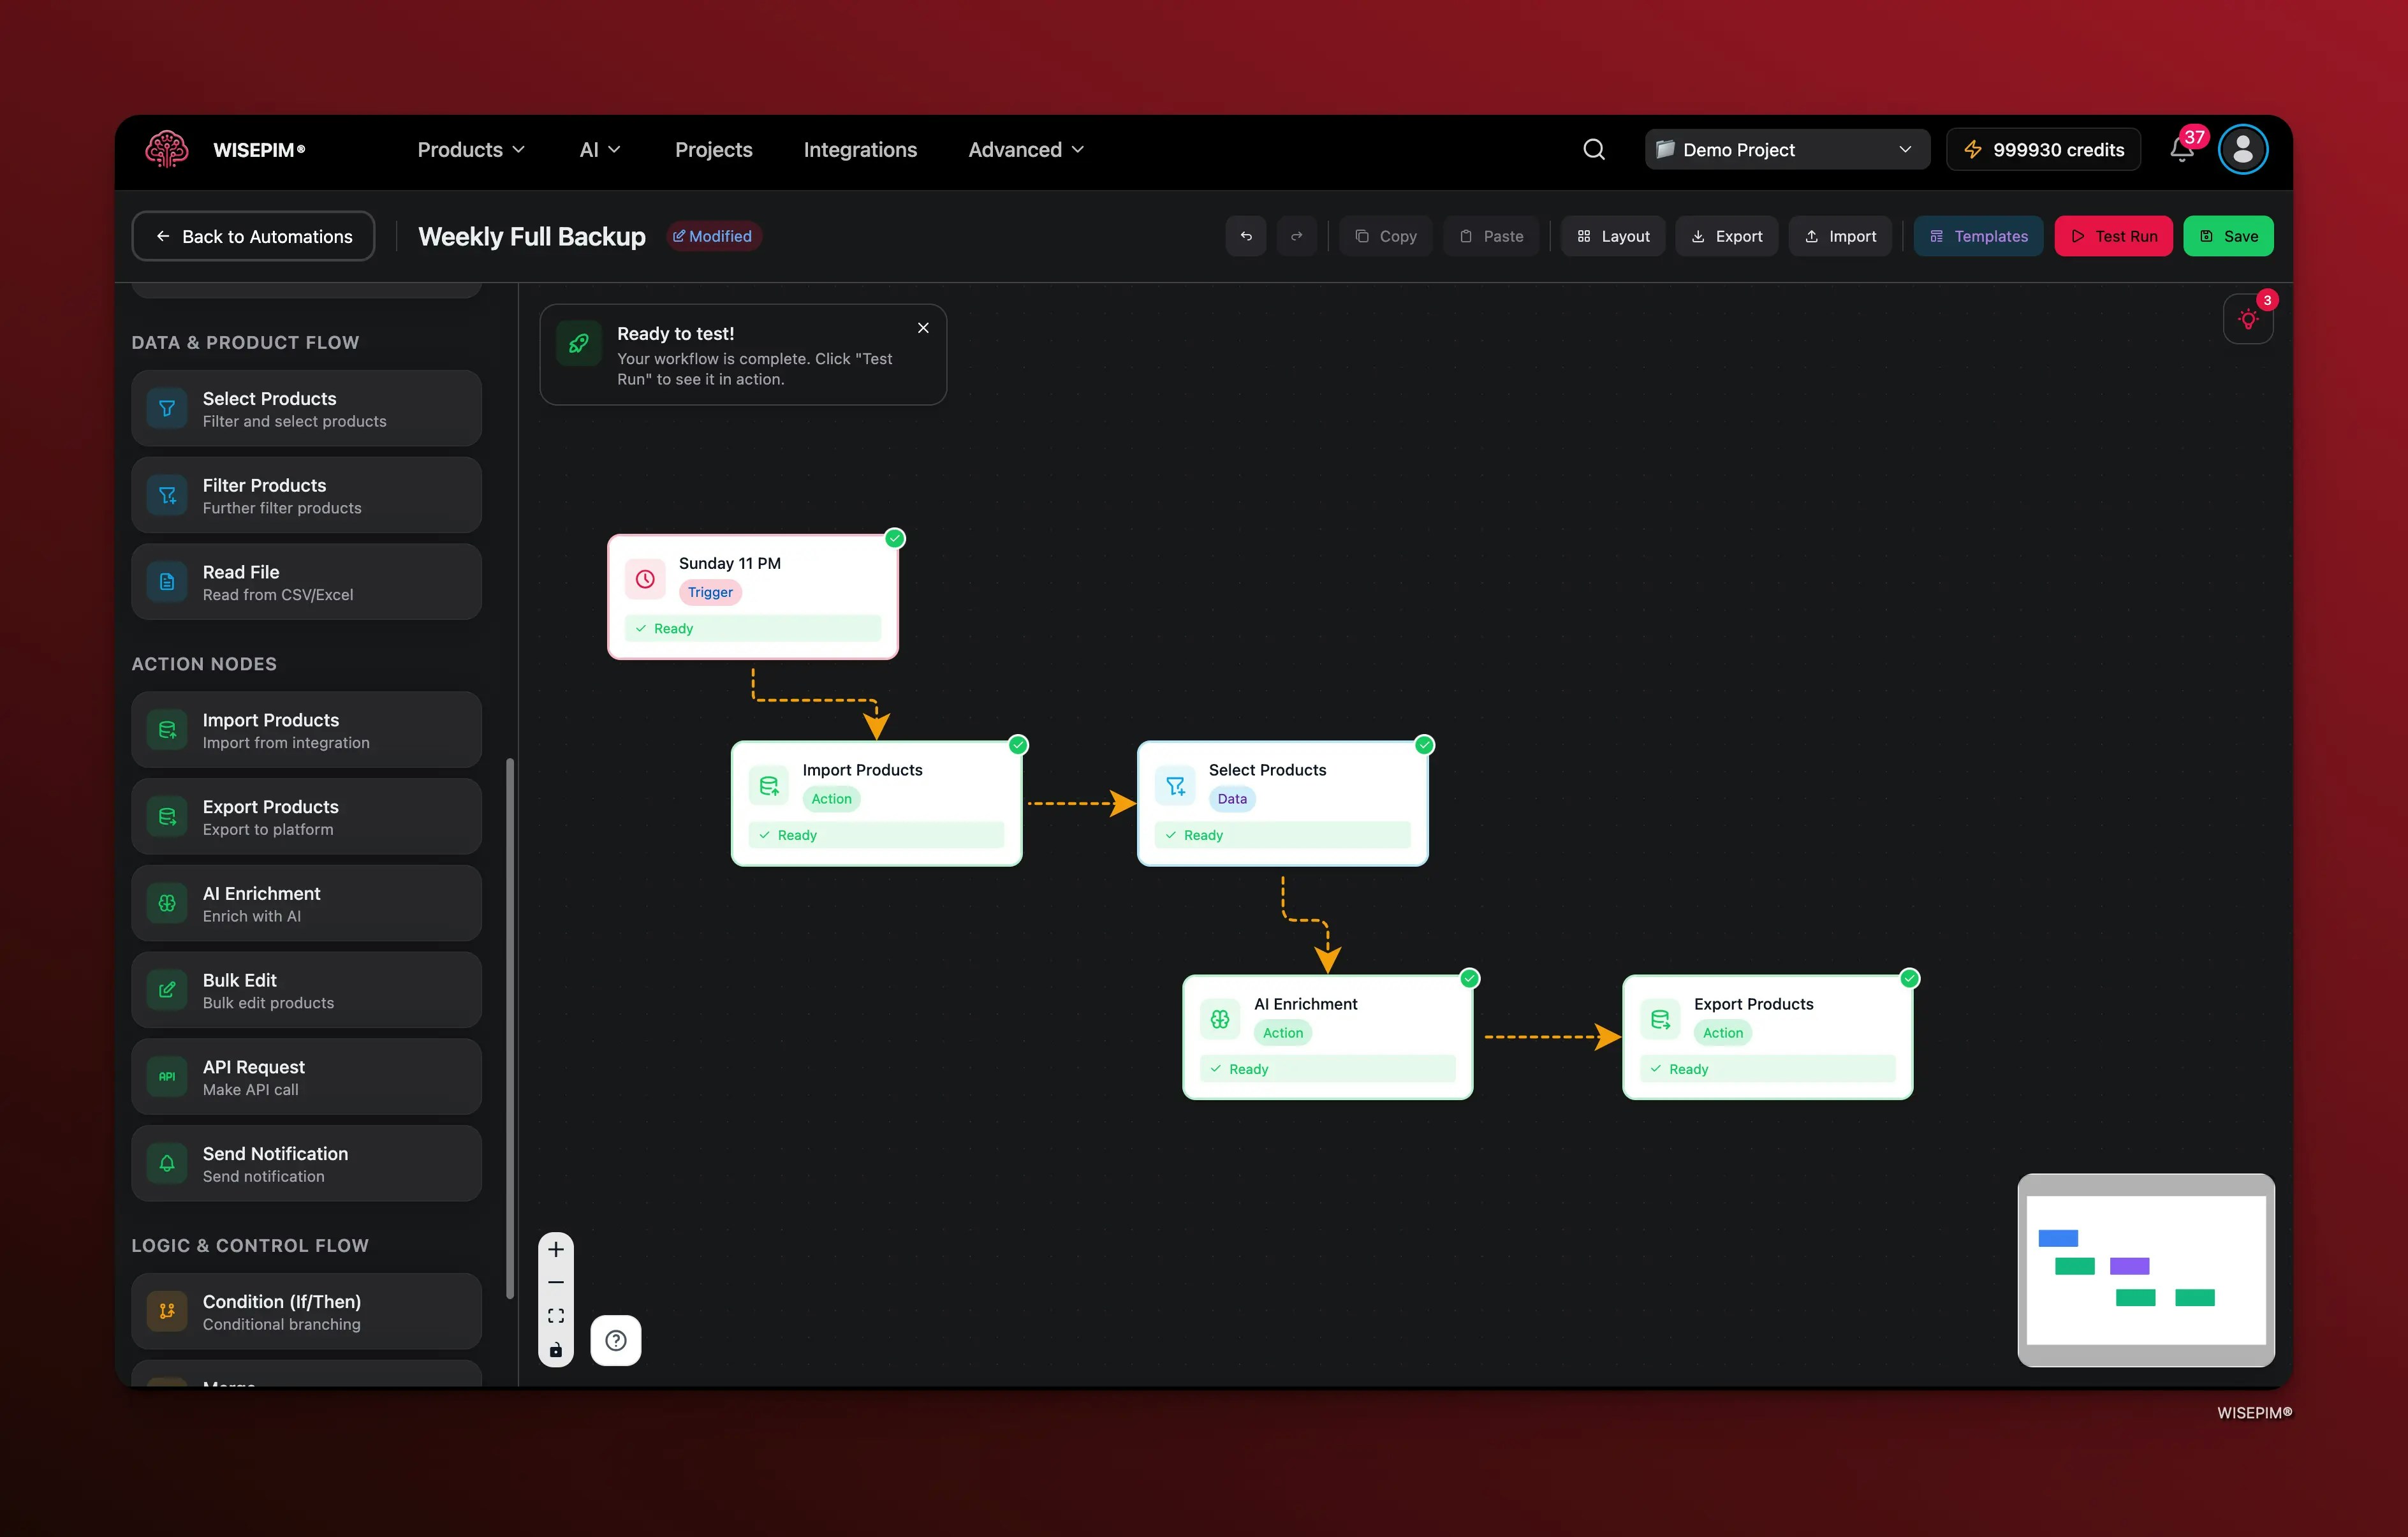
The builder validates your workflow as you go. Each node shows a status badge: a green checkmark when it is ready, an amber icon when it still needs configuration.
Open the builder
1
Go to Automations
Click Automations in the sidebar.
2
Start a new automation
Click Create Automation. The builder opens with a blank canvas and a default trigger node.
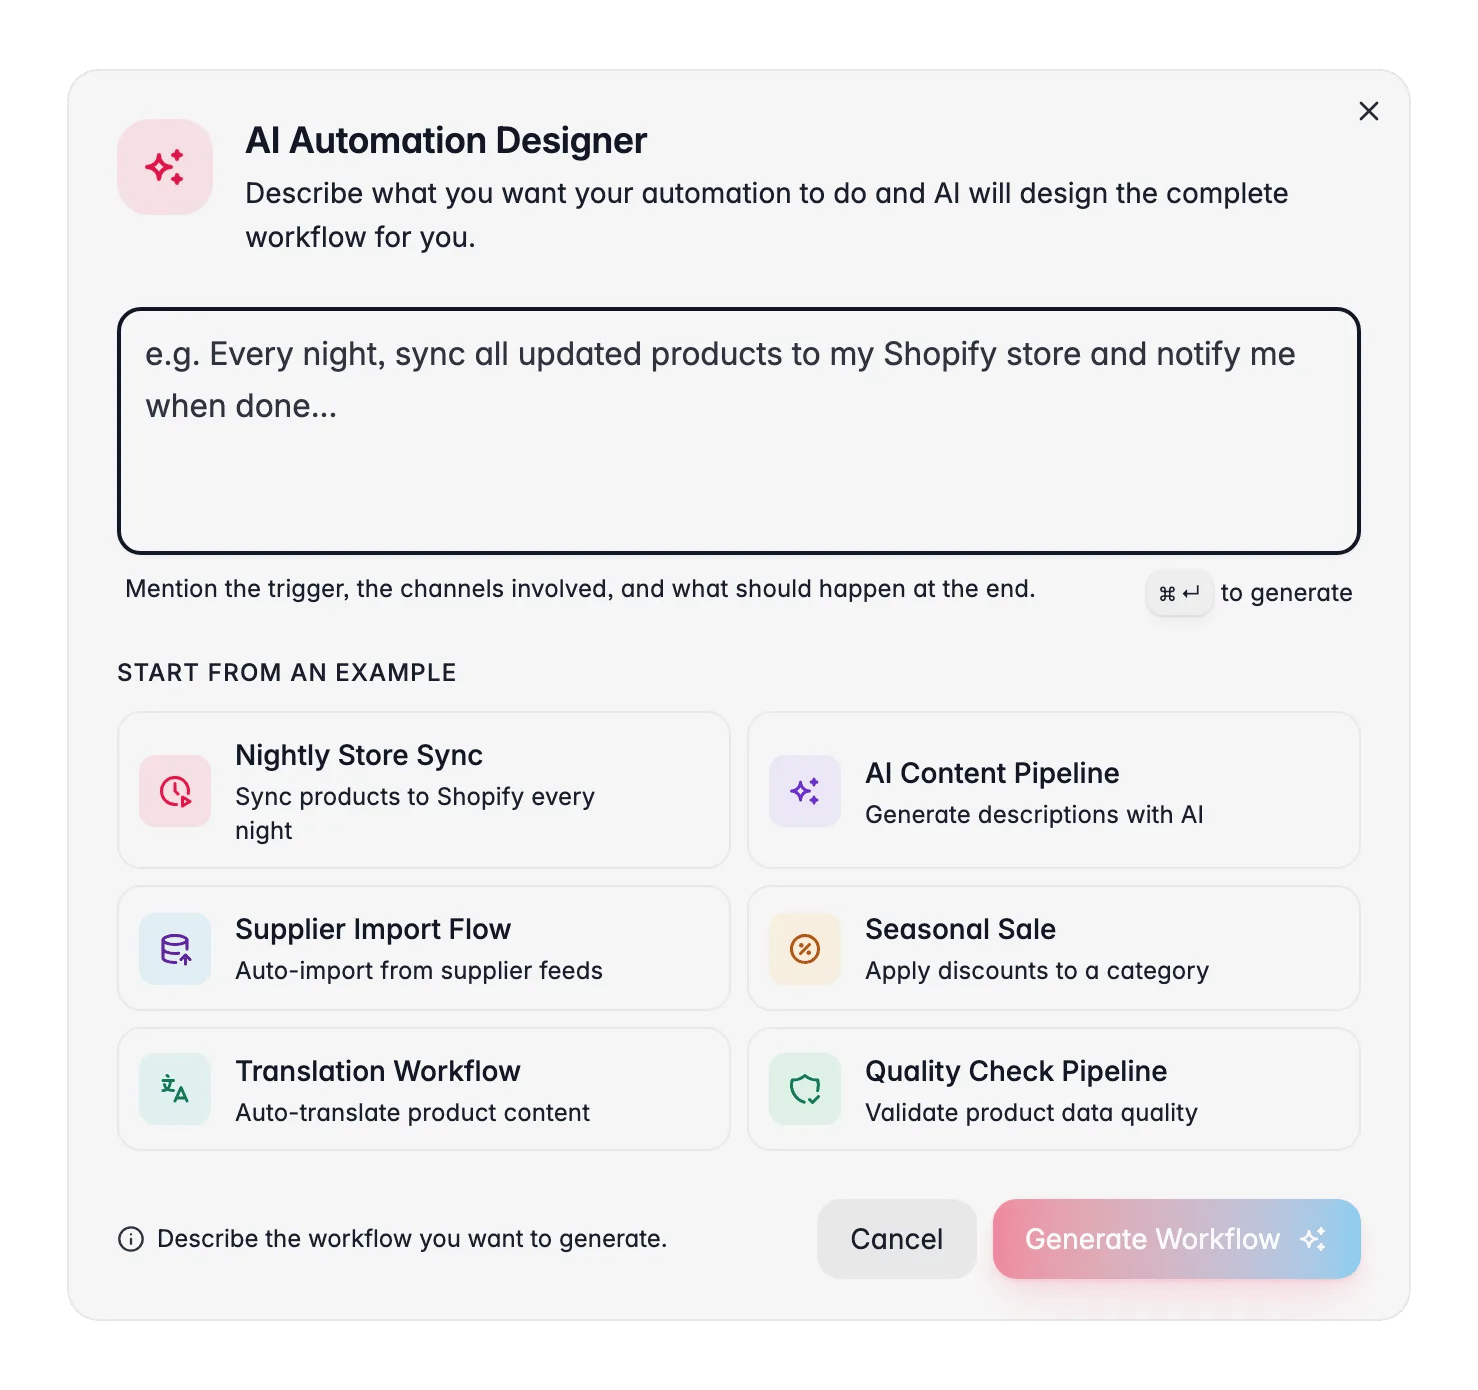
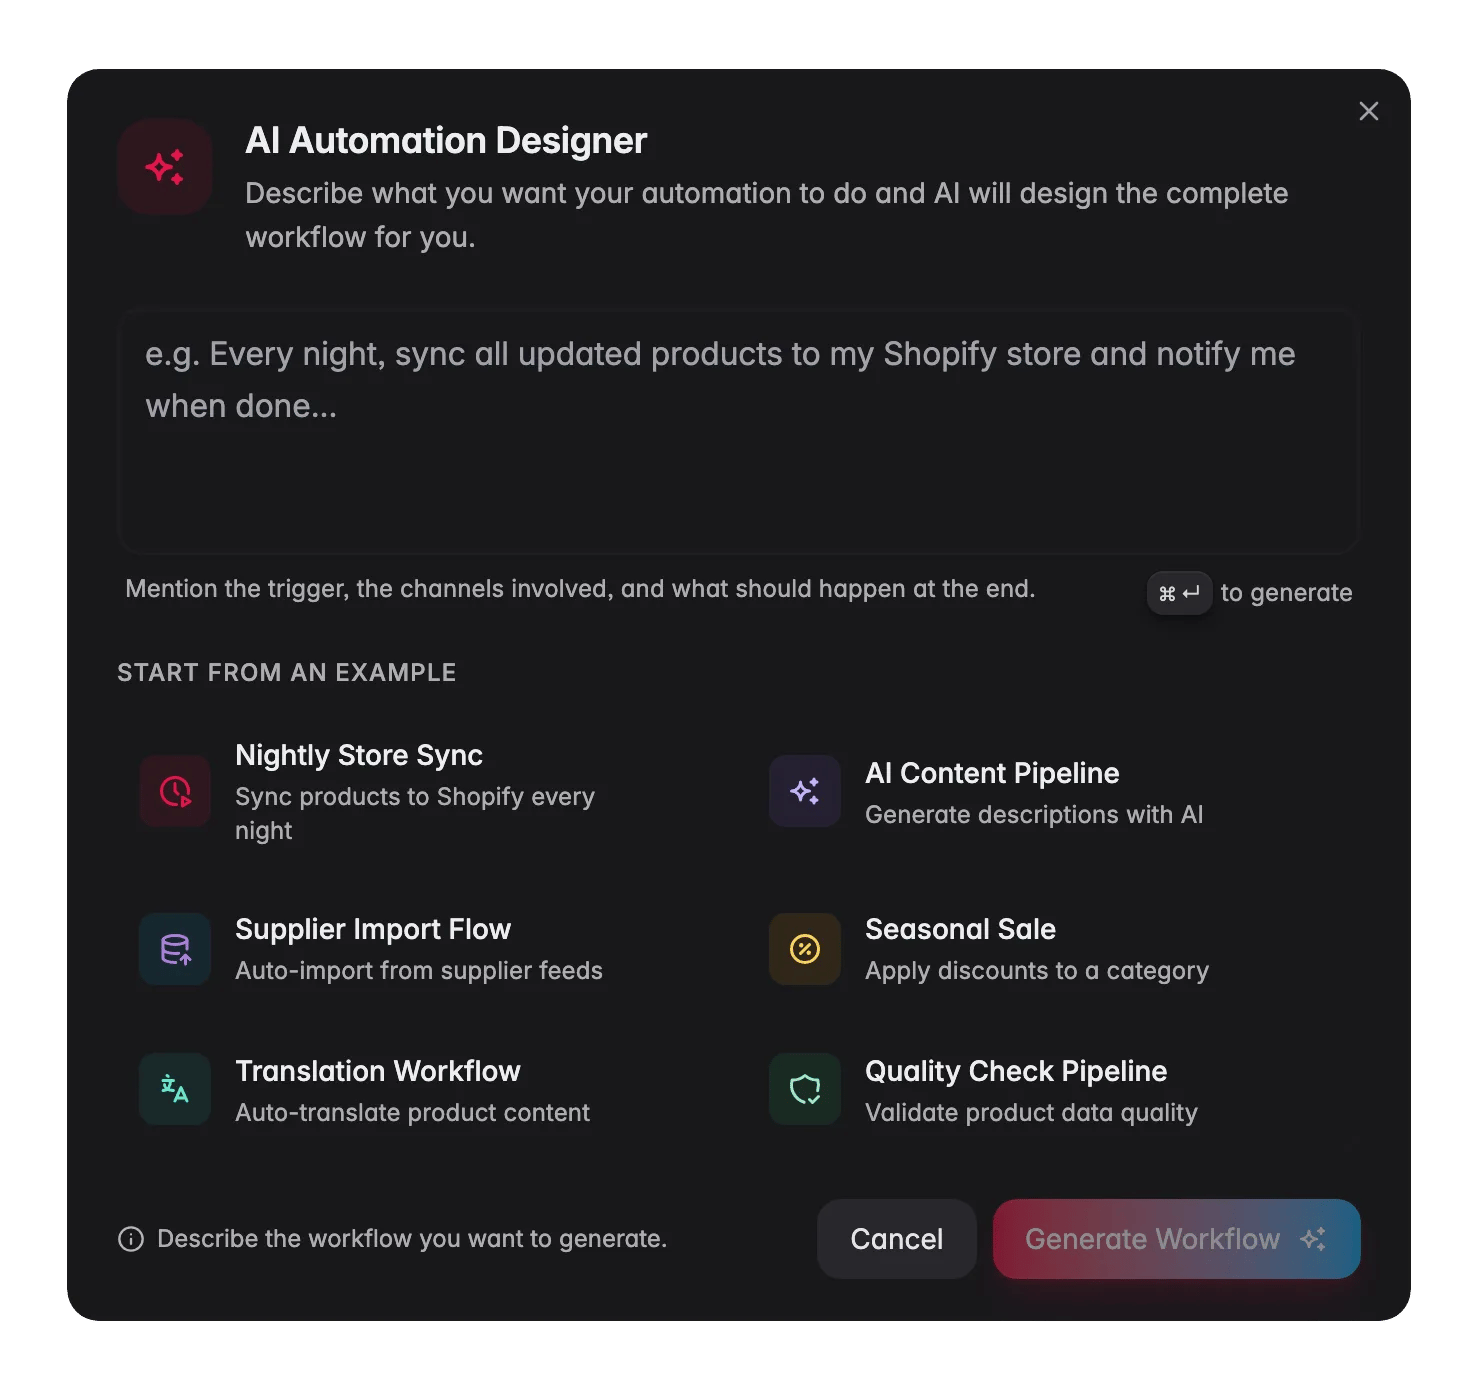
Let AI draft it for you
Find your way around
The builder has three areas:- Left panel is the node palette. Browse available nodes here and drag them onto the canvas.
- Canvas is your workspace. Arrange and connect nodes here.
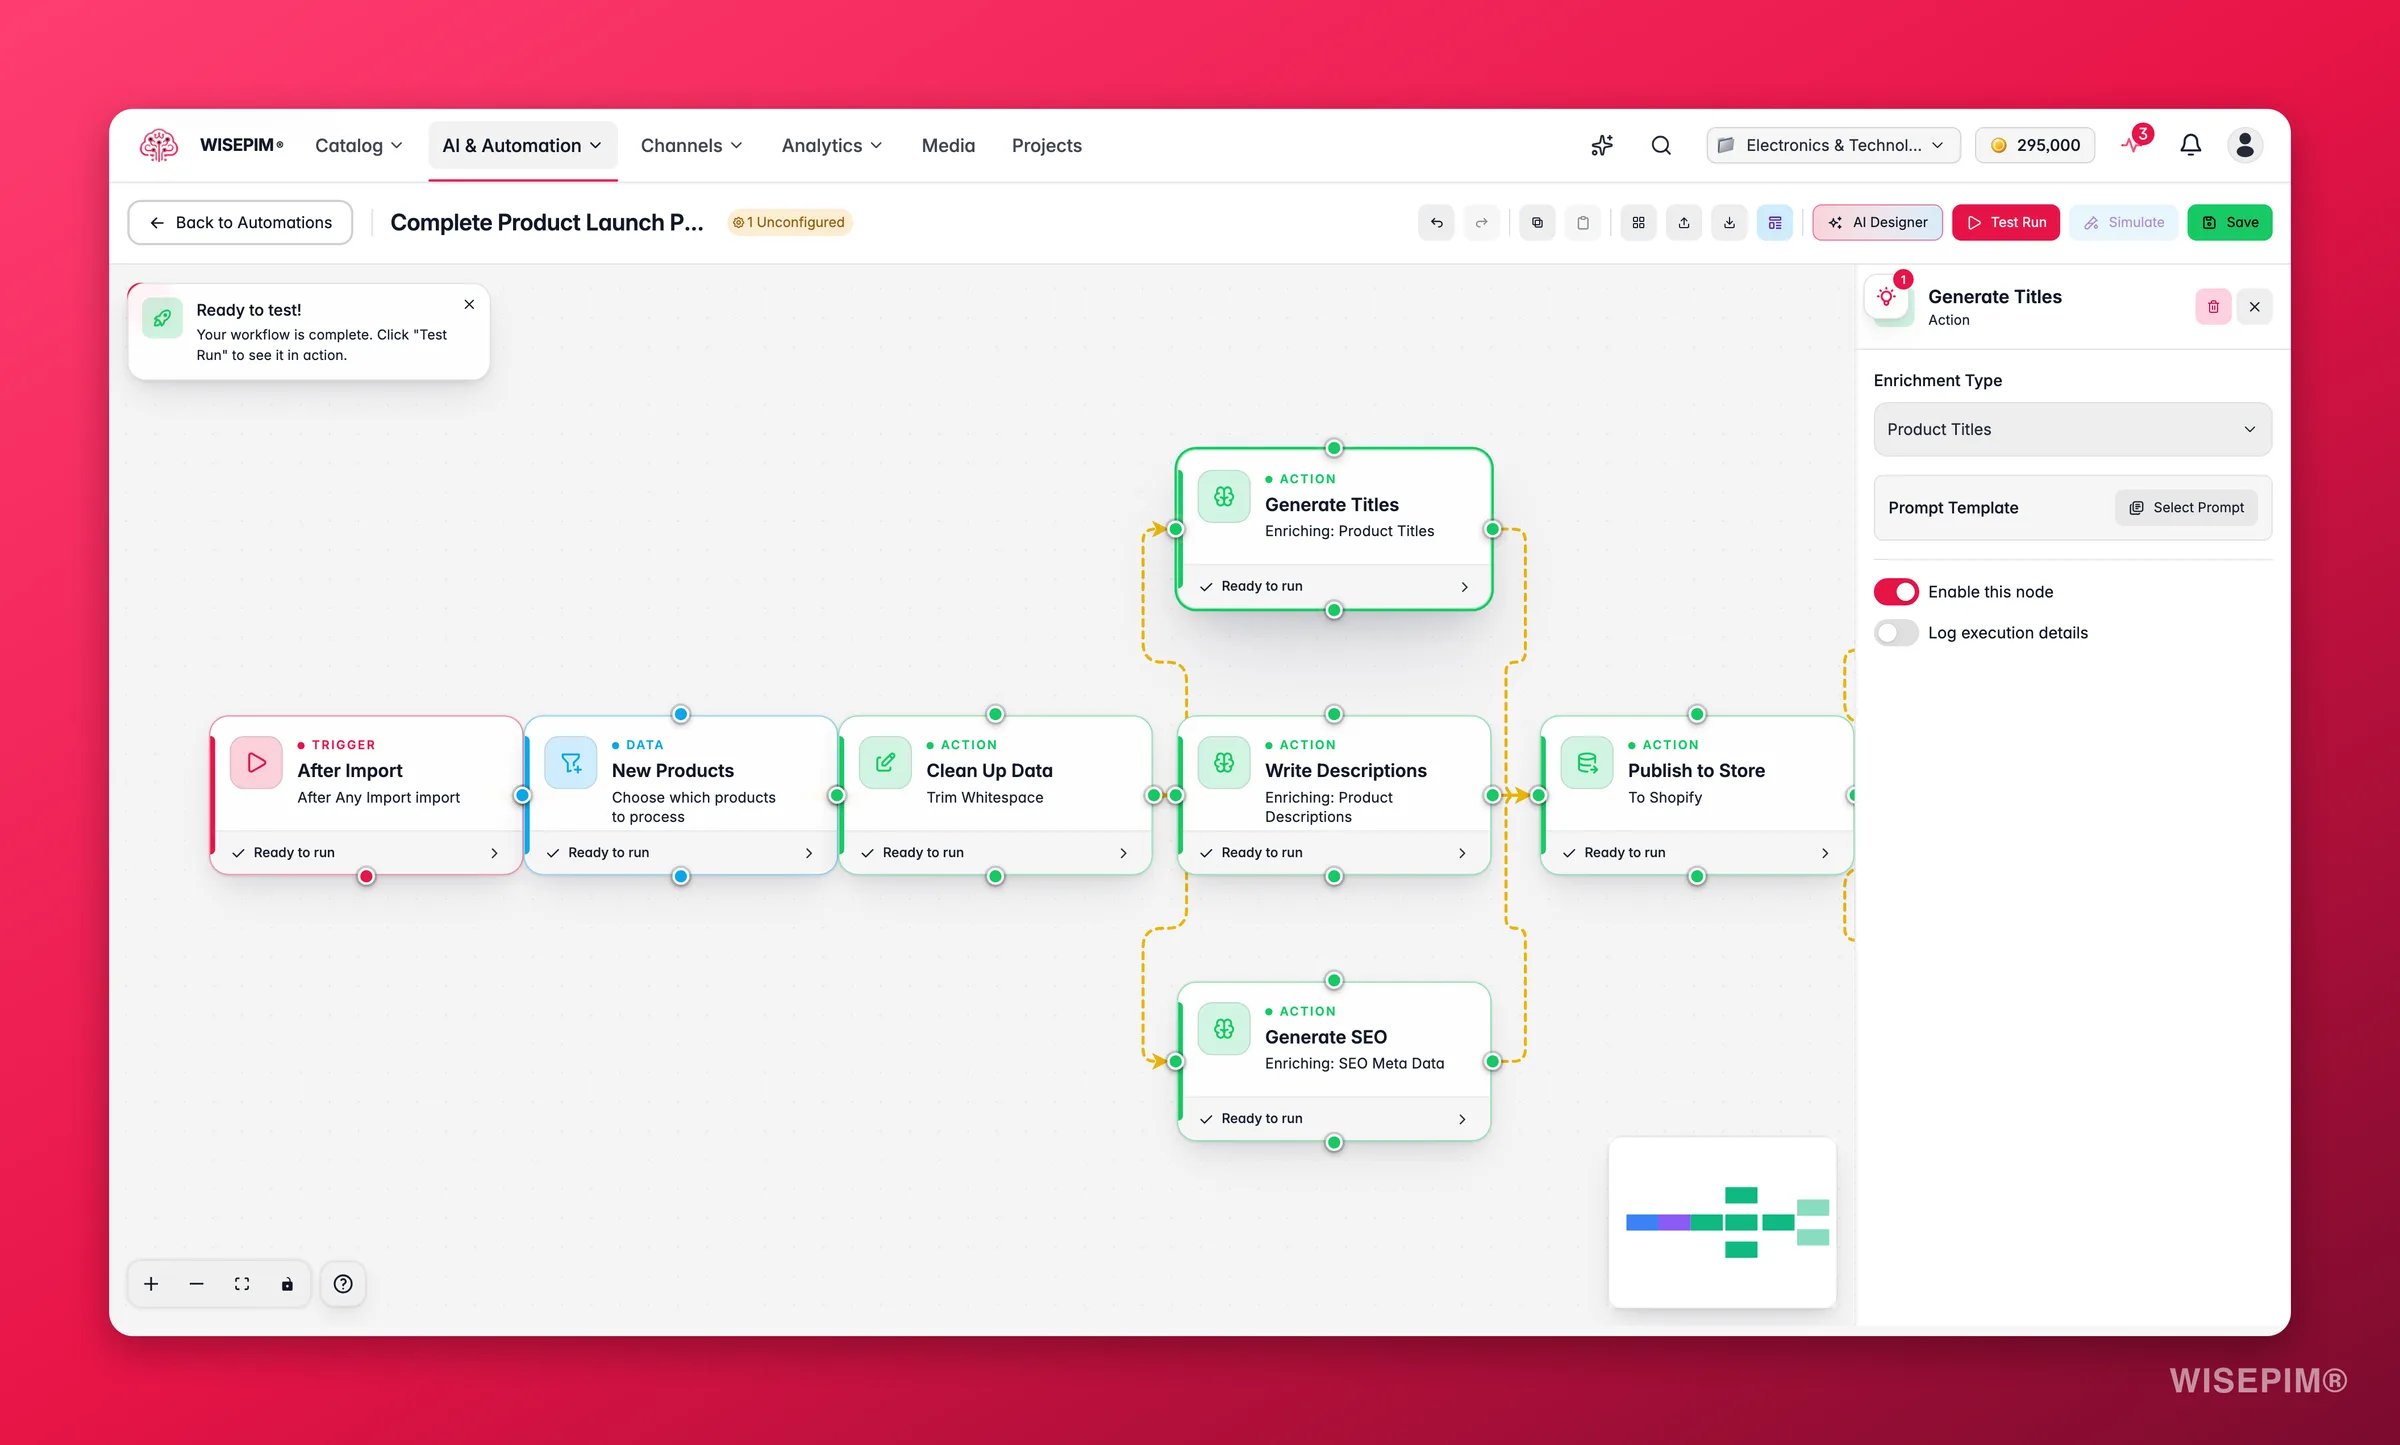
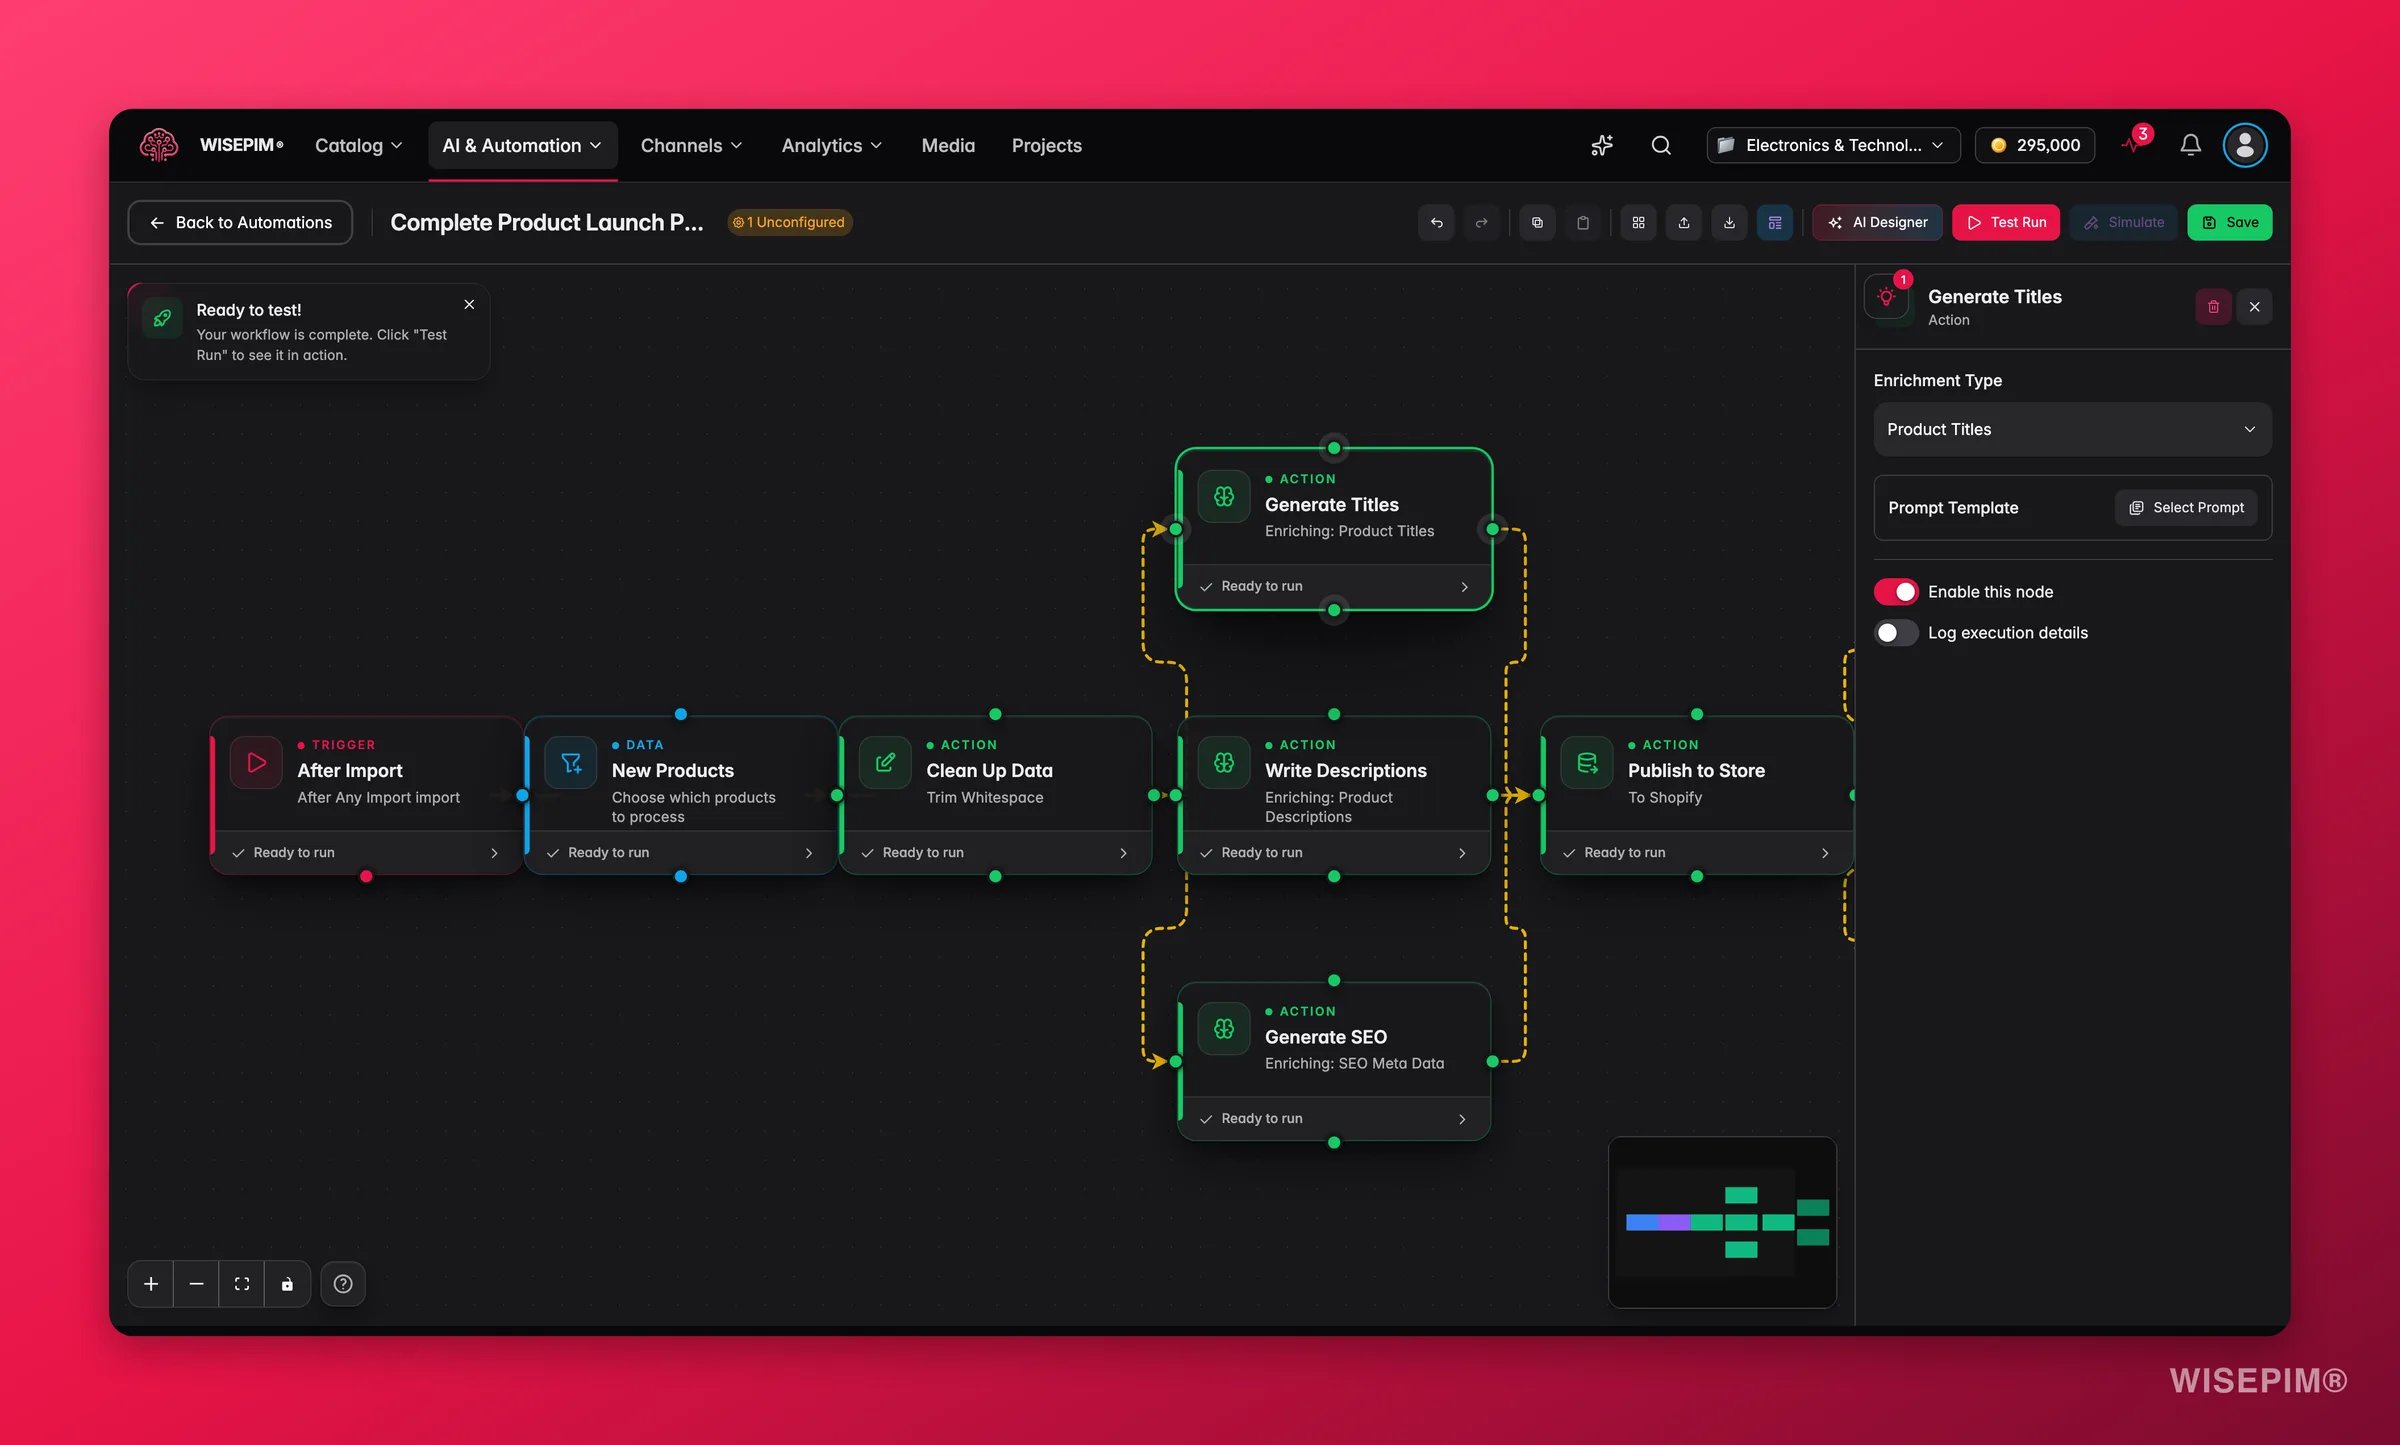
- Right panel is the configuration panel. It appears when you click a node, so you can edit its settings.
Move around the canvas
Build a workflow
A workflow is a chain of nodes. Each node is one step. Here is the basic flow.Add nodes
1
Open the node palette
The left panel lists every node by category: Triggers, Actions, Data, and Logic.
2
Drag a node onto the canvas
Click a node in the palette and drag it where you want it.
3
Configure it
Click the node to open its settings in the right panel, then fill in what it needs.
Triggers
Start your workflow. Every automation needs at least one. Choose from Schedule, Webhook, Manual, After Import, After Export, Product Updated, and Quality Changed.
Actions
Do the work. Choose from Import, Export, AI Enrichment, Bulk Edit, API Call, and Notification.
Data
Control which products flow through. Choose from Select Products and Filter.
Logic
Add decision-making. Choose from Condition, Merge, and Delay.
Configure nodes
Connect nodes
Connections define how data flows from one node to the next.1
Hover over a node
Connection handles appear on all four sides (top, bottom, left, right).
2
Drag from an output handle
Click and drag from an output handle (the bottom or right side) of the source node.
3
Drop on an input handle
Release on an input handle (the top or left side) of the target node. An arrow shows the direction of flow.
- Triggers only have outgoing connections. They are always starting points.
- A node cannot connect to itself.
- You cannot connect the same two nodes twice.
- Branching is allowed. One node can connect to several downstream nodes to process in parallel.
Work with nodes
Select nodes
Select nodes
- Click a node to select it and open its settings.
- Ctrl+Click (Cmd+Click on Mac) to select more than one.
- Drag-select by clicking empty canvas space and dragging a box around a group.
Copy and paste
Copy and paste
Select one or more nodes, press
Ctrl+C to copy, then Ctrl+V to paste. The copies appear offset from the originals, with all settings kept.Enable and disable
Enable and disable
Disable a node to skip it during a run without deleting it. Disabled nodes look dimmed on the canvas. This is handy for testing without losing the node’s setup.
Delete nodes
Delete nodes
Select nodes and press
Delete or Backspace. Their connections are removed too. Press Ctrl+Z to undo.Auto-layout and align
Auto-layout and align
Use Auto-layout to arrange all nodes into a clean grid, top-to-bottom or left-to-right. Select two or more nodes and use Align to snap them into a straight line.
Name and save
Click the automation name at the top of the builder to rename it. Use a clear name like “Nightly Shopify Sync” or “Post-Import AI Enrichment”. Click Save in the toolbar, or pressCtrl+S. Before saving, the builder checks that:
- Your workflow has at least one trigger connected to at least one action.
- Every enabled node has a complete path from trigger to action.
Recover unsaved work
The builder also keeps an autosaved draft of your canvas in this browser while you work. If the tab closes or crashes before you saved, reopening the automation shows Unsaved work recovered with “Autosaved . Restore it, or keep the saved version.” The draft is only offered when it is newer than the saved automation.- Restore puts the draft back on the canvas. The toast “Draft restored” reminds you to save the automation to keep these changes.
- Discard draft keeps the saved version and throws the draft away.
Test before you activate
Run a test straight from the builder to see your workflow in action.1
Finish the workflow
Make sure every node is configured (green checkmarks) and properly connected.
2
Click Test Run
Click the test button in the toolbar. The builder runs your workflow.
3
Watch it run
The execution panel shows real-time progress. Each node lights up as it works: blue while running, green when done, red if it fails.
4
Review the results
The panel logs each step, including how many products were processed and any errors.
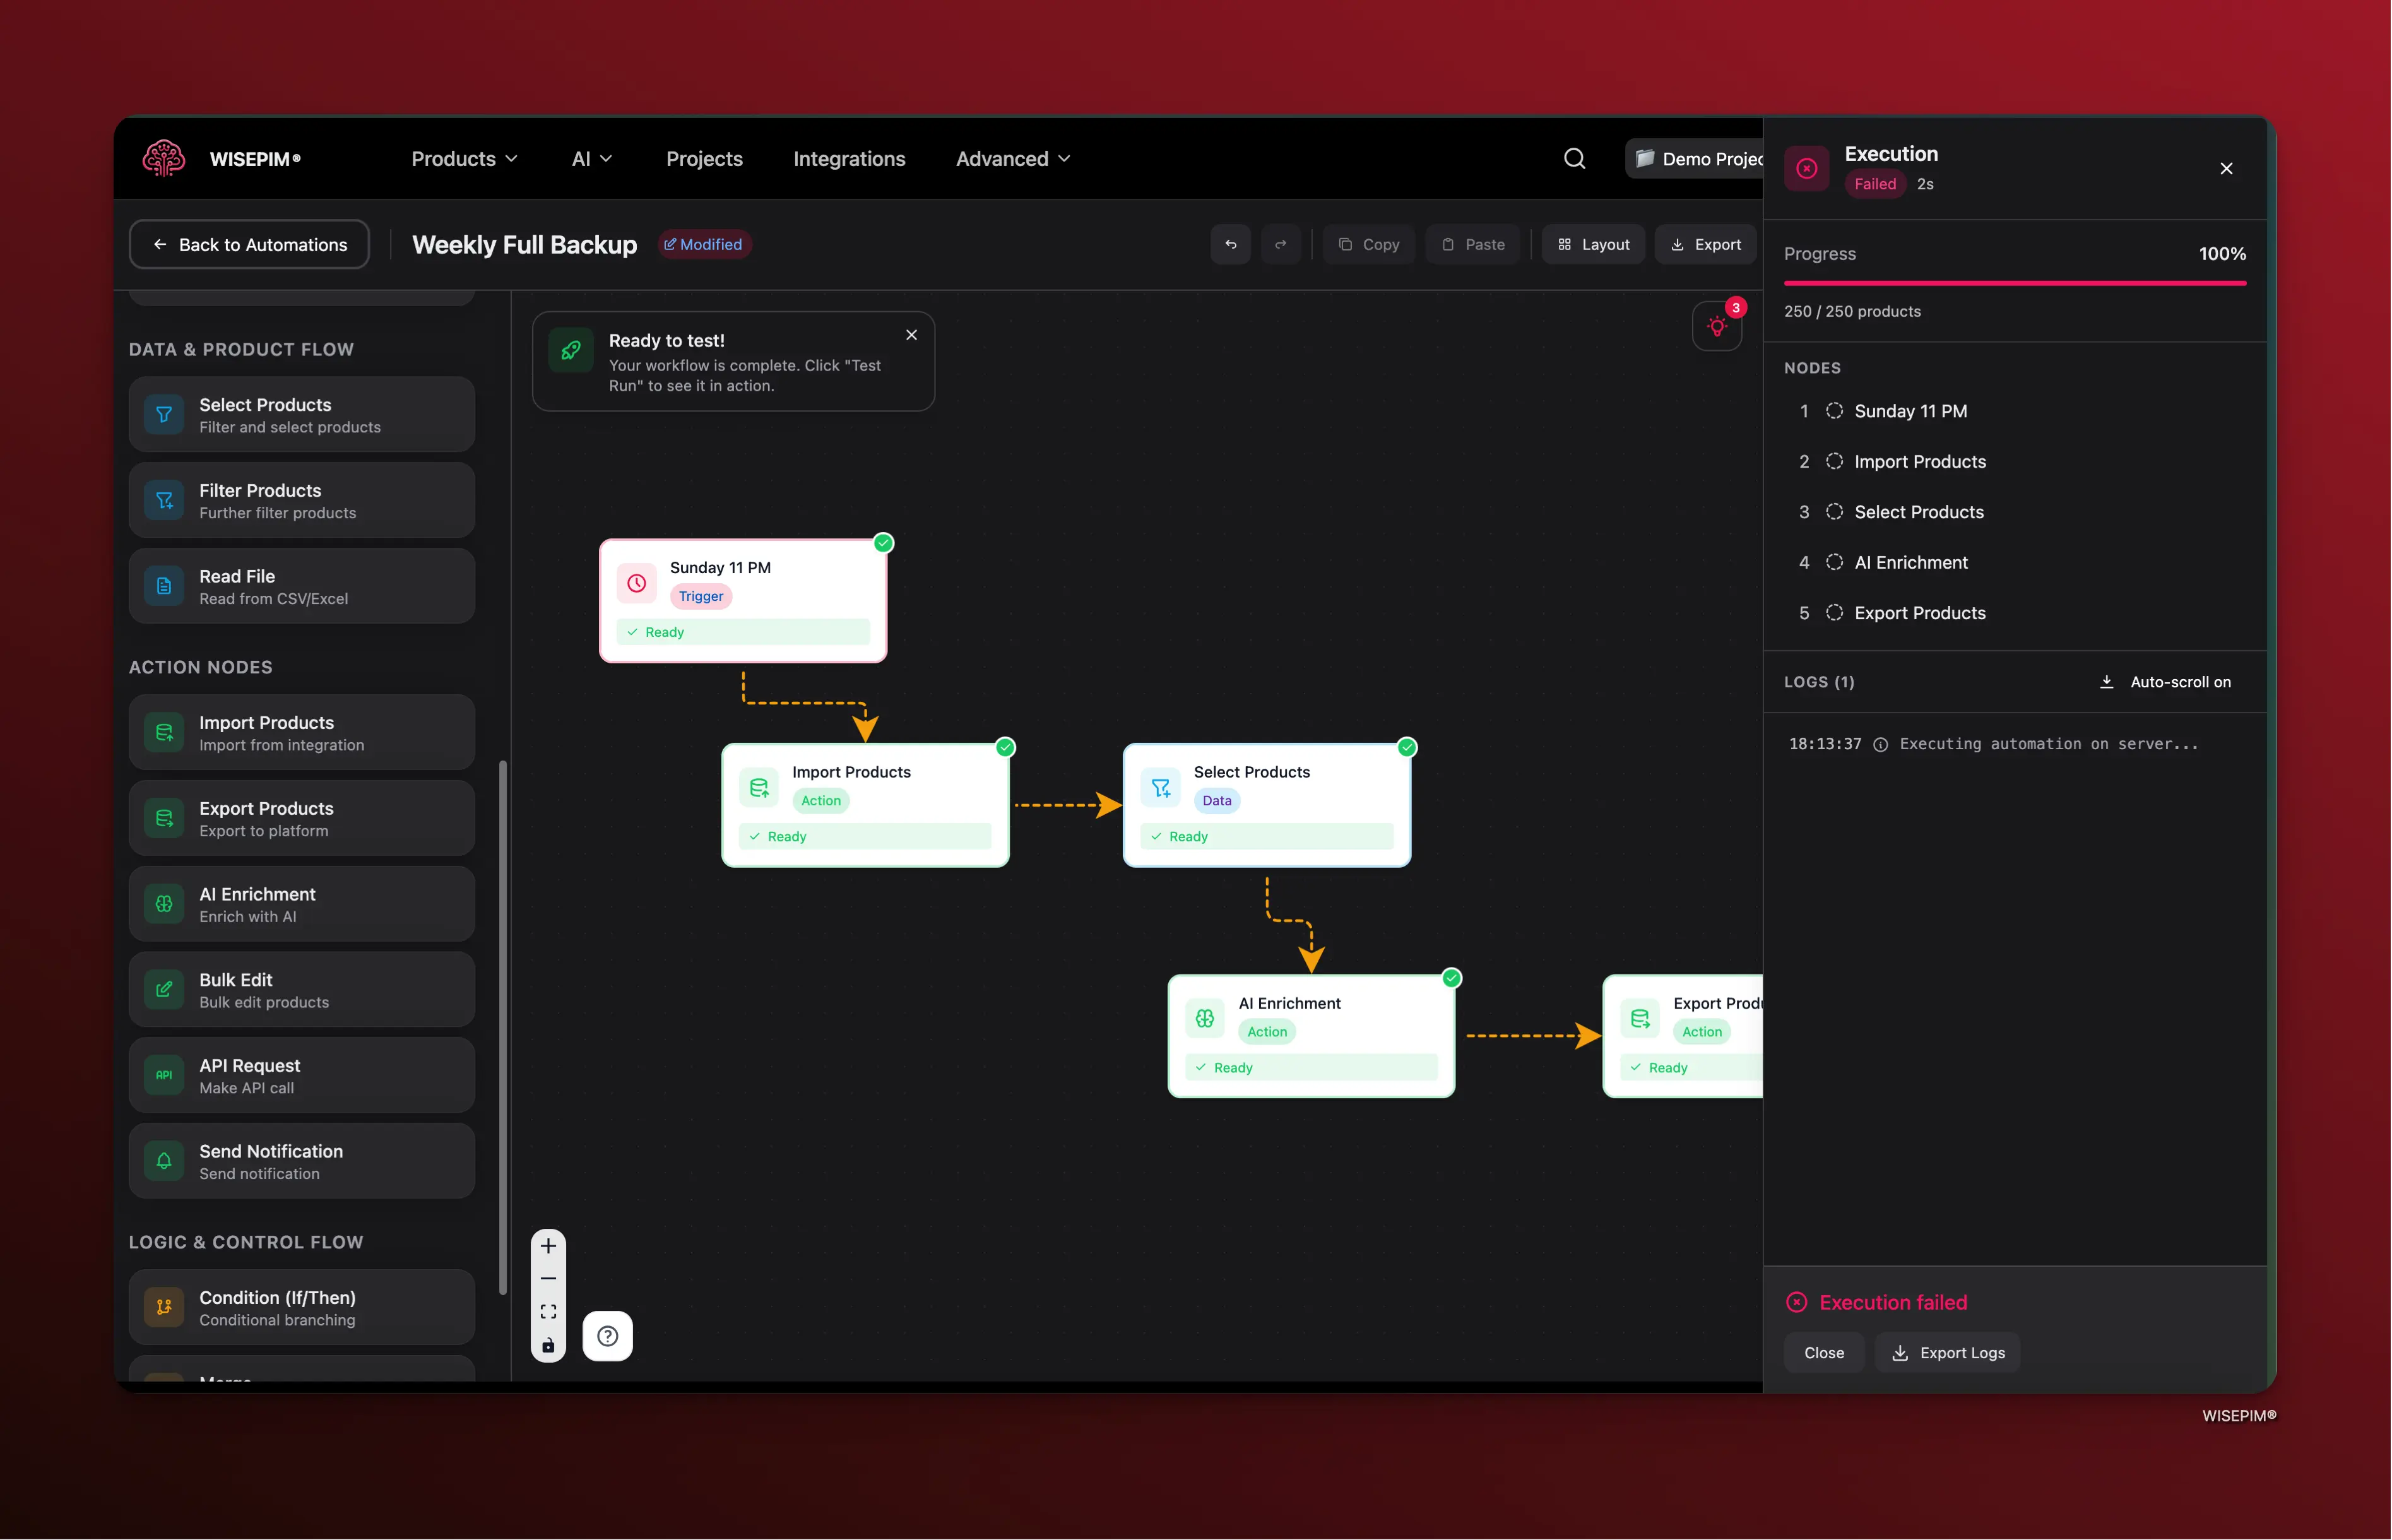
- Node badges switch between running, done, and failed, with animated indicators.
- Connection lines animate to show data moving between nodes.
- Execution panel logs a timestamped entry for each step.
- Progress bar tracks overall completion.
Back up and share
Export any automation as a JSON file. Click the export button in the toolbar to download the workflow definition. Use it as a backup or to share with someone else. To import one, click the import button and select a JSON file. The imported workflow replaces what is currently on the canvas.Undo and redo
The builder keeps your last 50 changes. PressCtrl+Z to undo and Ctrl+Shift+Z to redo. Toast notifications include an Undo button for destructive actions.
Keyboard shortcuts
On Mac, use
Cmd instead of Ctrl for every shortcut.Related
Automation templates
Start from a pre-built template for common workflows.
Automations overview
Learn how to manage and monitor your automations.