

Assets in the Media Library are shared across your entire project. You can link the same image to multiple products without duplicating the file.
Browsing your assets
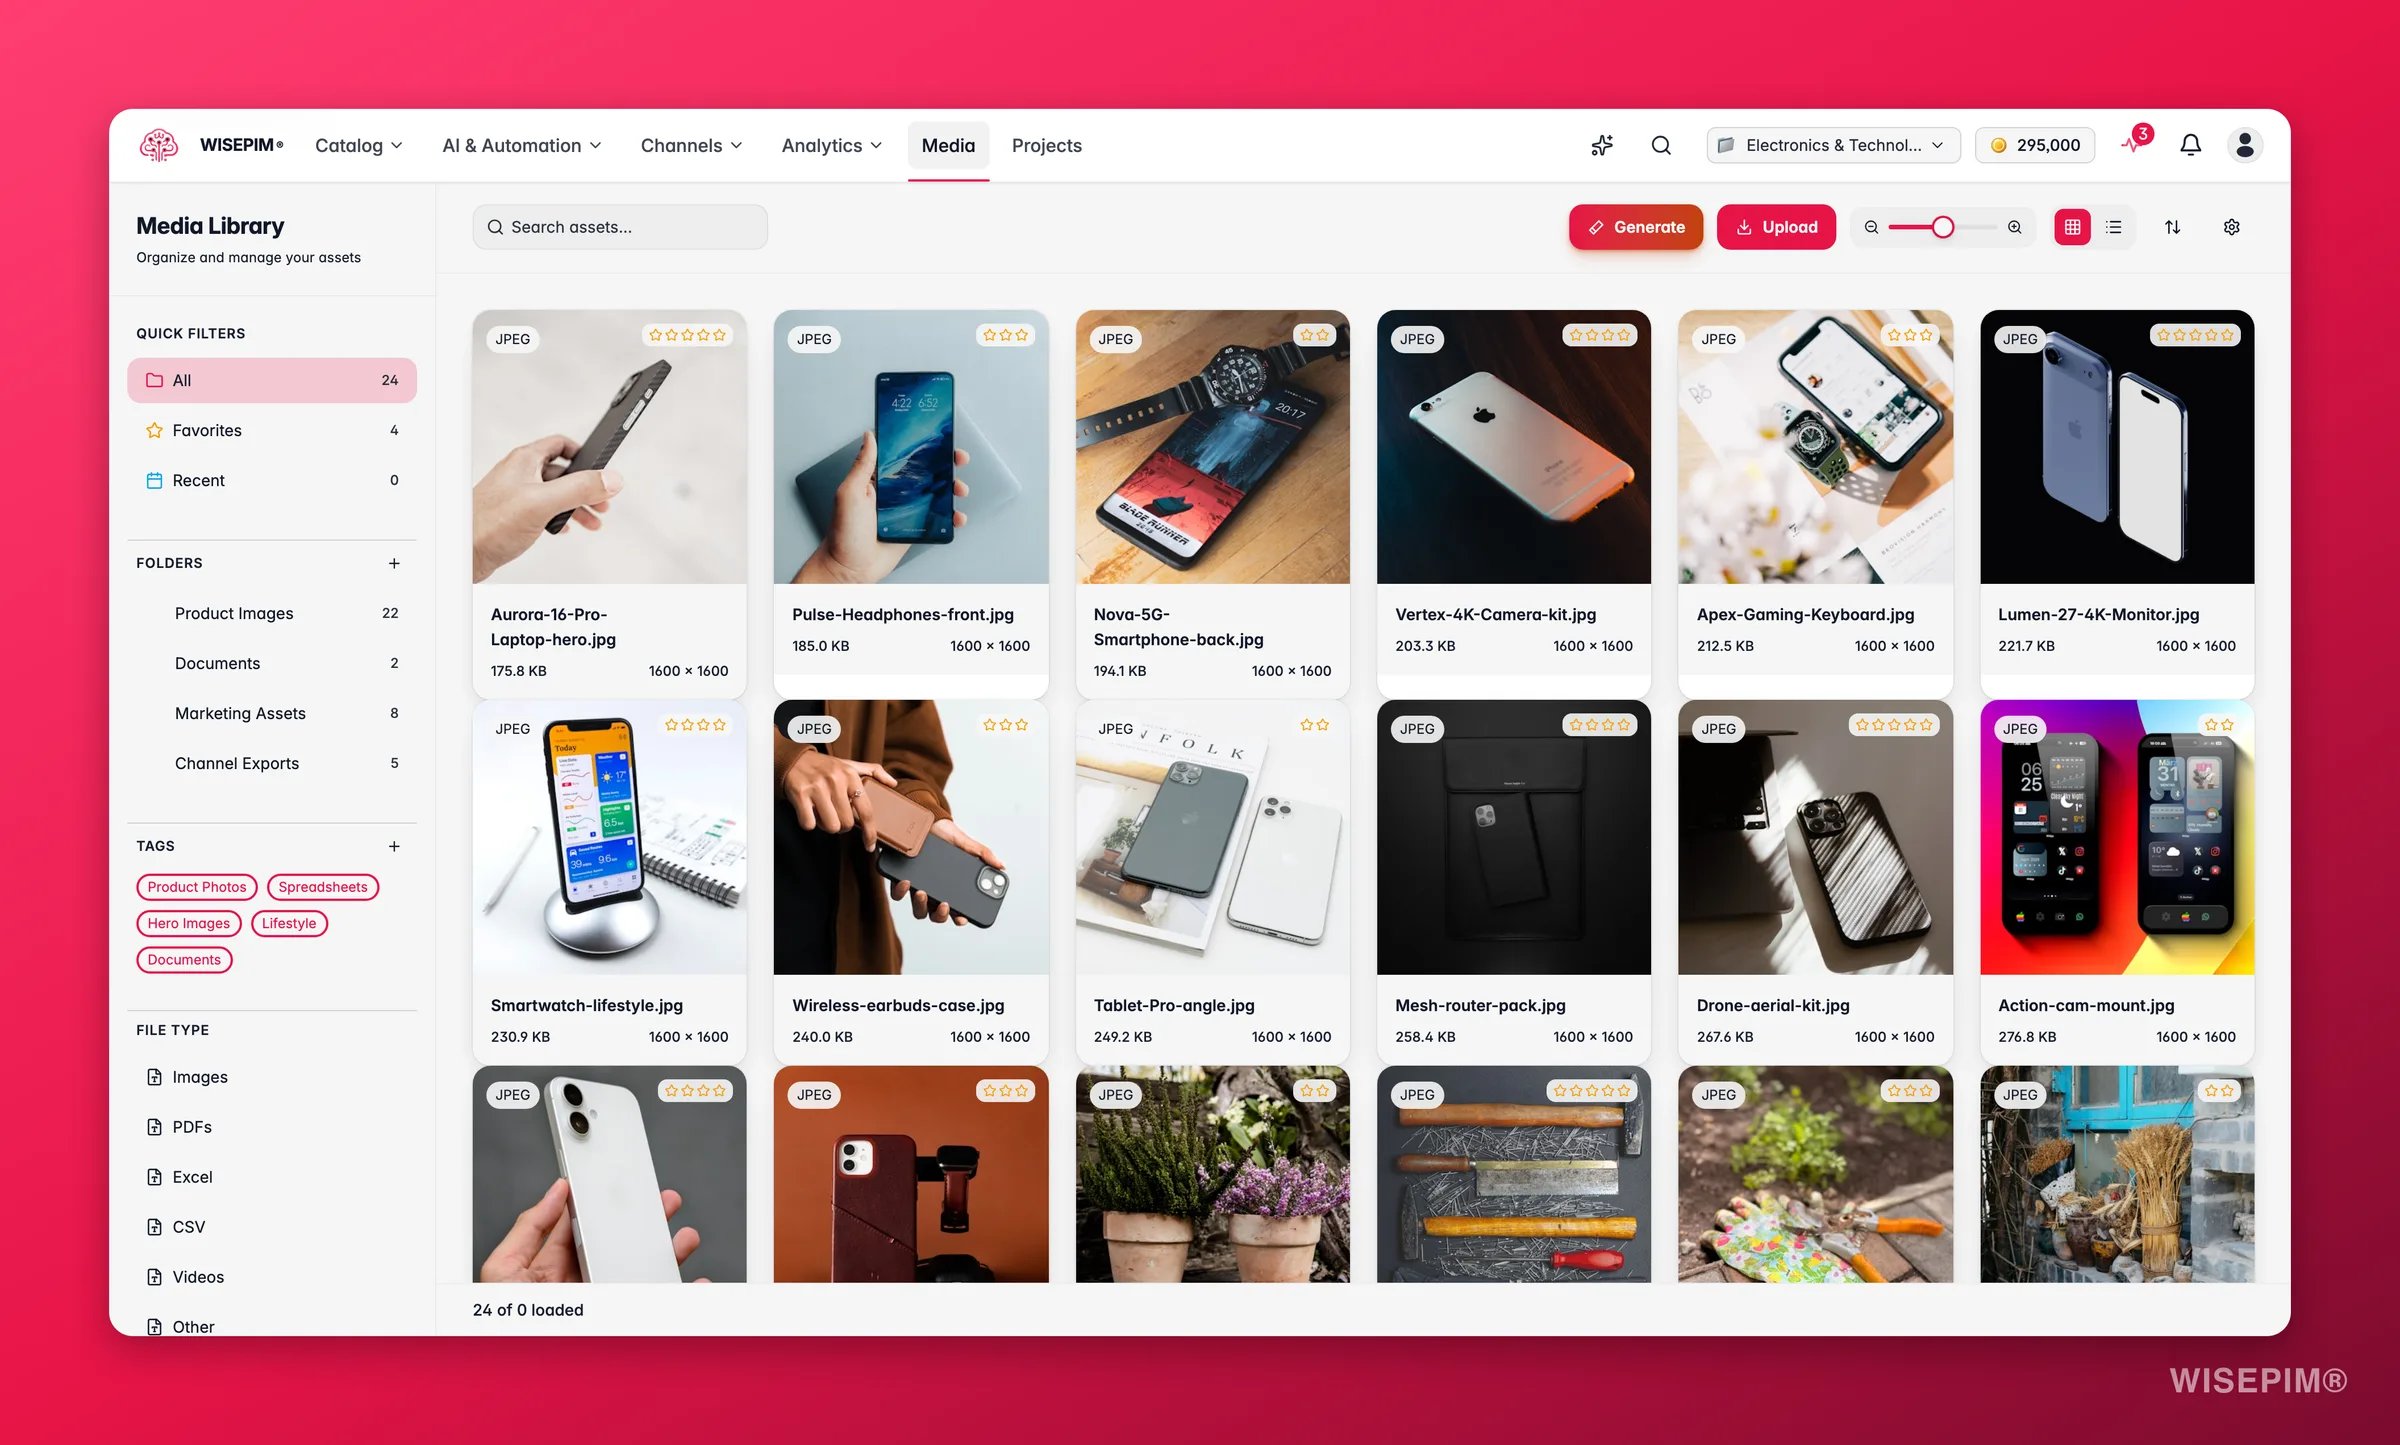
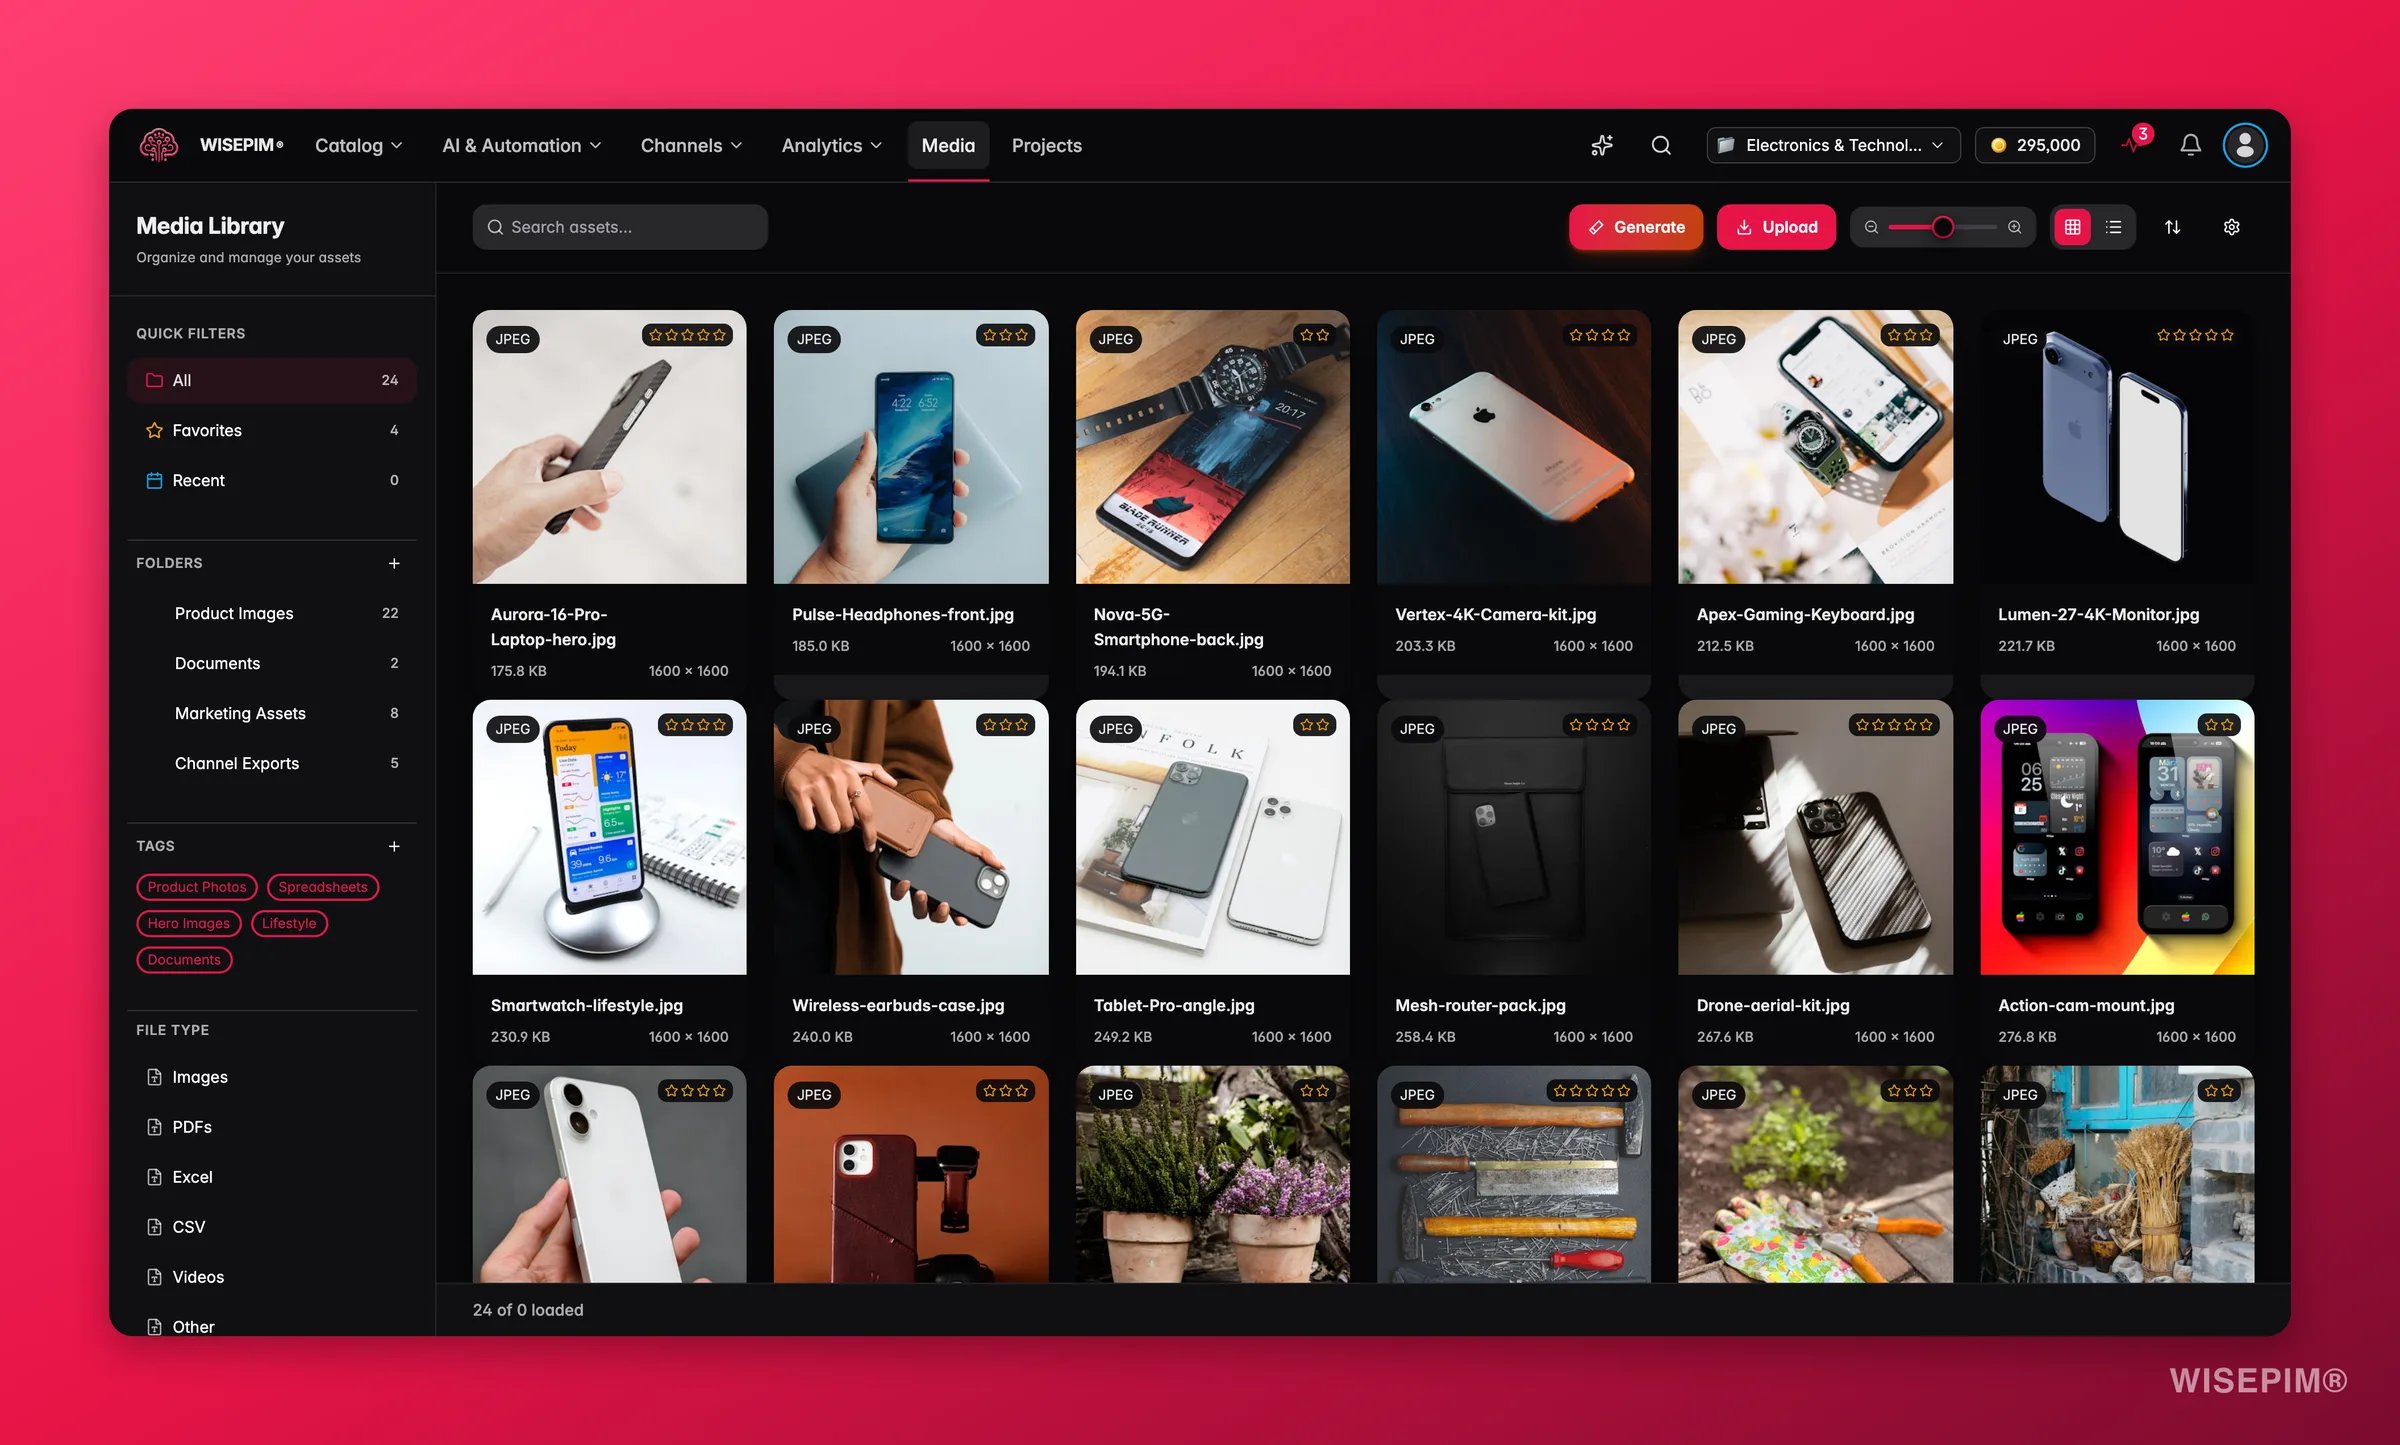
- Quick Filters: All, Favorites, or Recent
- Folders: organize assets into named folders
- Tags: label assets for cross-cutting classification
- File Type: Images, Videos, PDFs, Excel, CSV, or Other
Uploading assets
Click Upload in the top-right corner, or drag and drop files directly onto the library. Supported formats include images, videos, PDFs, Excel, CSV,.txt, and .md files.
You can upload multiple files at once. A progress panel shows each file’s upload status: Complete, Processing, or Already uploaded if the file already exists.
Generate images with AI
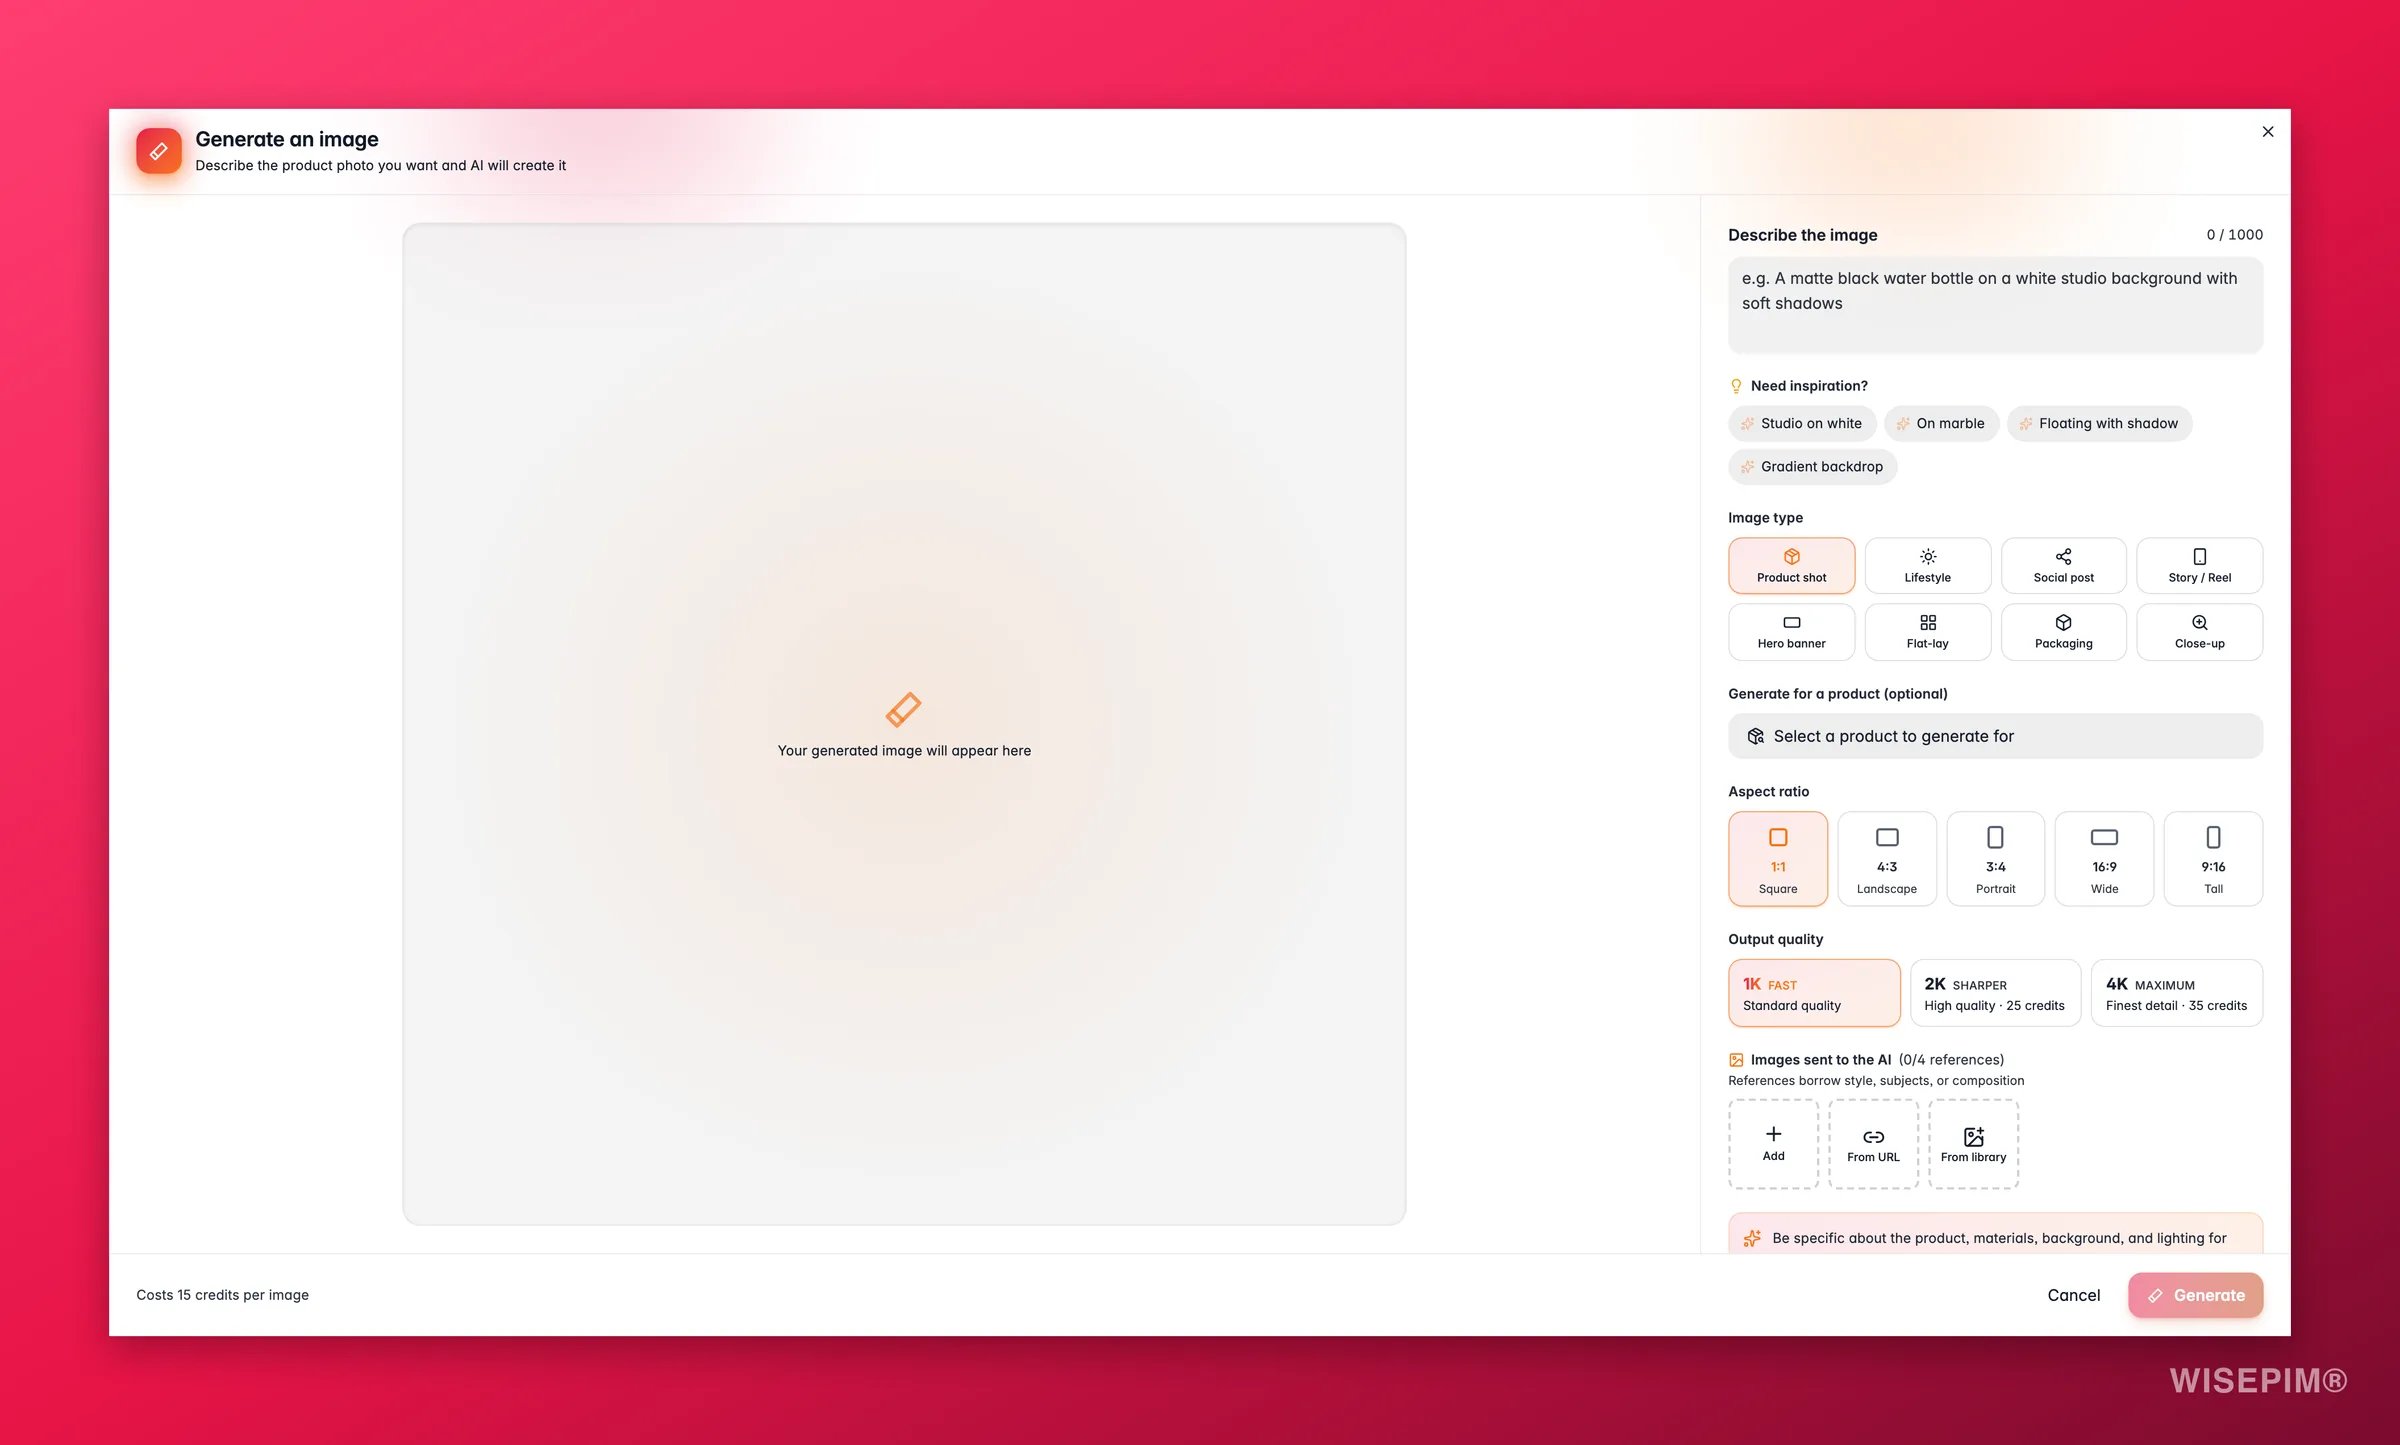
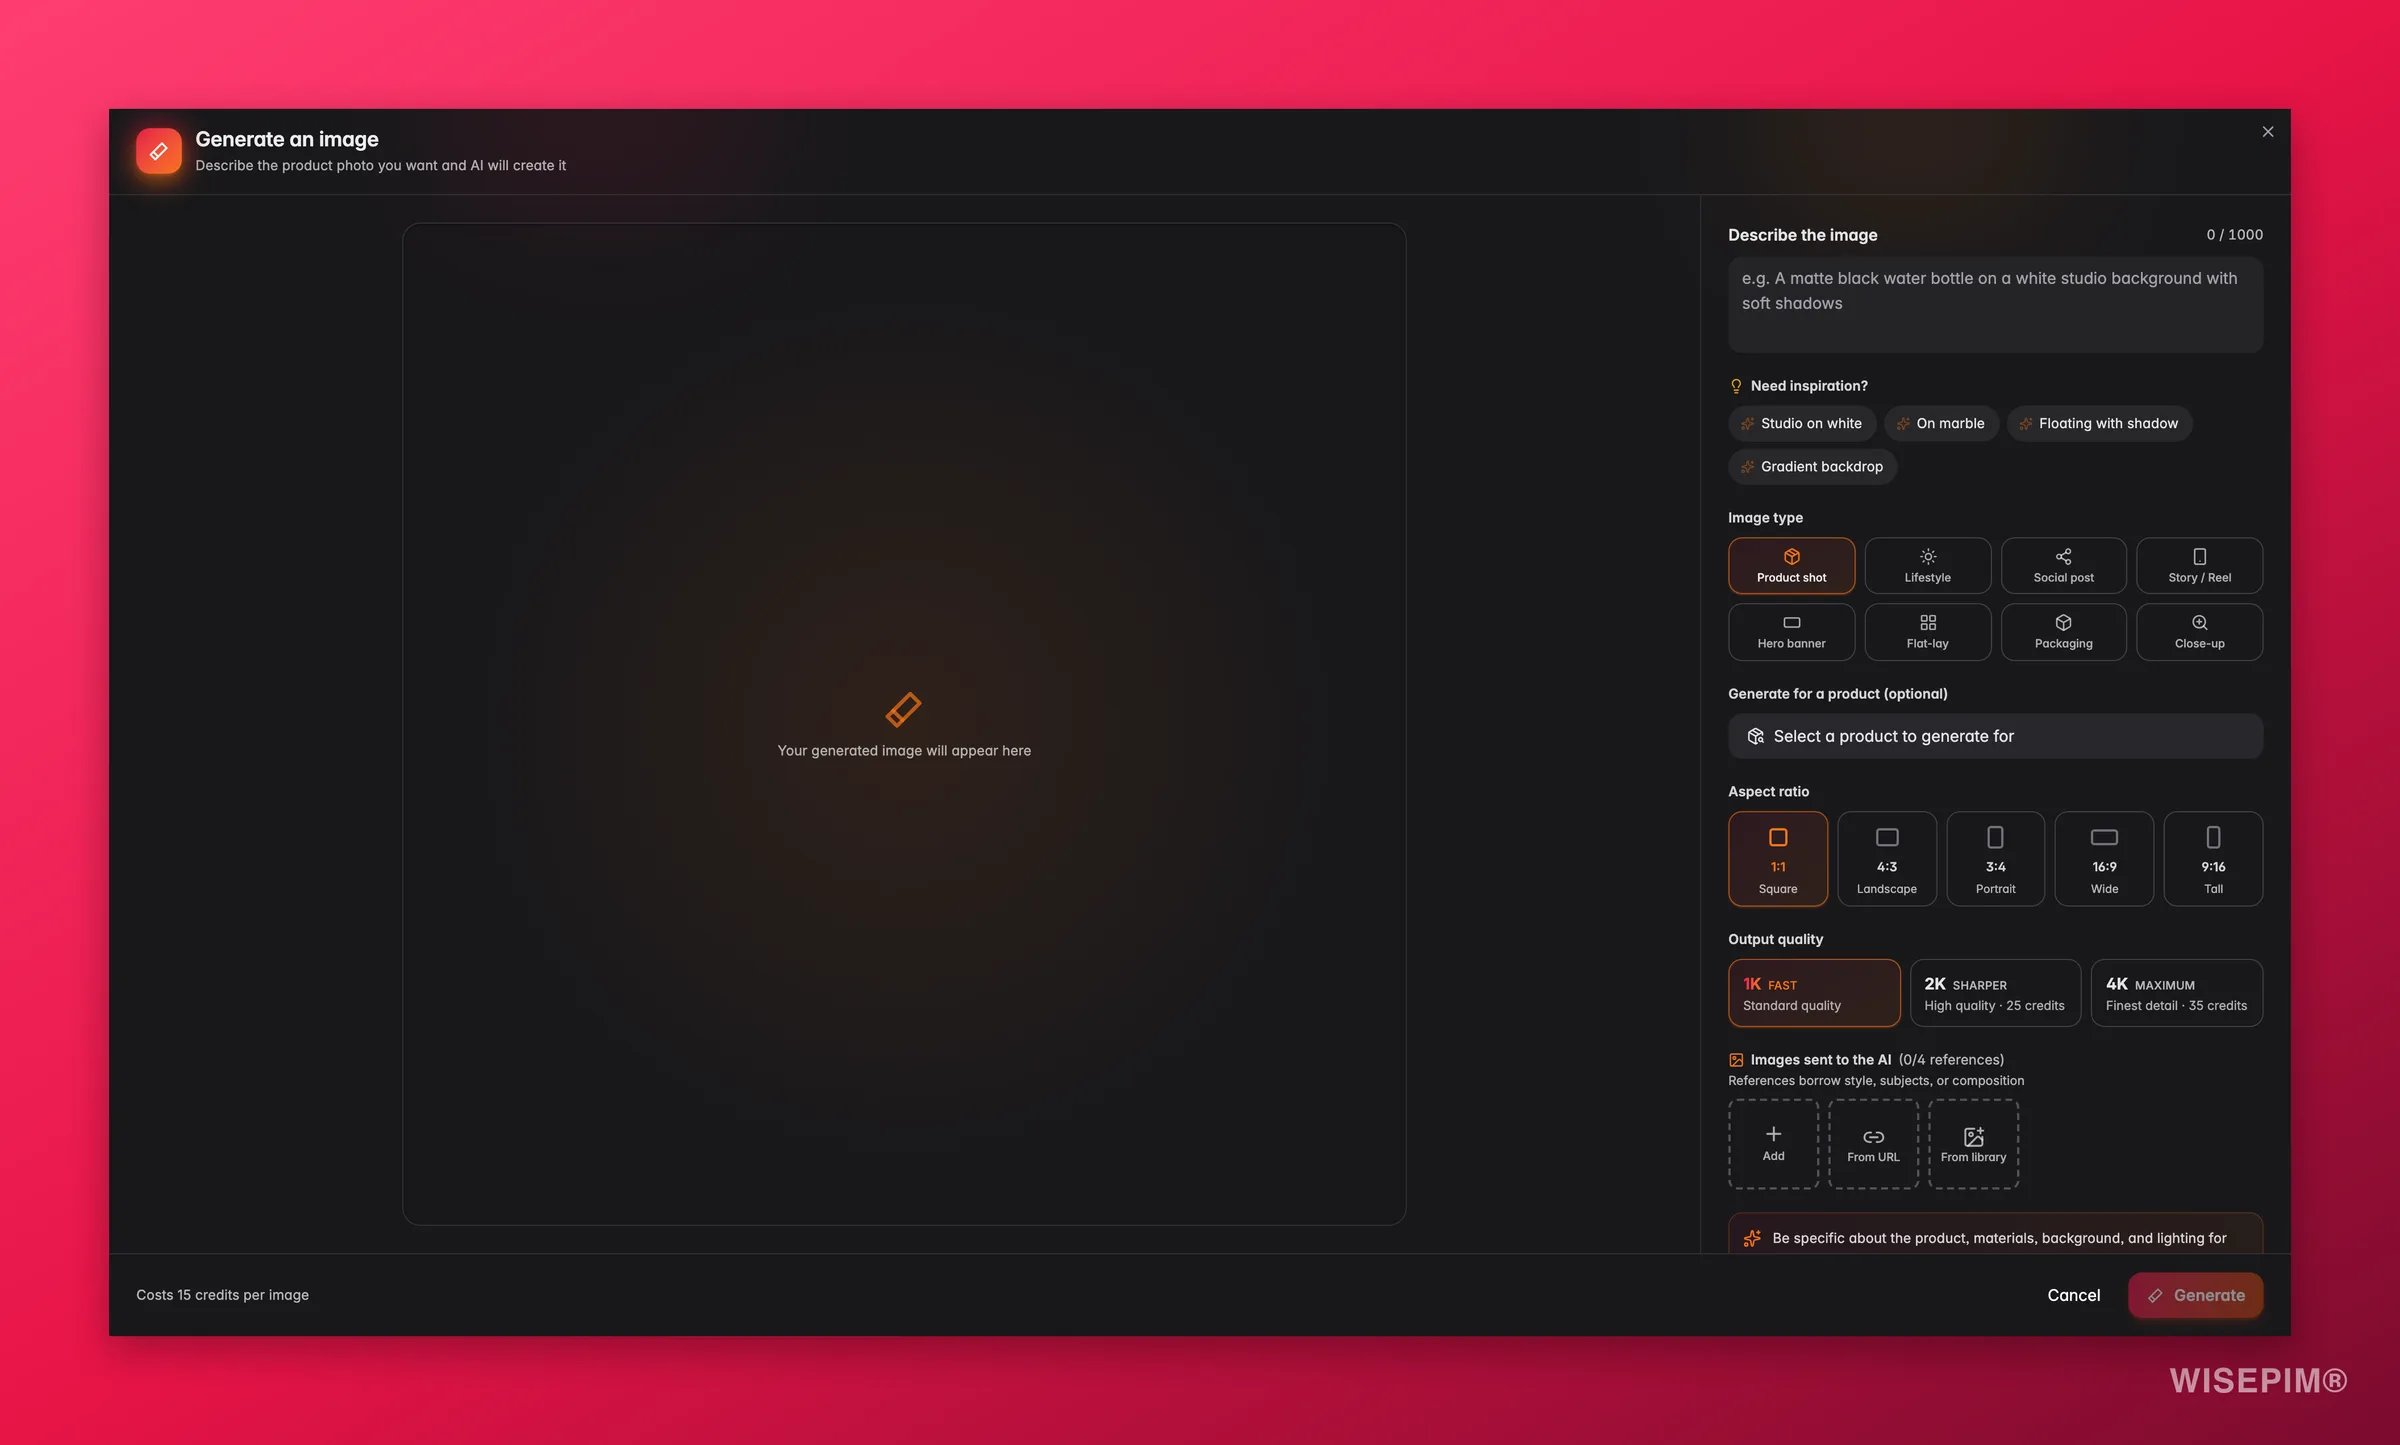
Generating an image costs credits based on the output quality you pick: 1K costs 15 credits, 2K costs 25 credits, and 4K costs 35 credits. The modal shows the cost before you start.
1
Pick an image type
Choose the kind of shot you need. Each type sets the right aspect ratio for you, so you do not have to think about sizes.
The Aspect ratio field follows the type you picked.
2
Link it to a product (optional)
Under Generate for a product (optional), search by product name or SKU. The image links to this product automatically, so you do not have to attach it afterwards.
3
Describe the image
Write what you want to see in the Describe the image box, for example “A matte black water bottle on a white studio background with soft shadows”. Be specific about the product, the background, and the lighting.Not sure what to write? Open Need inspiration? and click a chip (Studio on white, Lifestyle scene, Flat-lay top down, Held in hand, Cinematic hero, and more). The chips change with the image type you picked.
4
Add reference images (optional)
Add reference images to steer the style or composition. Pick them from your Media Library, or paste an image URL.
5
Choose the output quality
1K is fast and standard quality, 2K is sharper, and 4K gives the finest detail. Match the quality to where the image will be used: 1K for a quick internal check, 2K or 4K for a live product page or a print asset.
6
Generate and review
Generation usually takes 15 to 60 seconds. The result appears with a New image chip. If it is not right, click Regenerate to try again, or use Set as main image from the toast to make it the product’s main photo straight away.
The detail panel
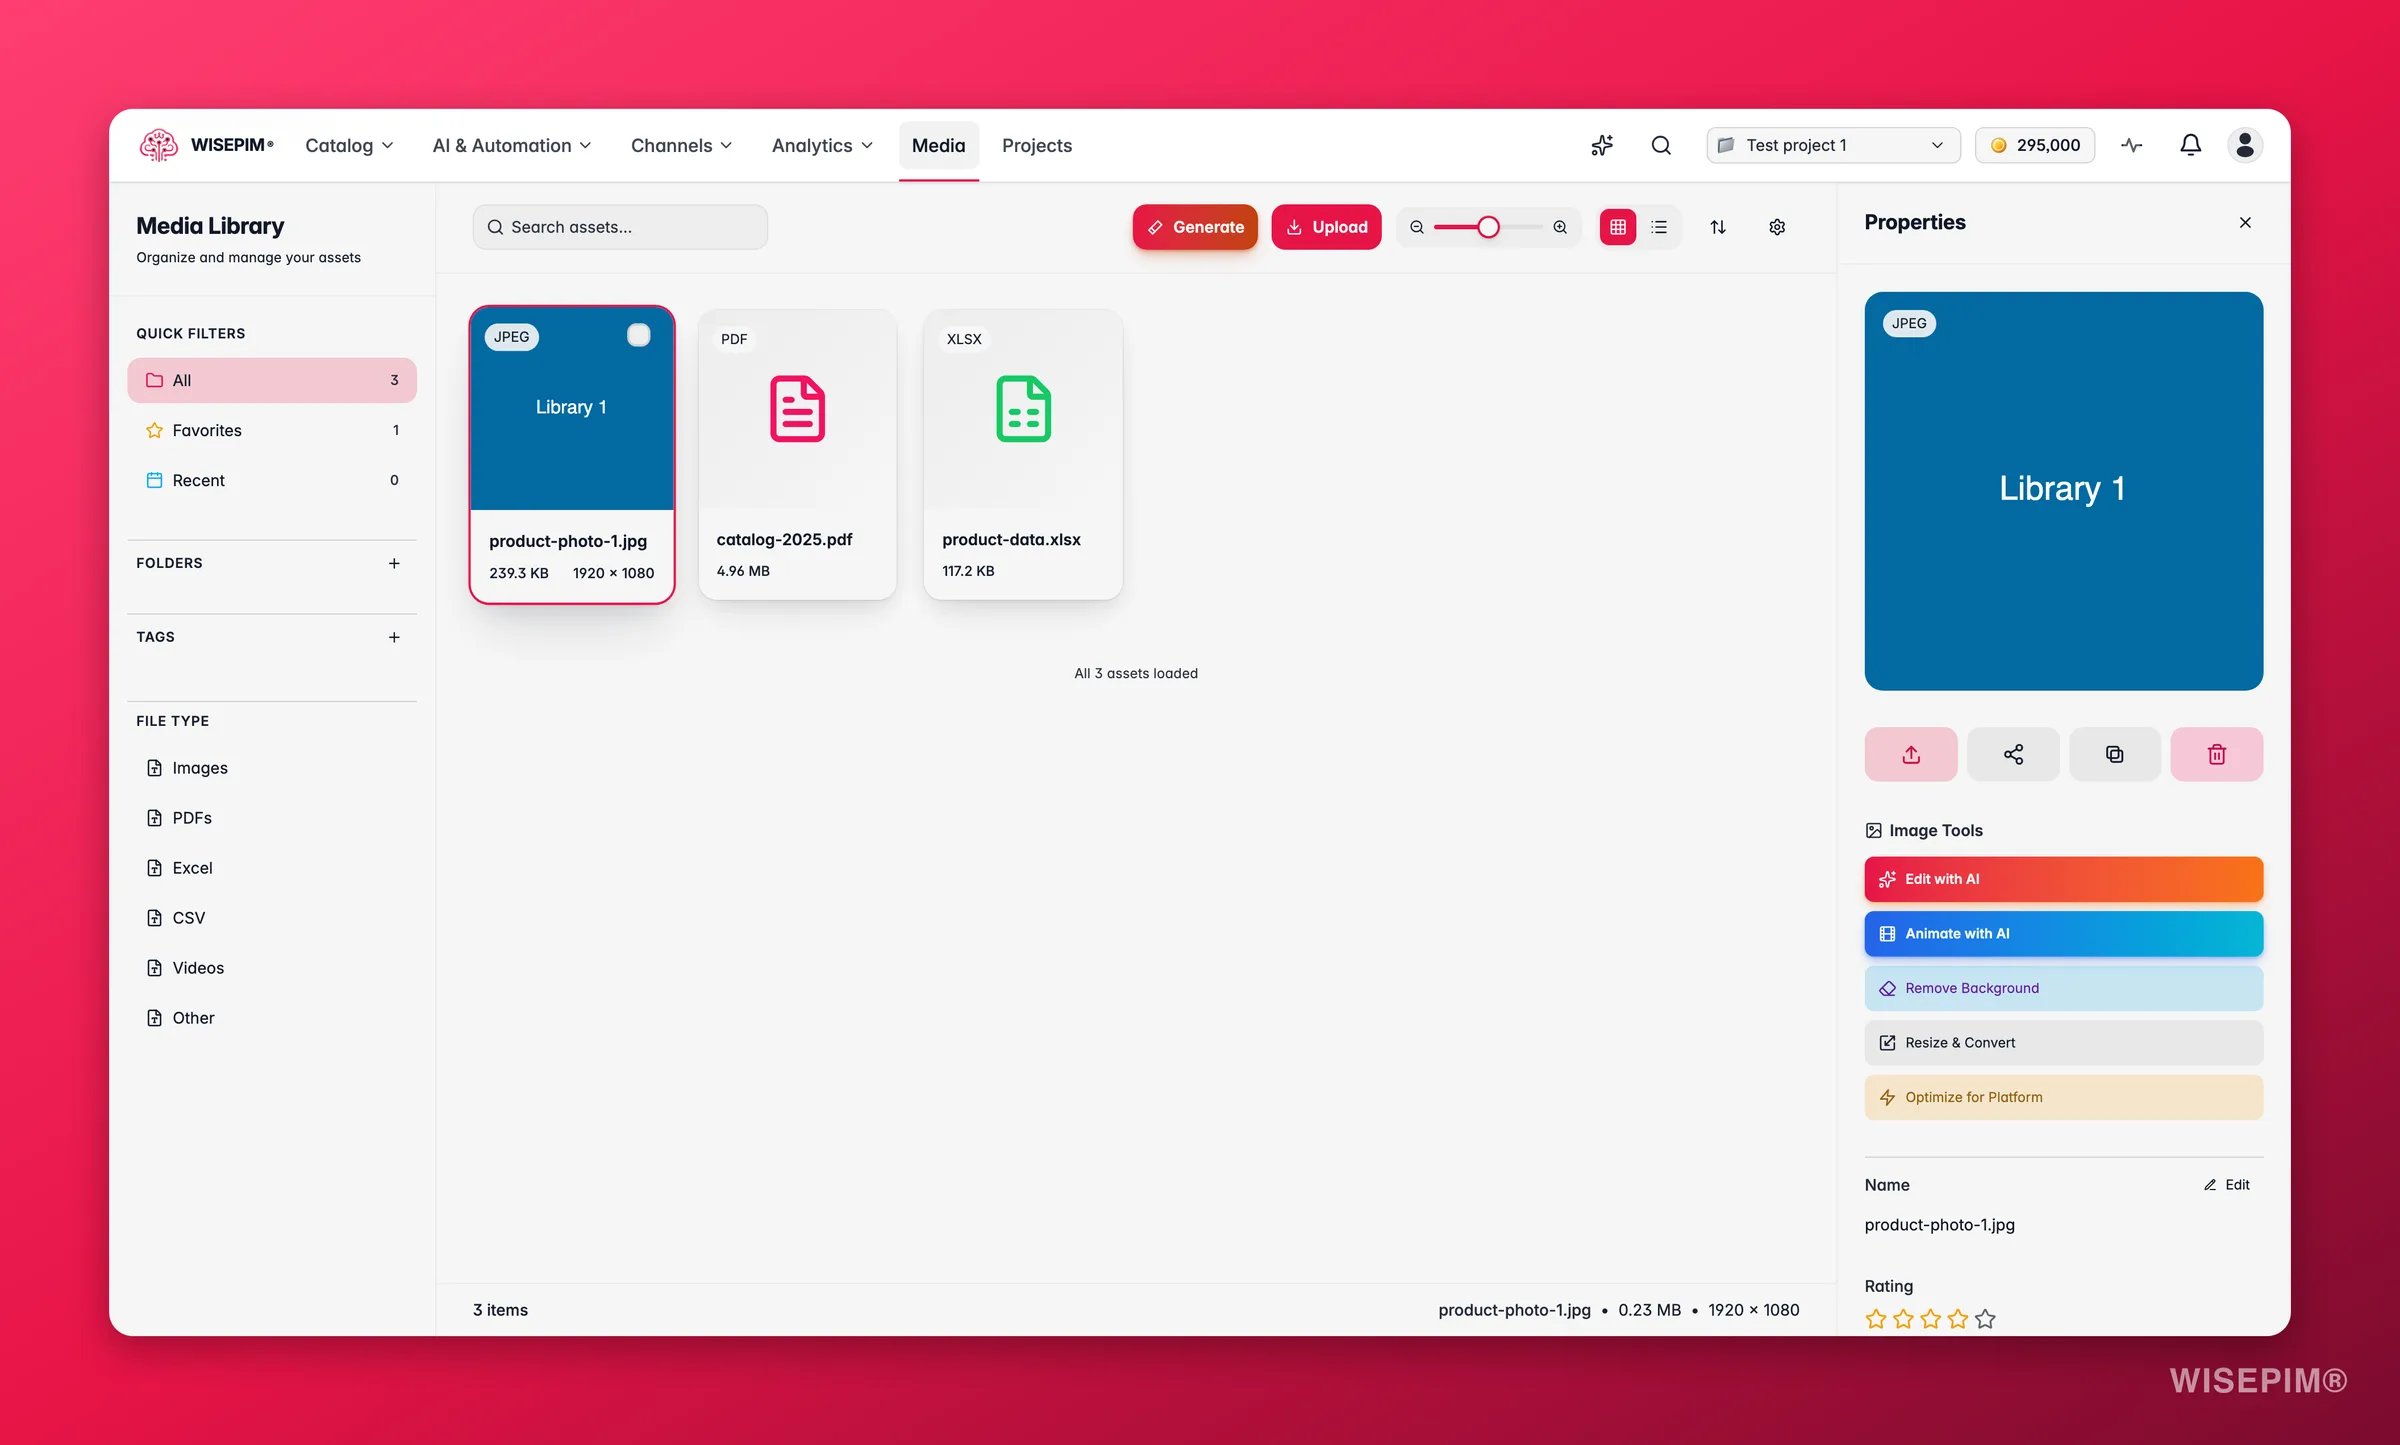
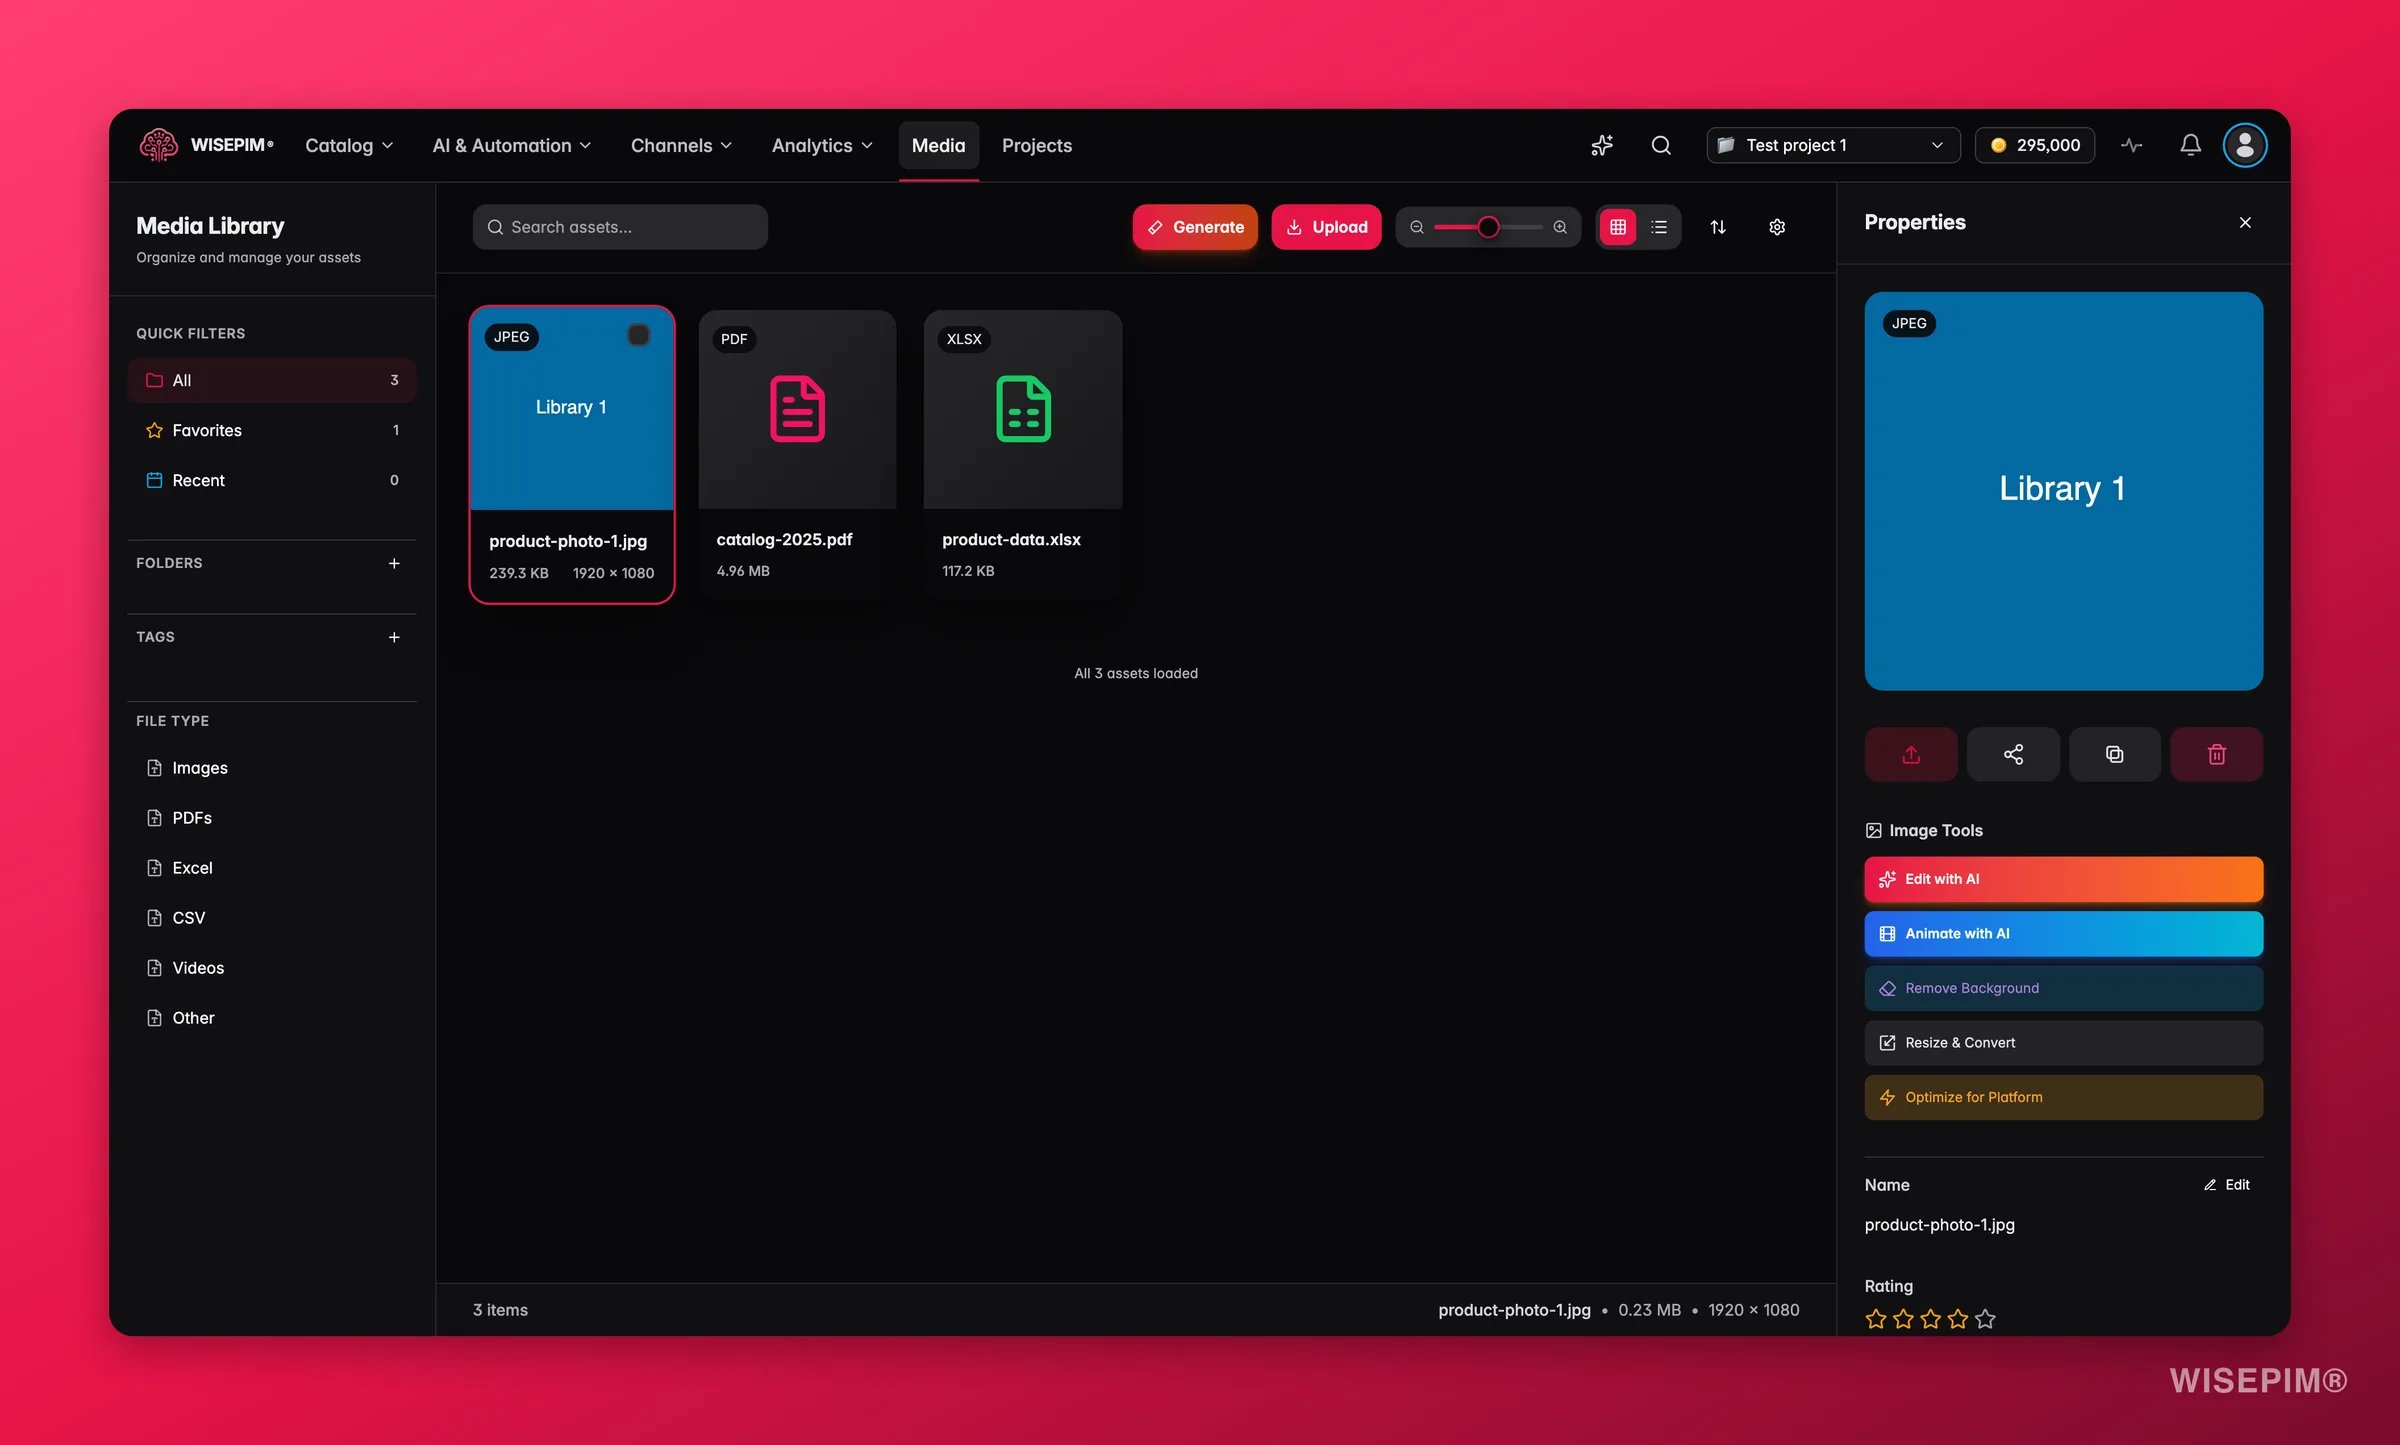
- Rename the asset
- Add or change the Rating (star rating for quick quality grading)
- Write Notes for internal context
- Add Tags and assign the asset to Folders
- See which Products the asset is linked to, and add or remove links
- View Versions: previous uploads of the same image, with the option to restore an older one
- View Variations: resized, converted, or AI-edited copies derived from the original
- See asset Details: file type, size, dimensions, created and modified dates, and creator
- Download the original or any variation
- Share the asset with teammates or external collaborators via a link with configurable permission levels and expiry
- Delete the asset. Deleting or unlinking an image also removes its imported or scraped twin, so a deleted image never goes out to a channel again, and the product’s main image is re-derived. Images that only exist in the legacy import form show in the product gallery and can be deleted there
Preview and lightbox
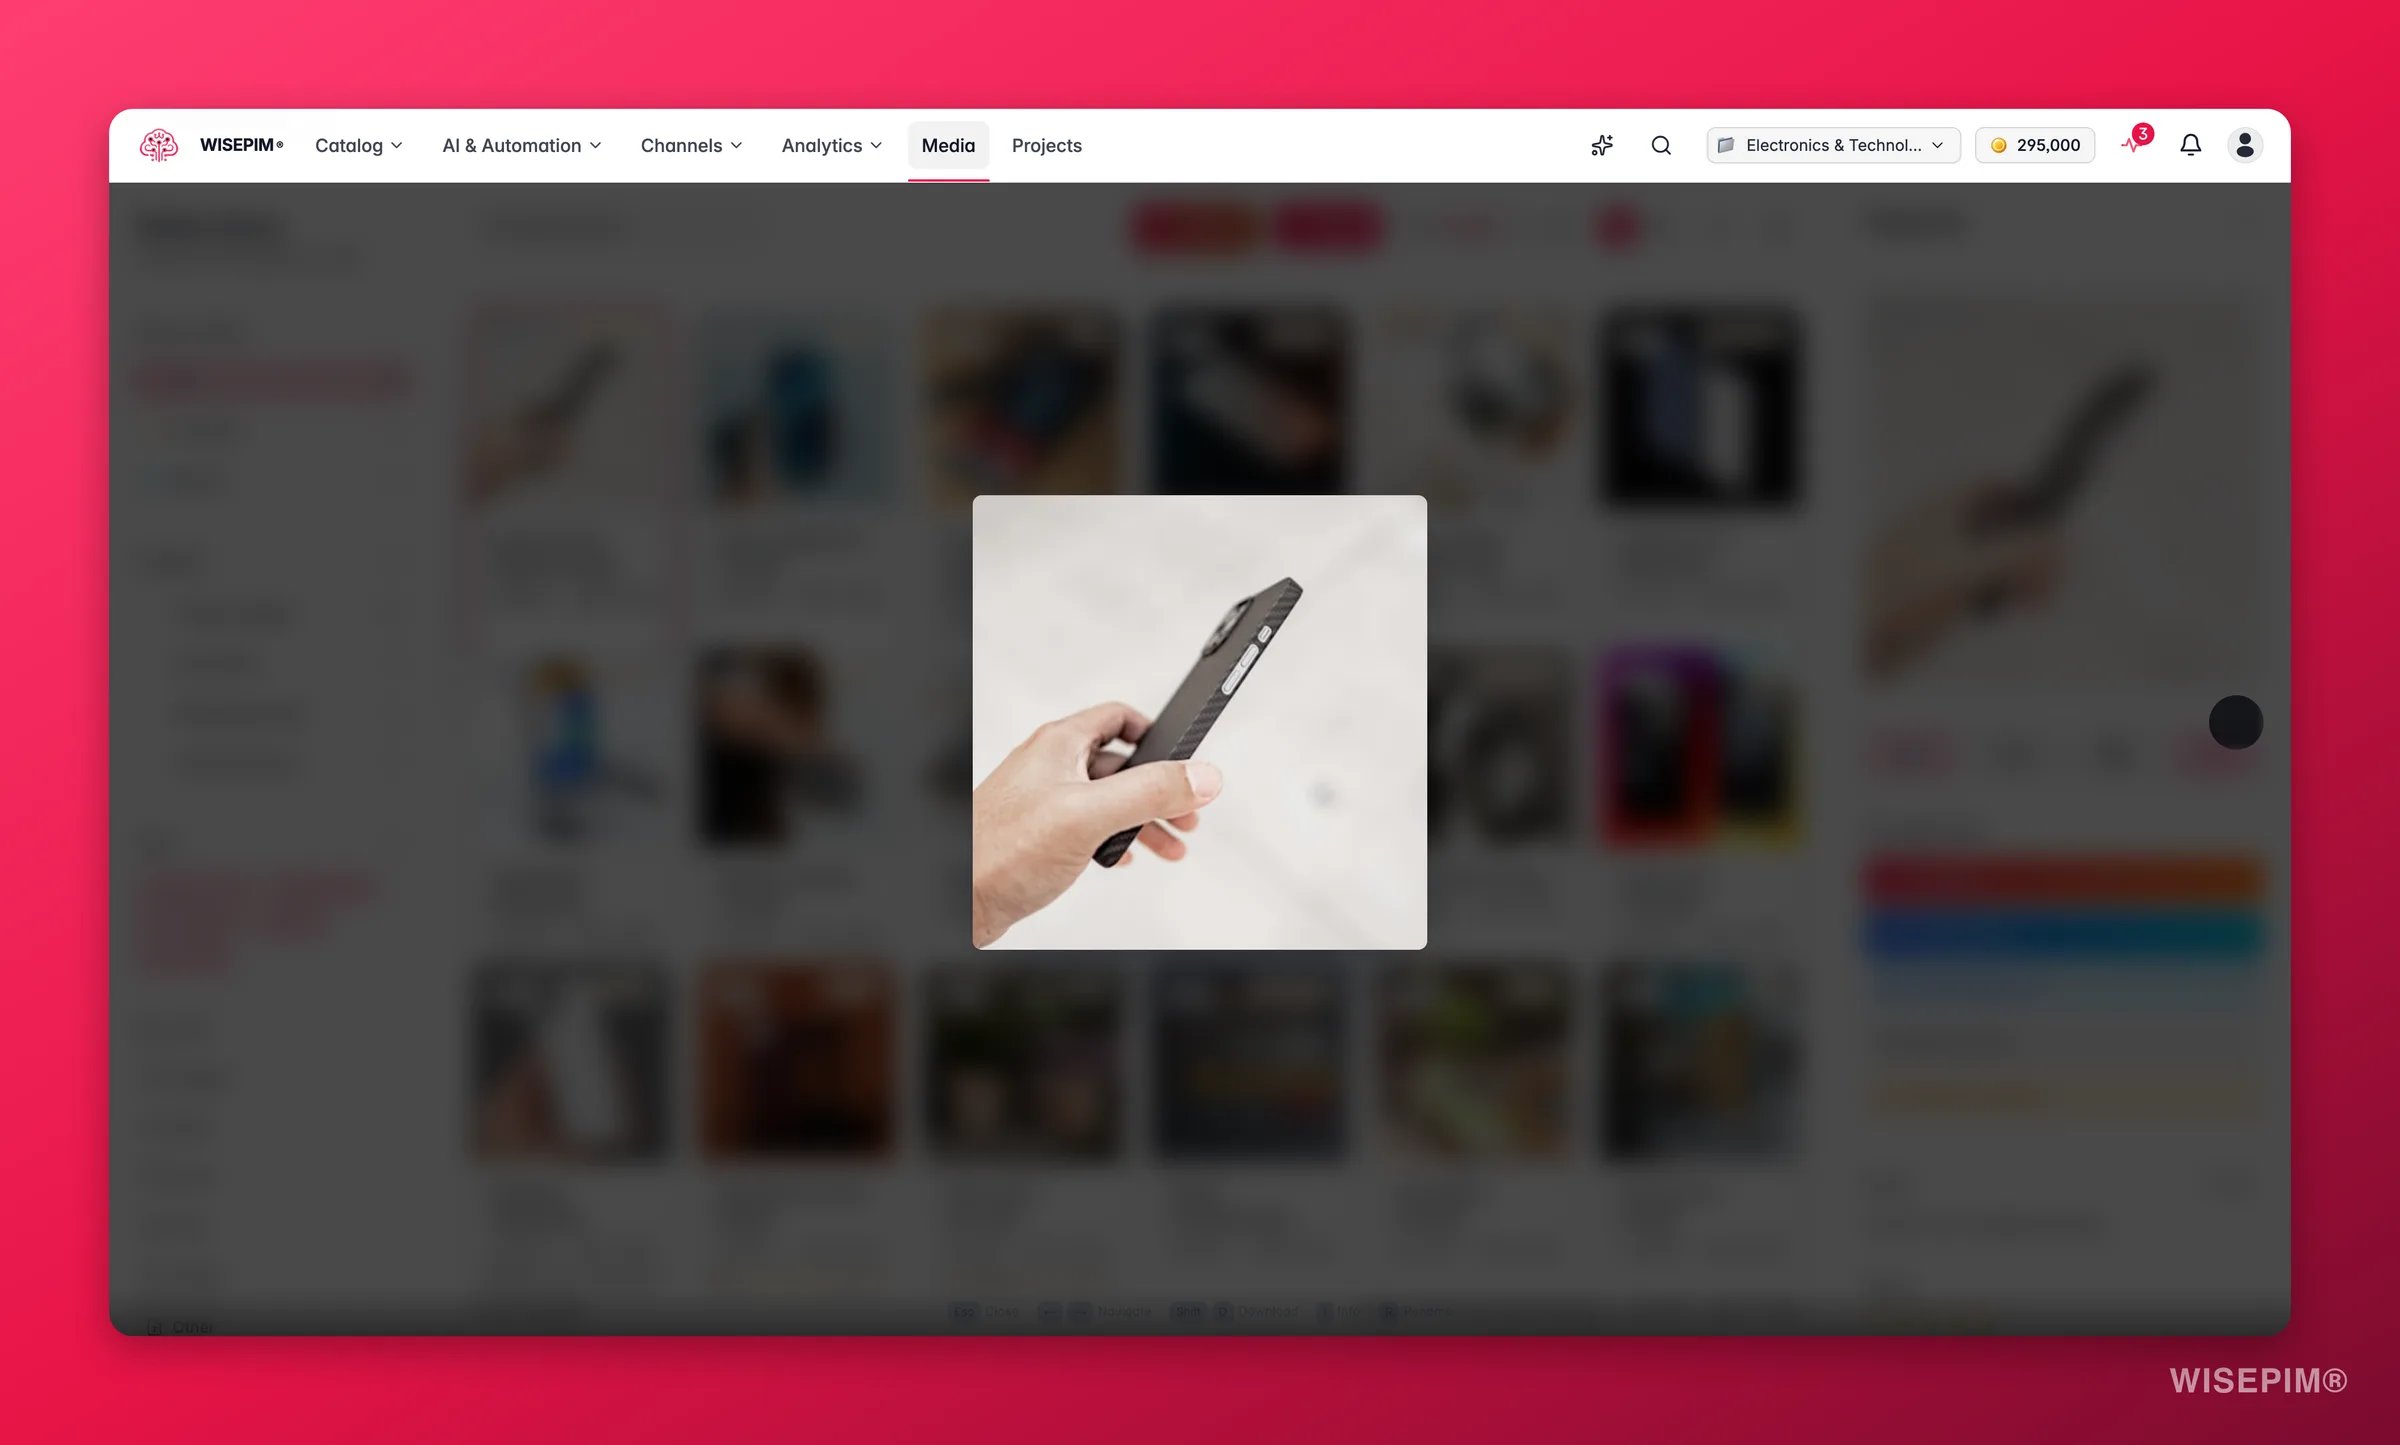
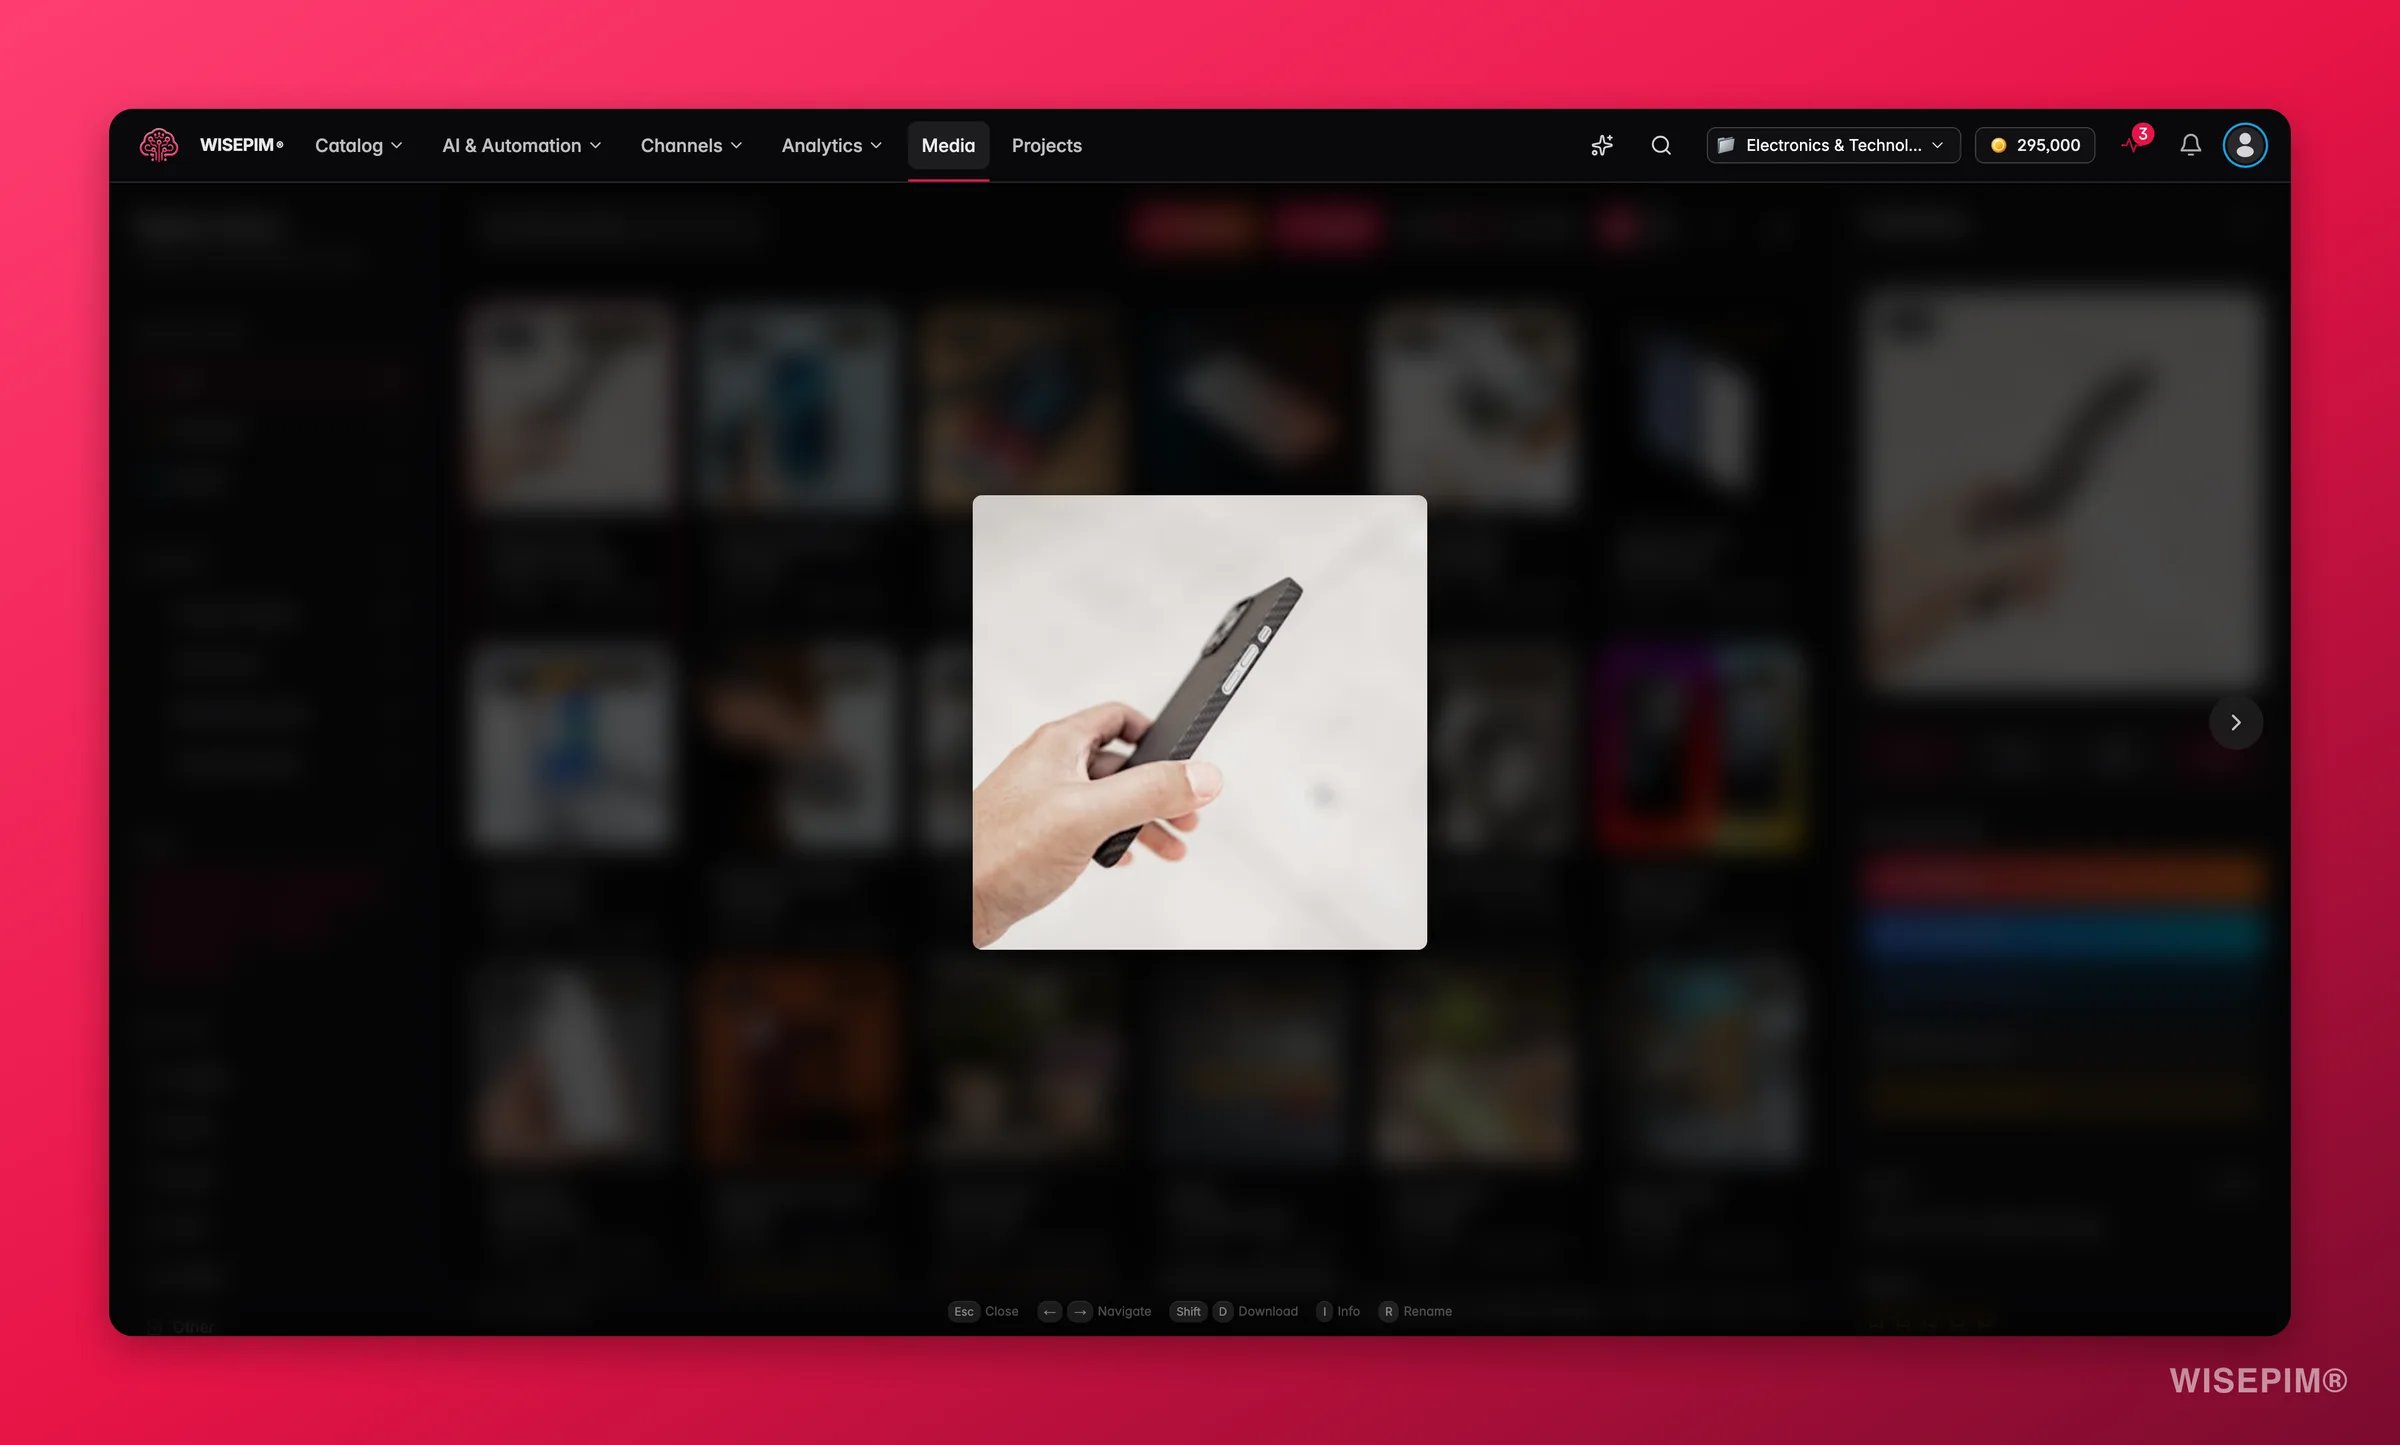
Esc or click outside to close.
For images inside the grid, you can also open the Lightbox, a lightweight overlay that lets you zoom and rotate without leaving your current view.
For spreadsheets and CSV files, Quick Look renders the file contents inline as a searchable table, right inside WISEPIM.
Image Tools
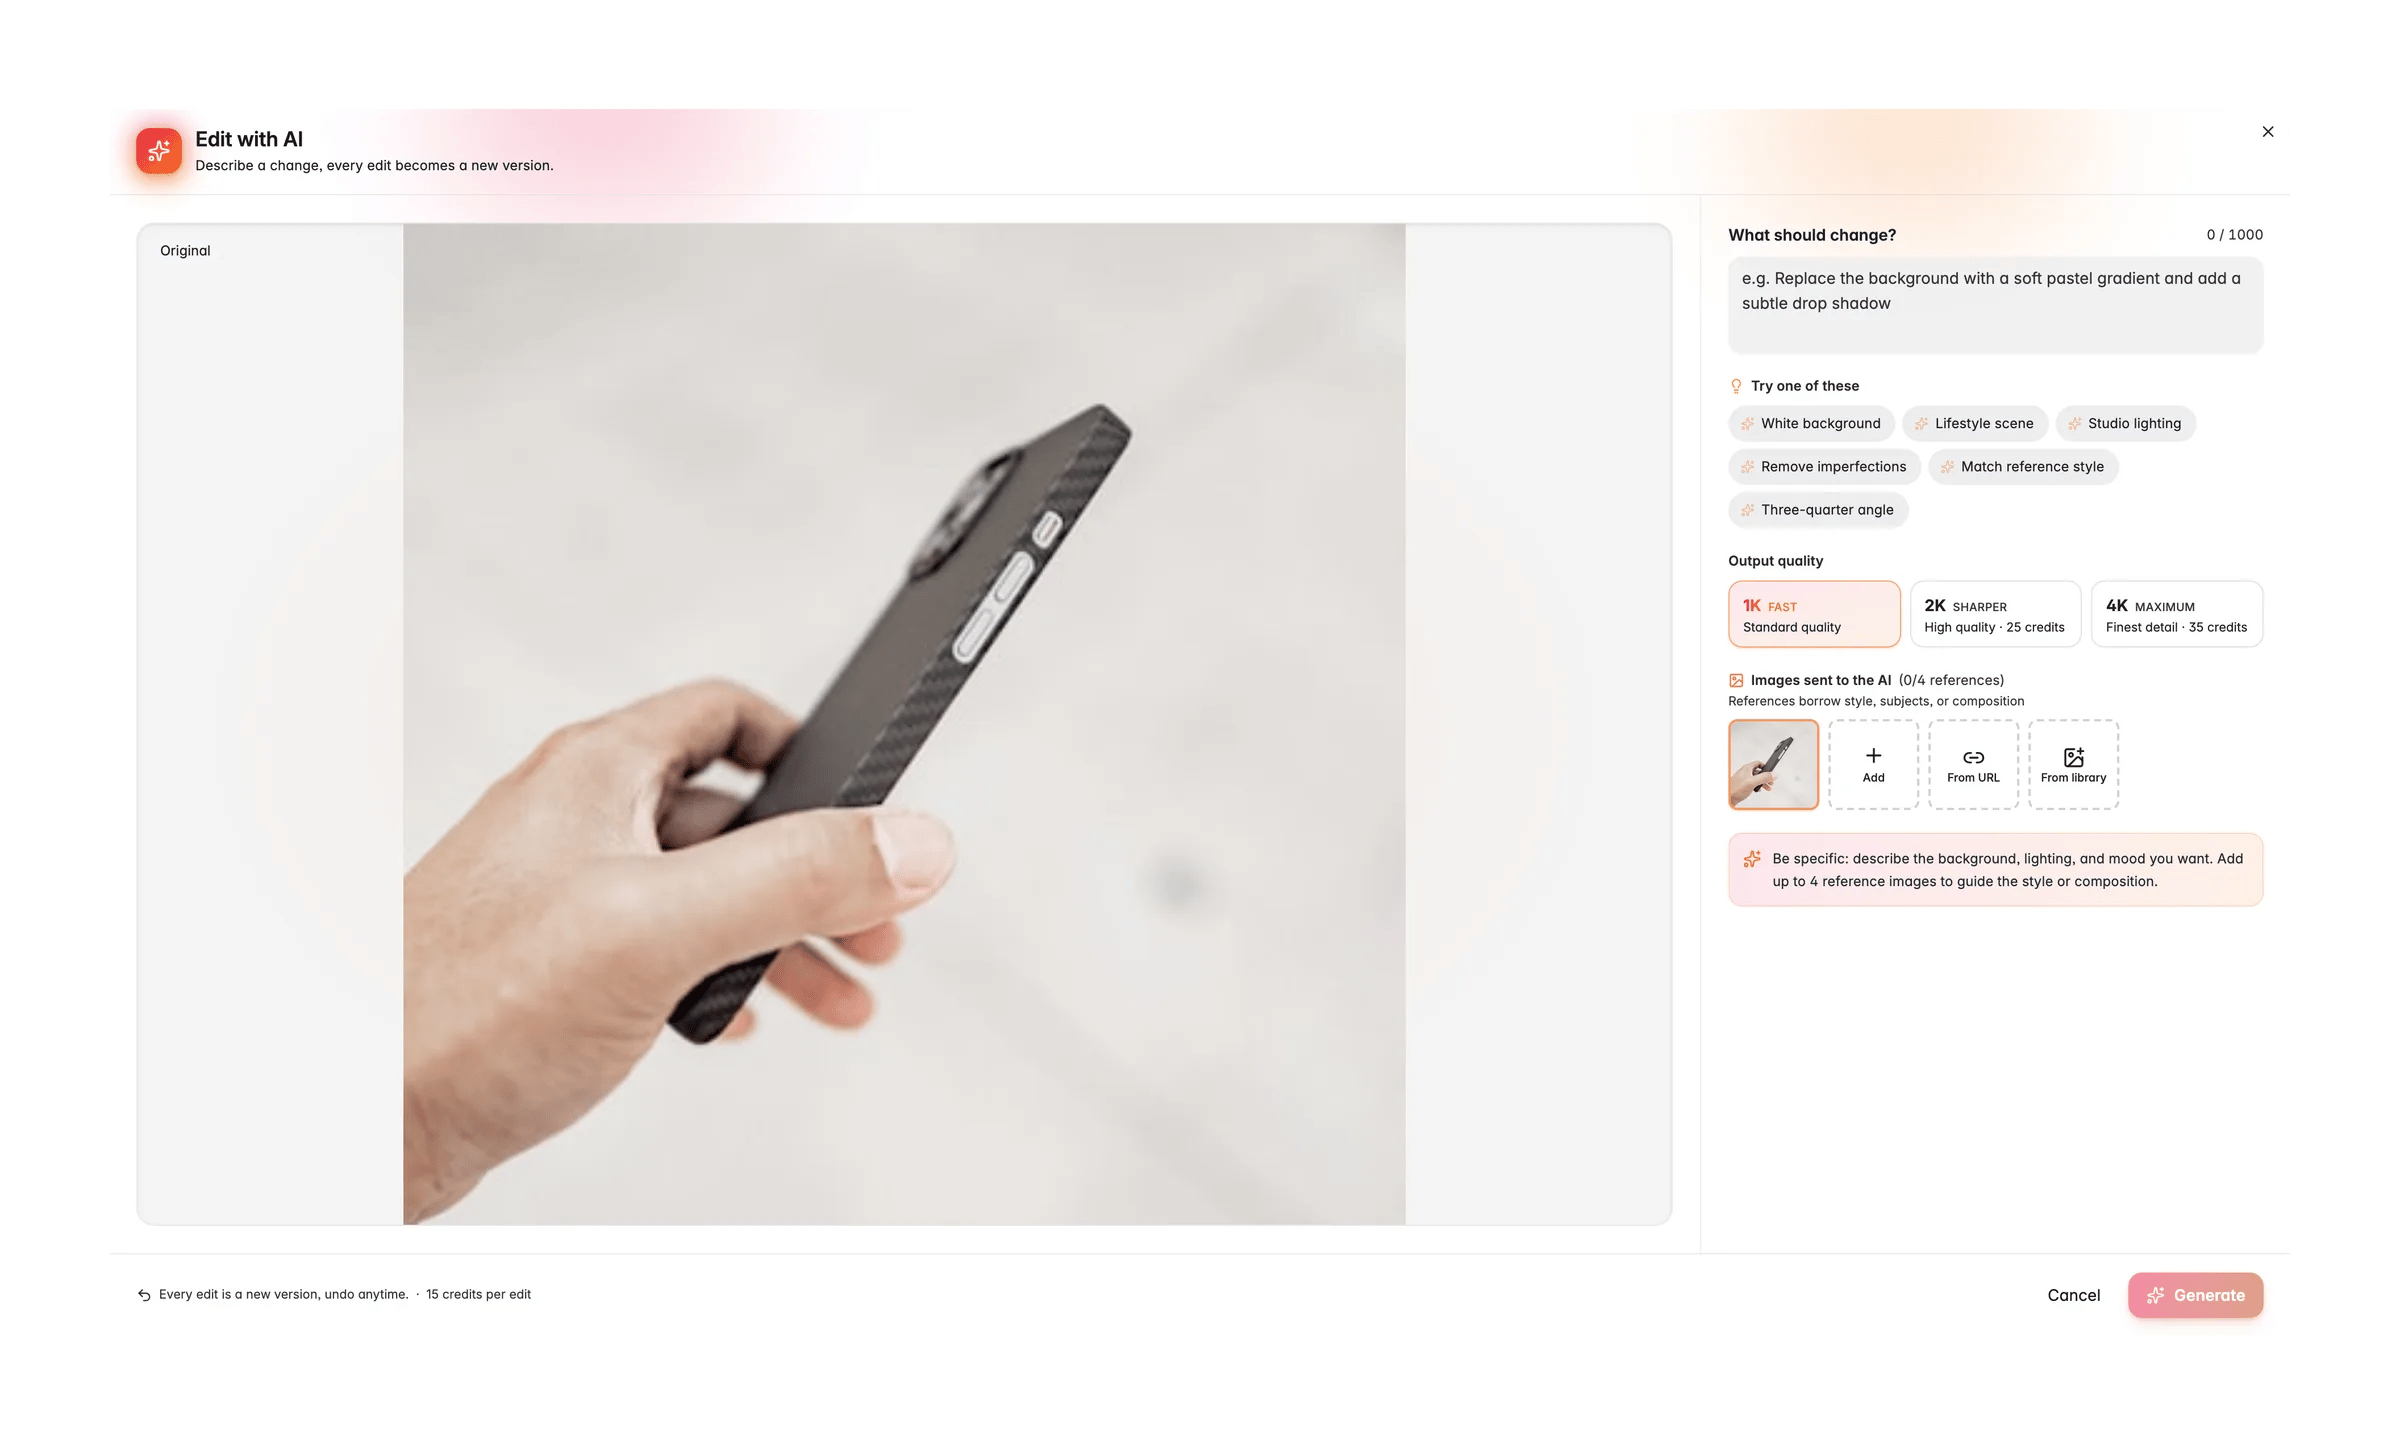
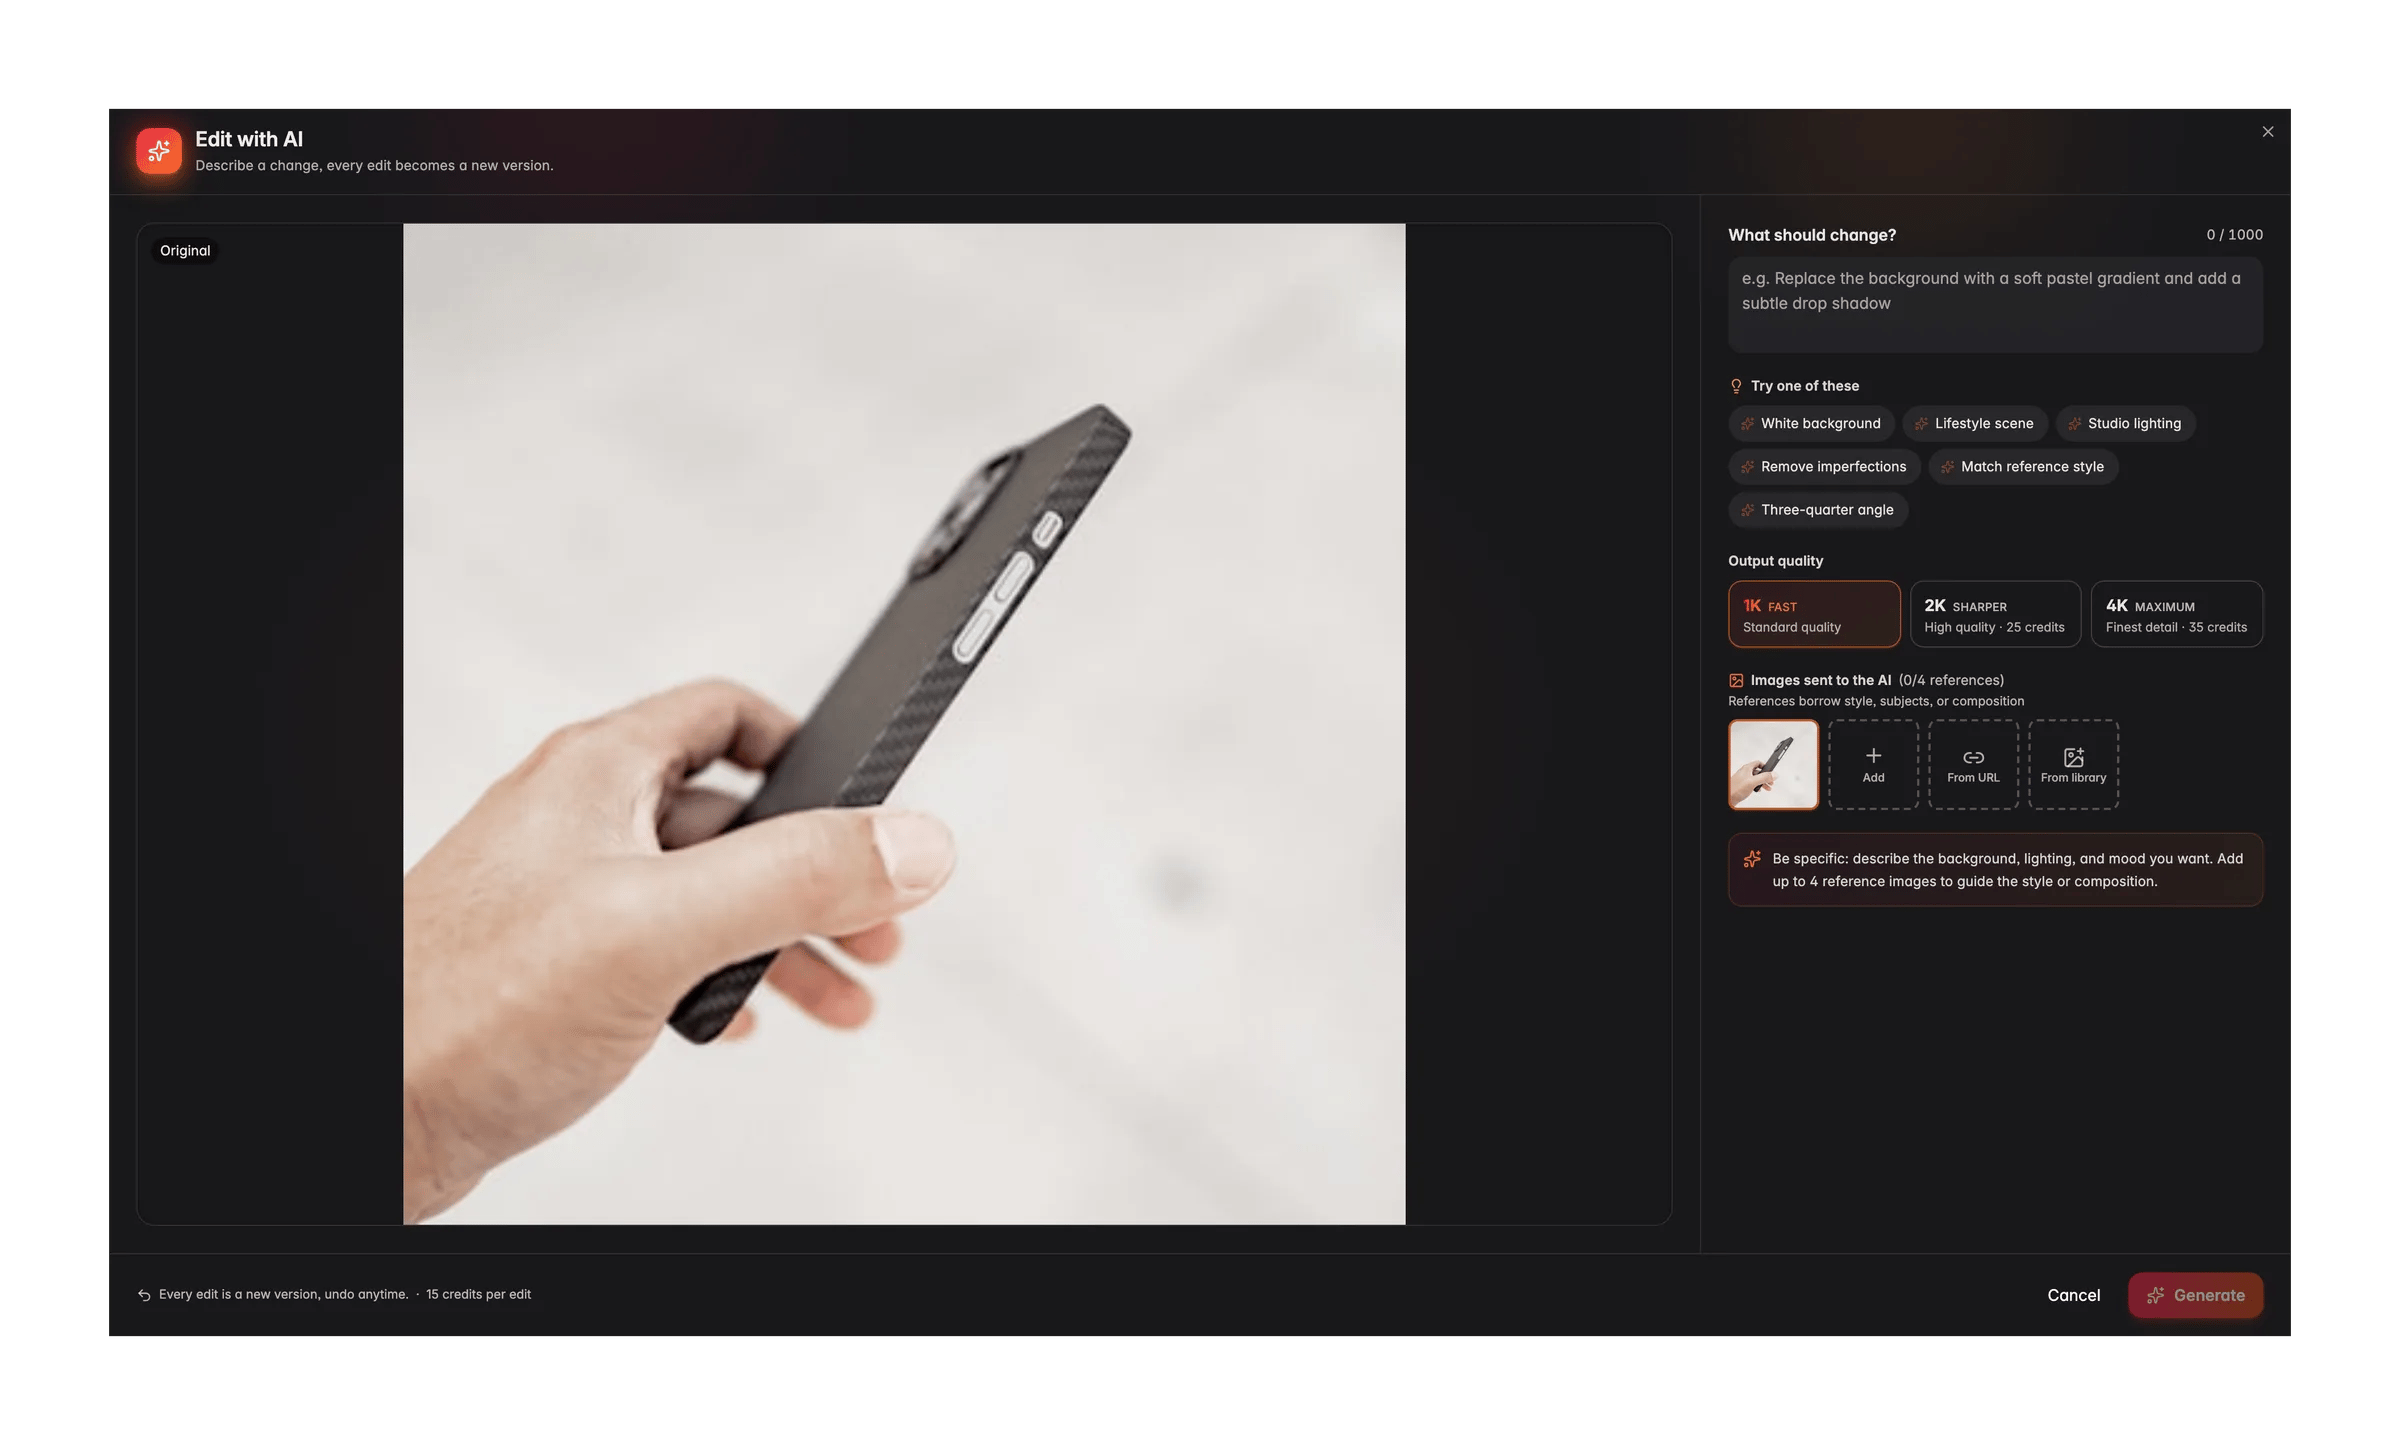
Select an image and click Image Tools in the detail panel (or use the bulk toolbar) to access the built-in image editing tools.Edit with AI
Animate with AI
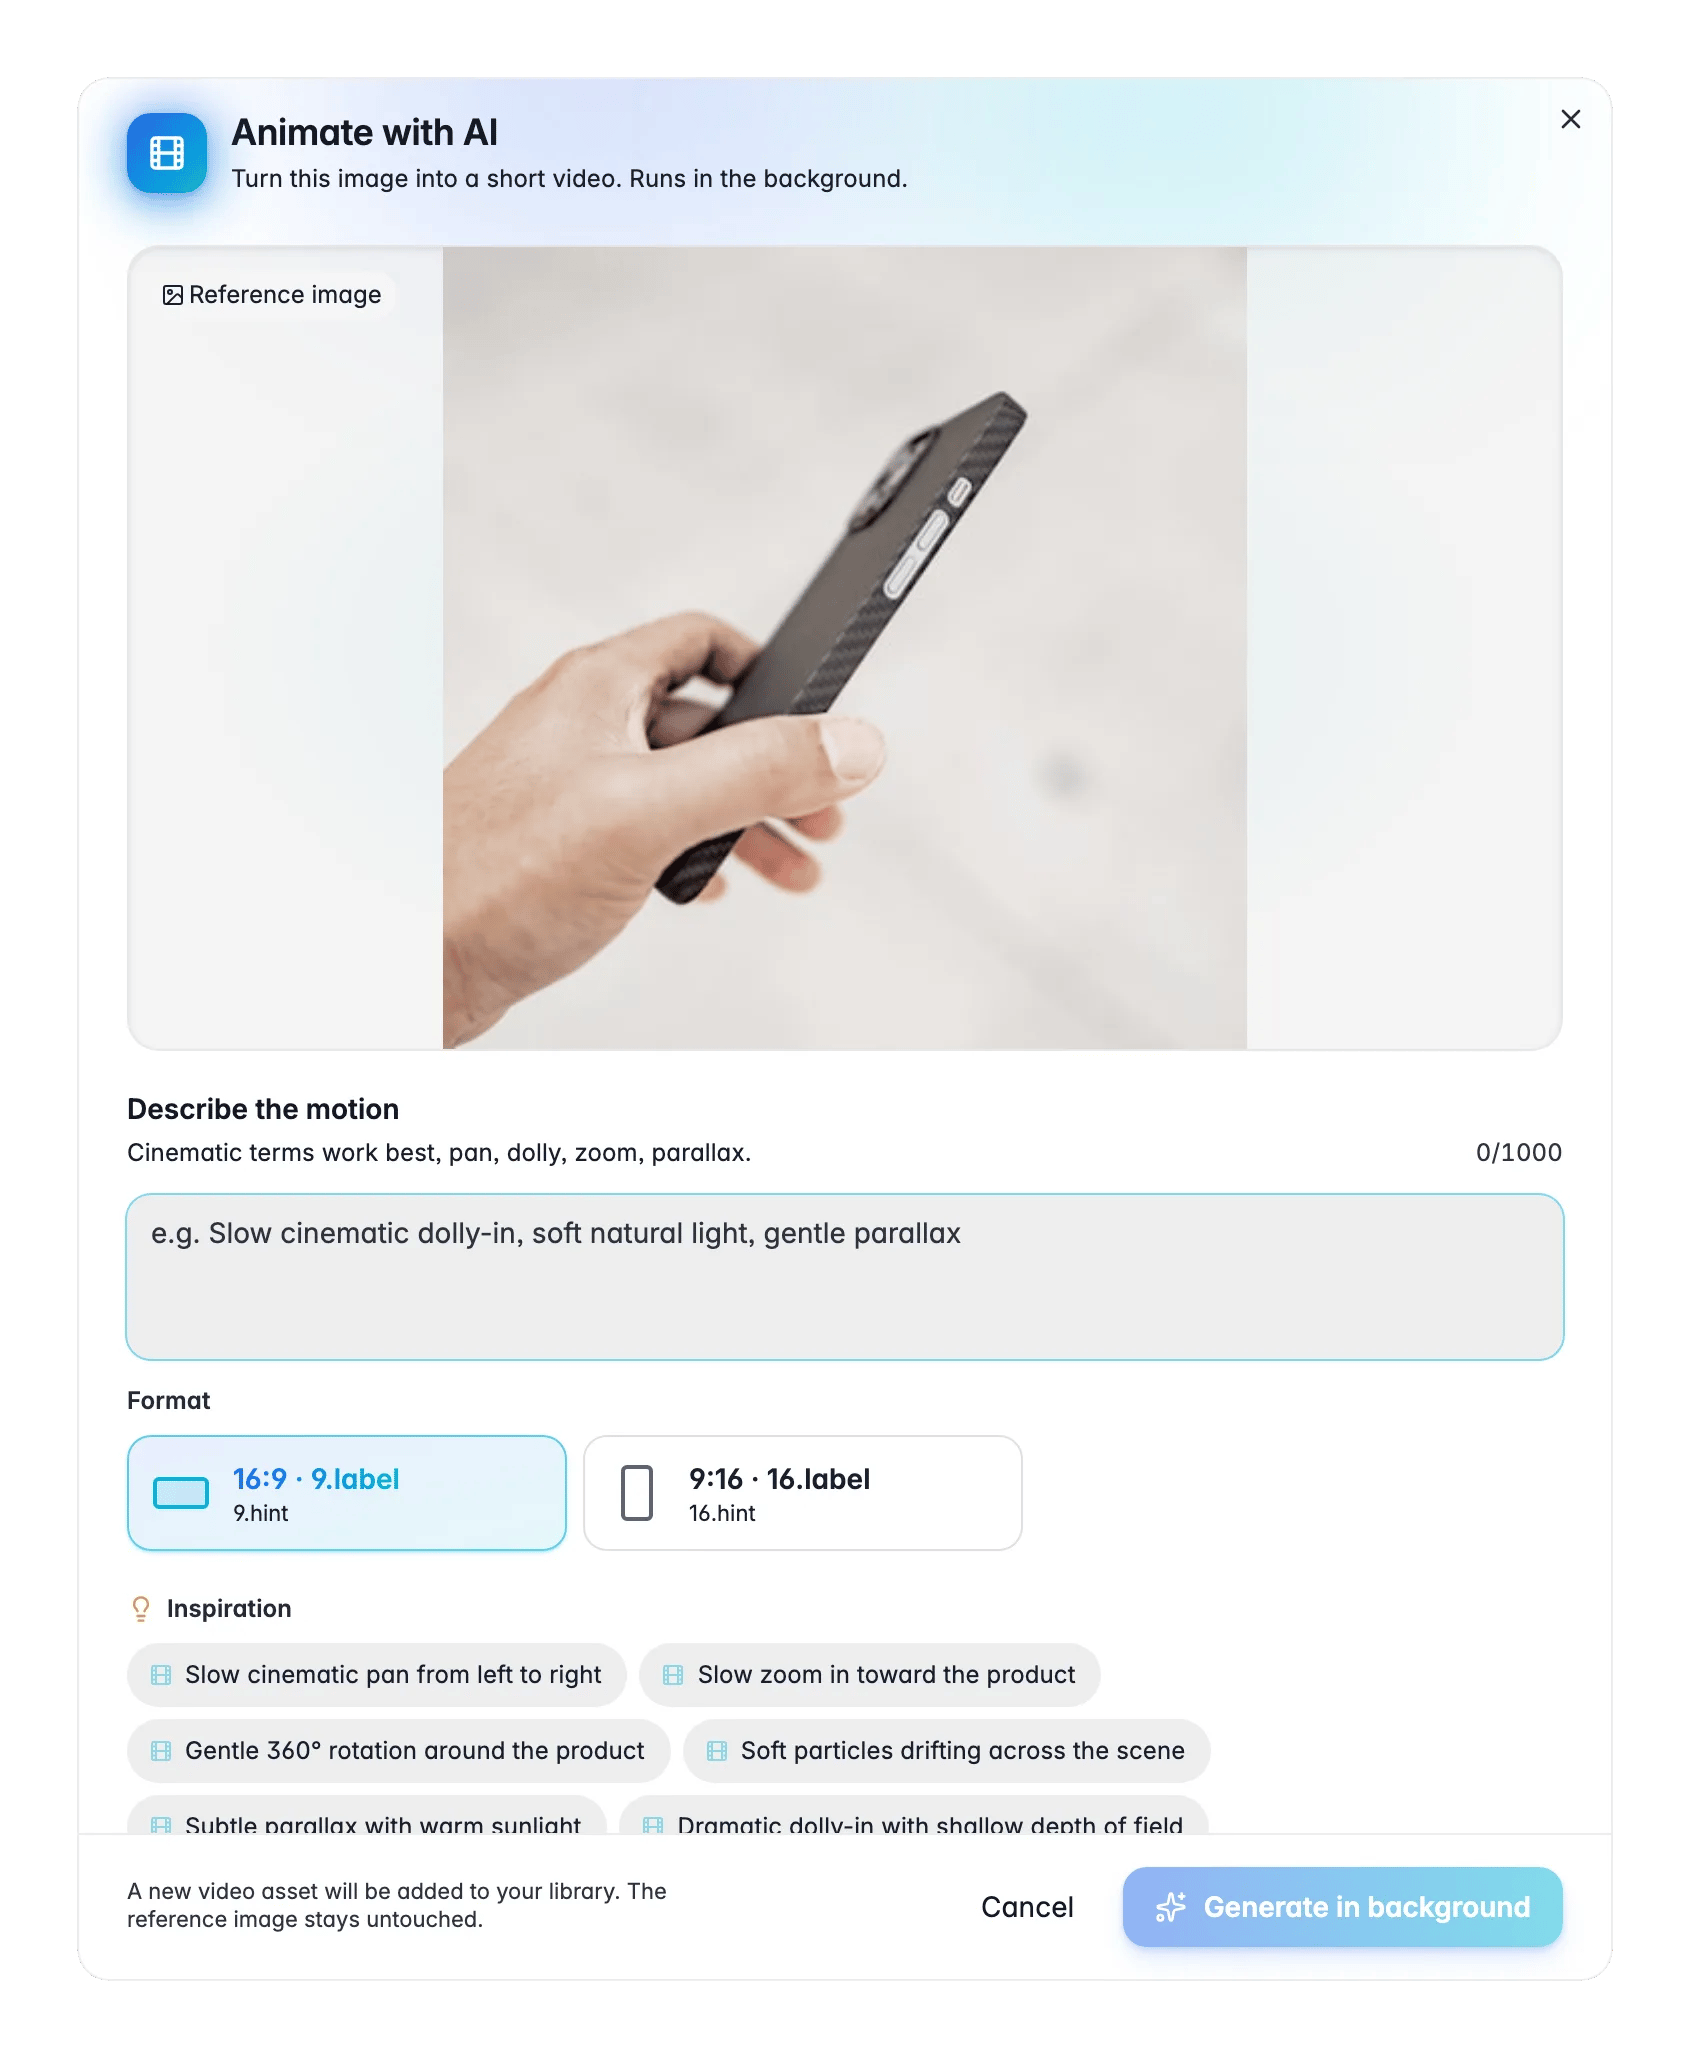
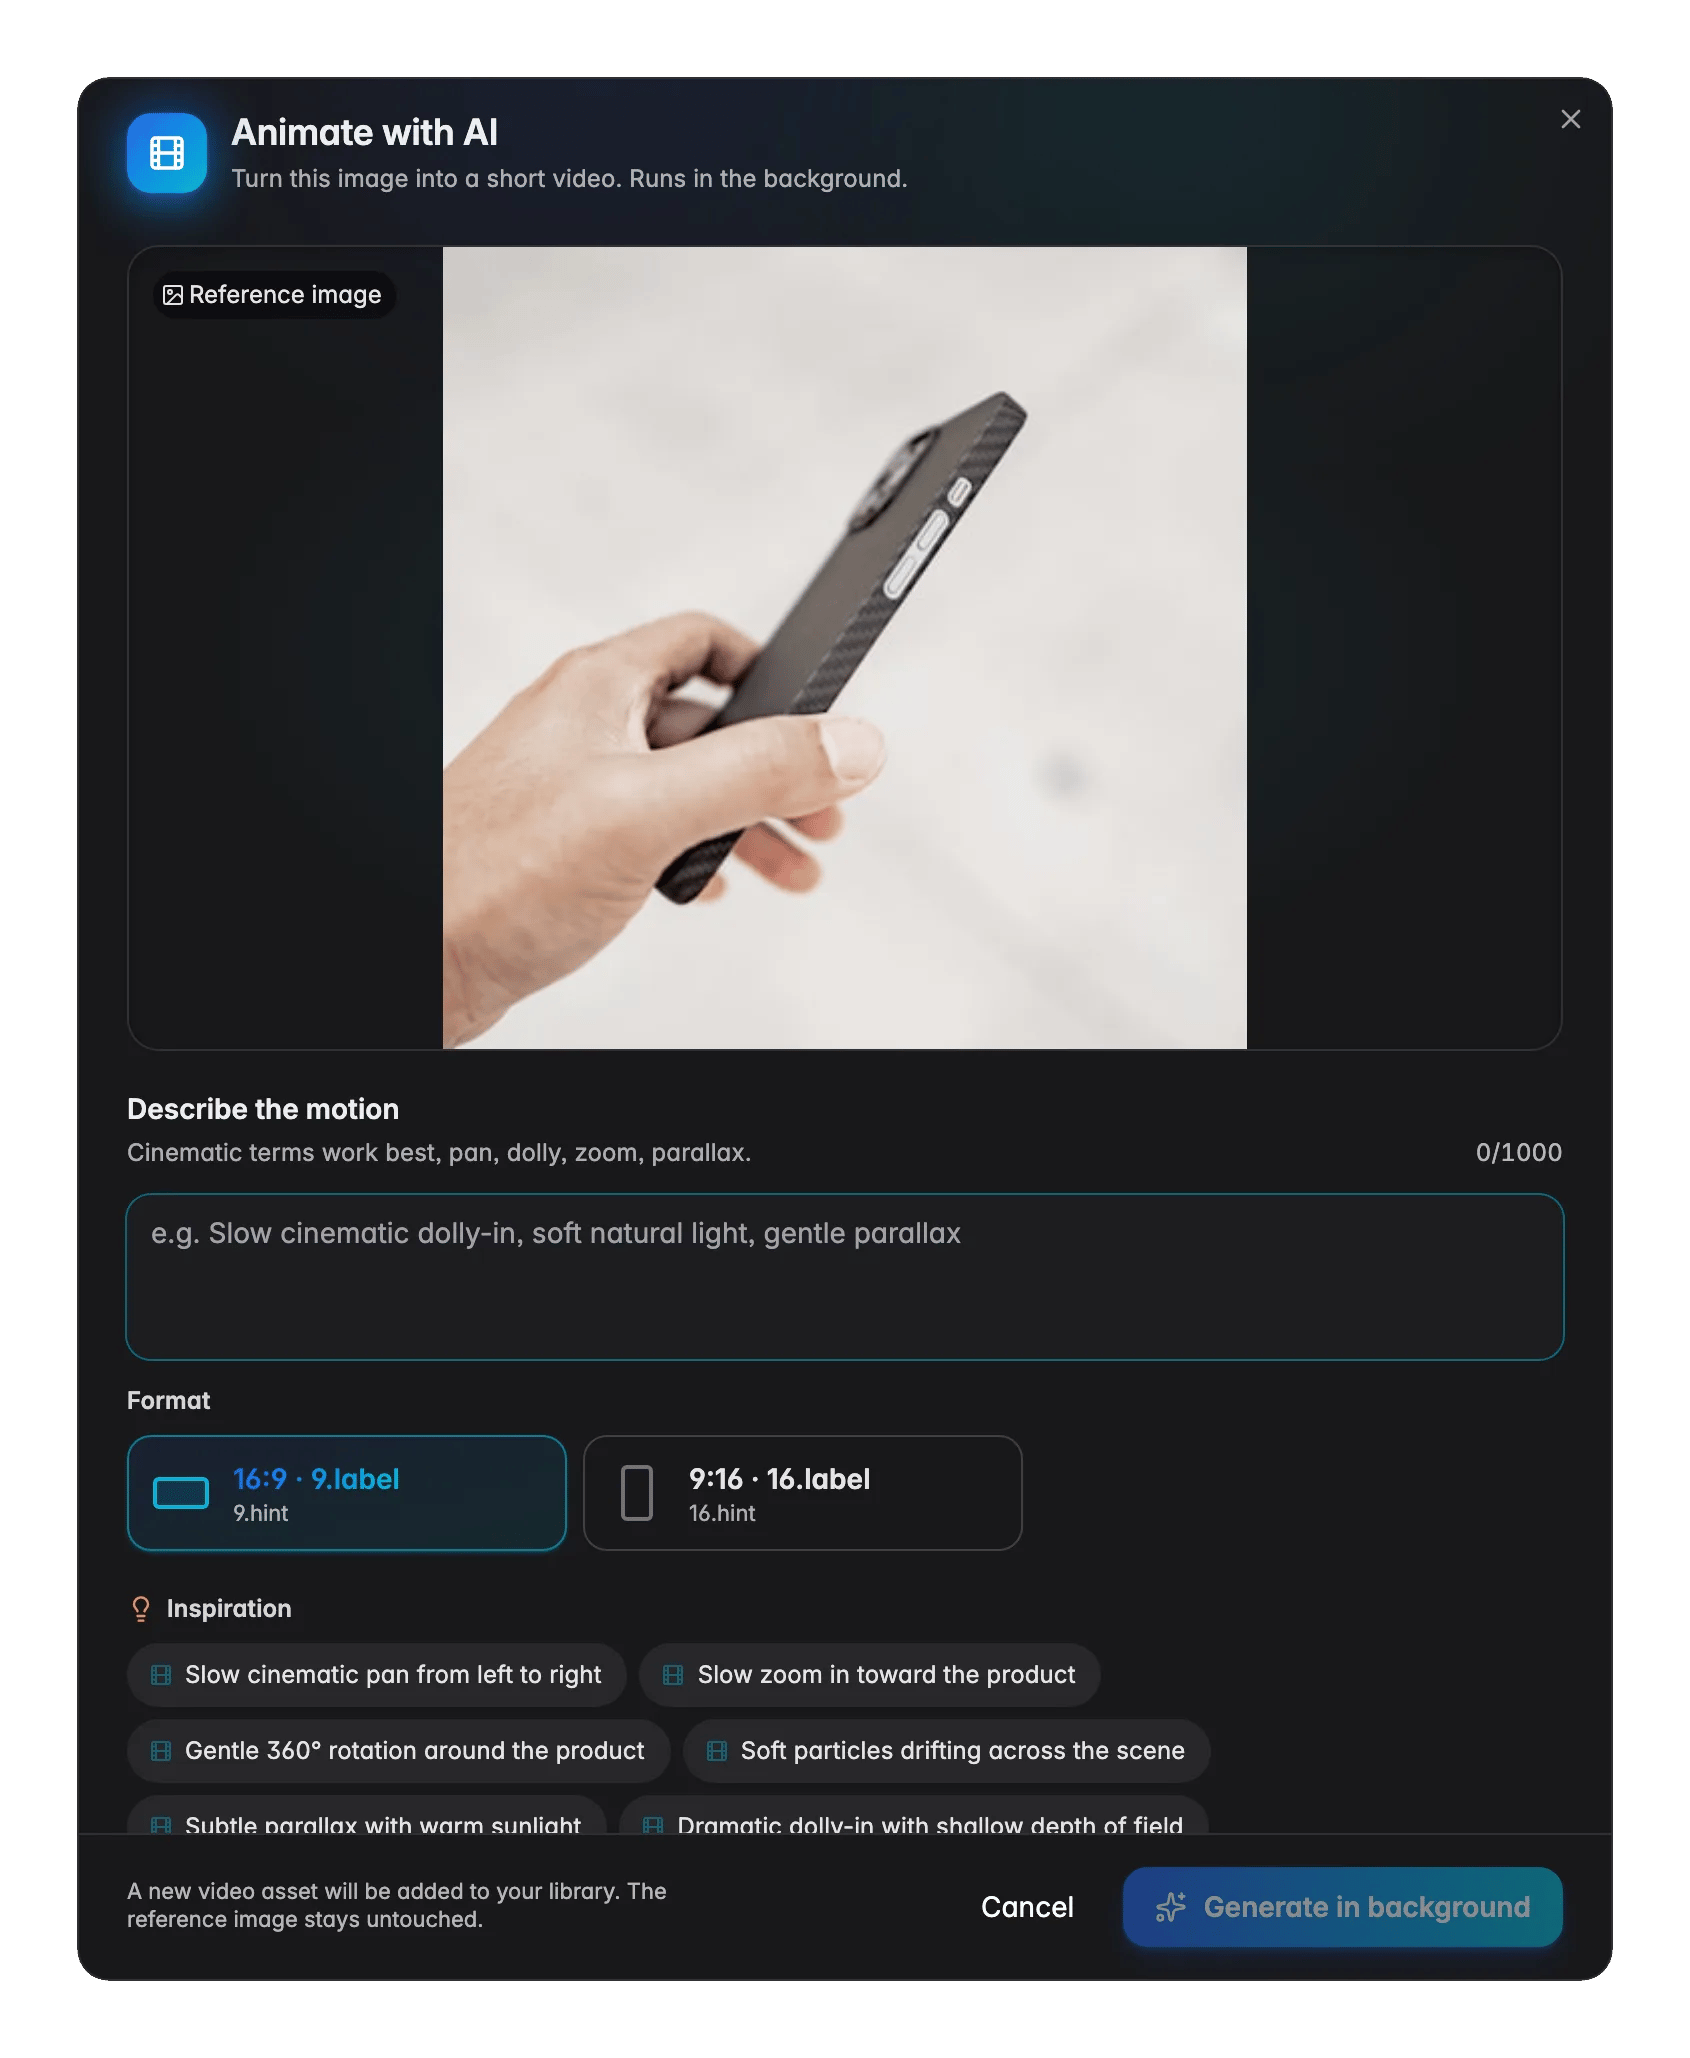
A generated video costs 500 credits, so it is a lot more expensive than a generated image. Pick the products that earn it back: hero products, campaign items, and anything you promote on social.
Remove Background
AI removes the background from the image and saves the result as a transparent PNG. The original stays untouched as a previous version.Resize and Convert
Change the image dimensions or convert it to a different format (JPEG, PNG, WebP, etc.) with a quality setting. The result is saved as a Variation so the original remains intact.Optimize for Platform
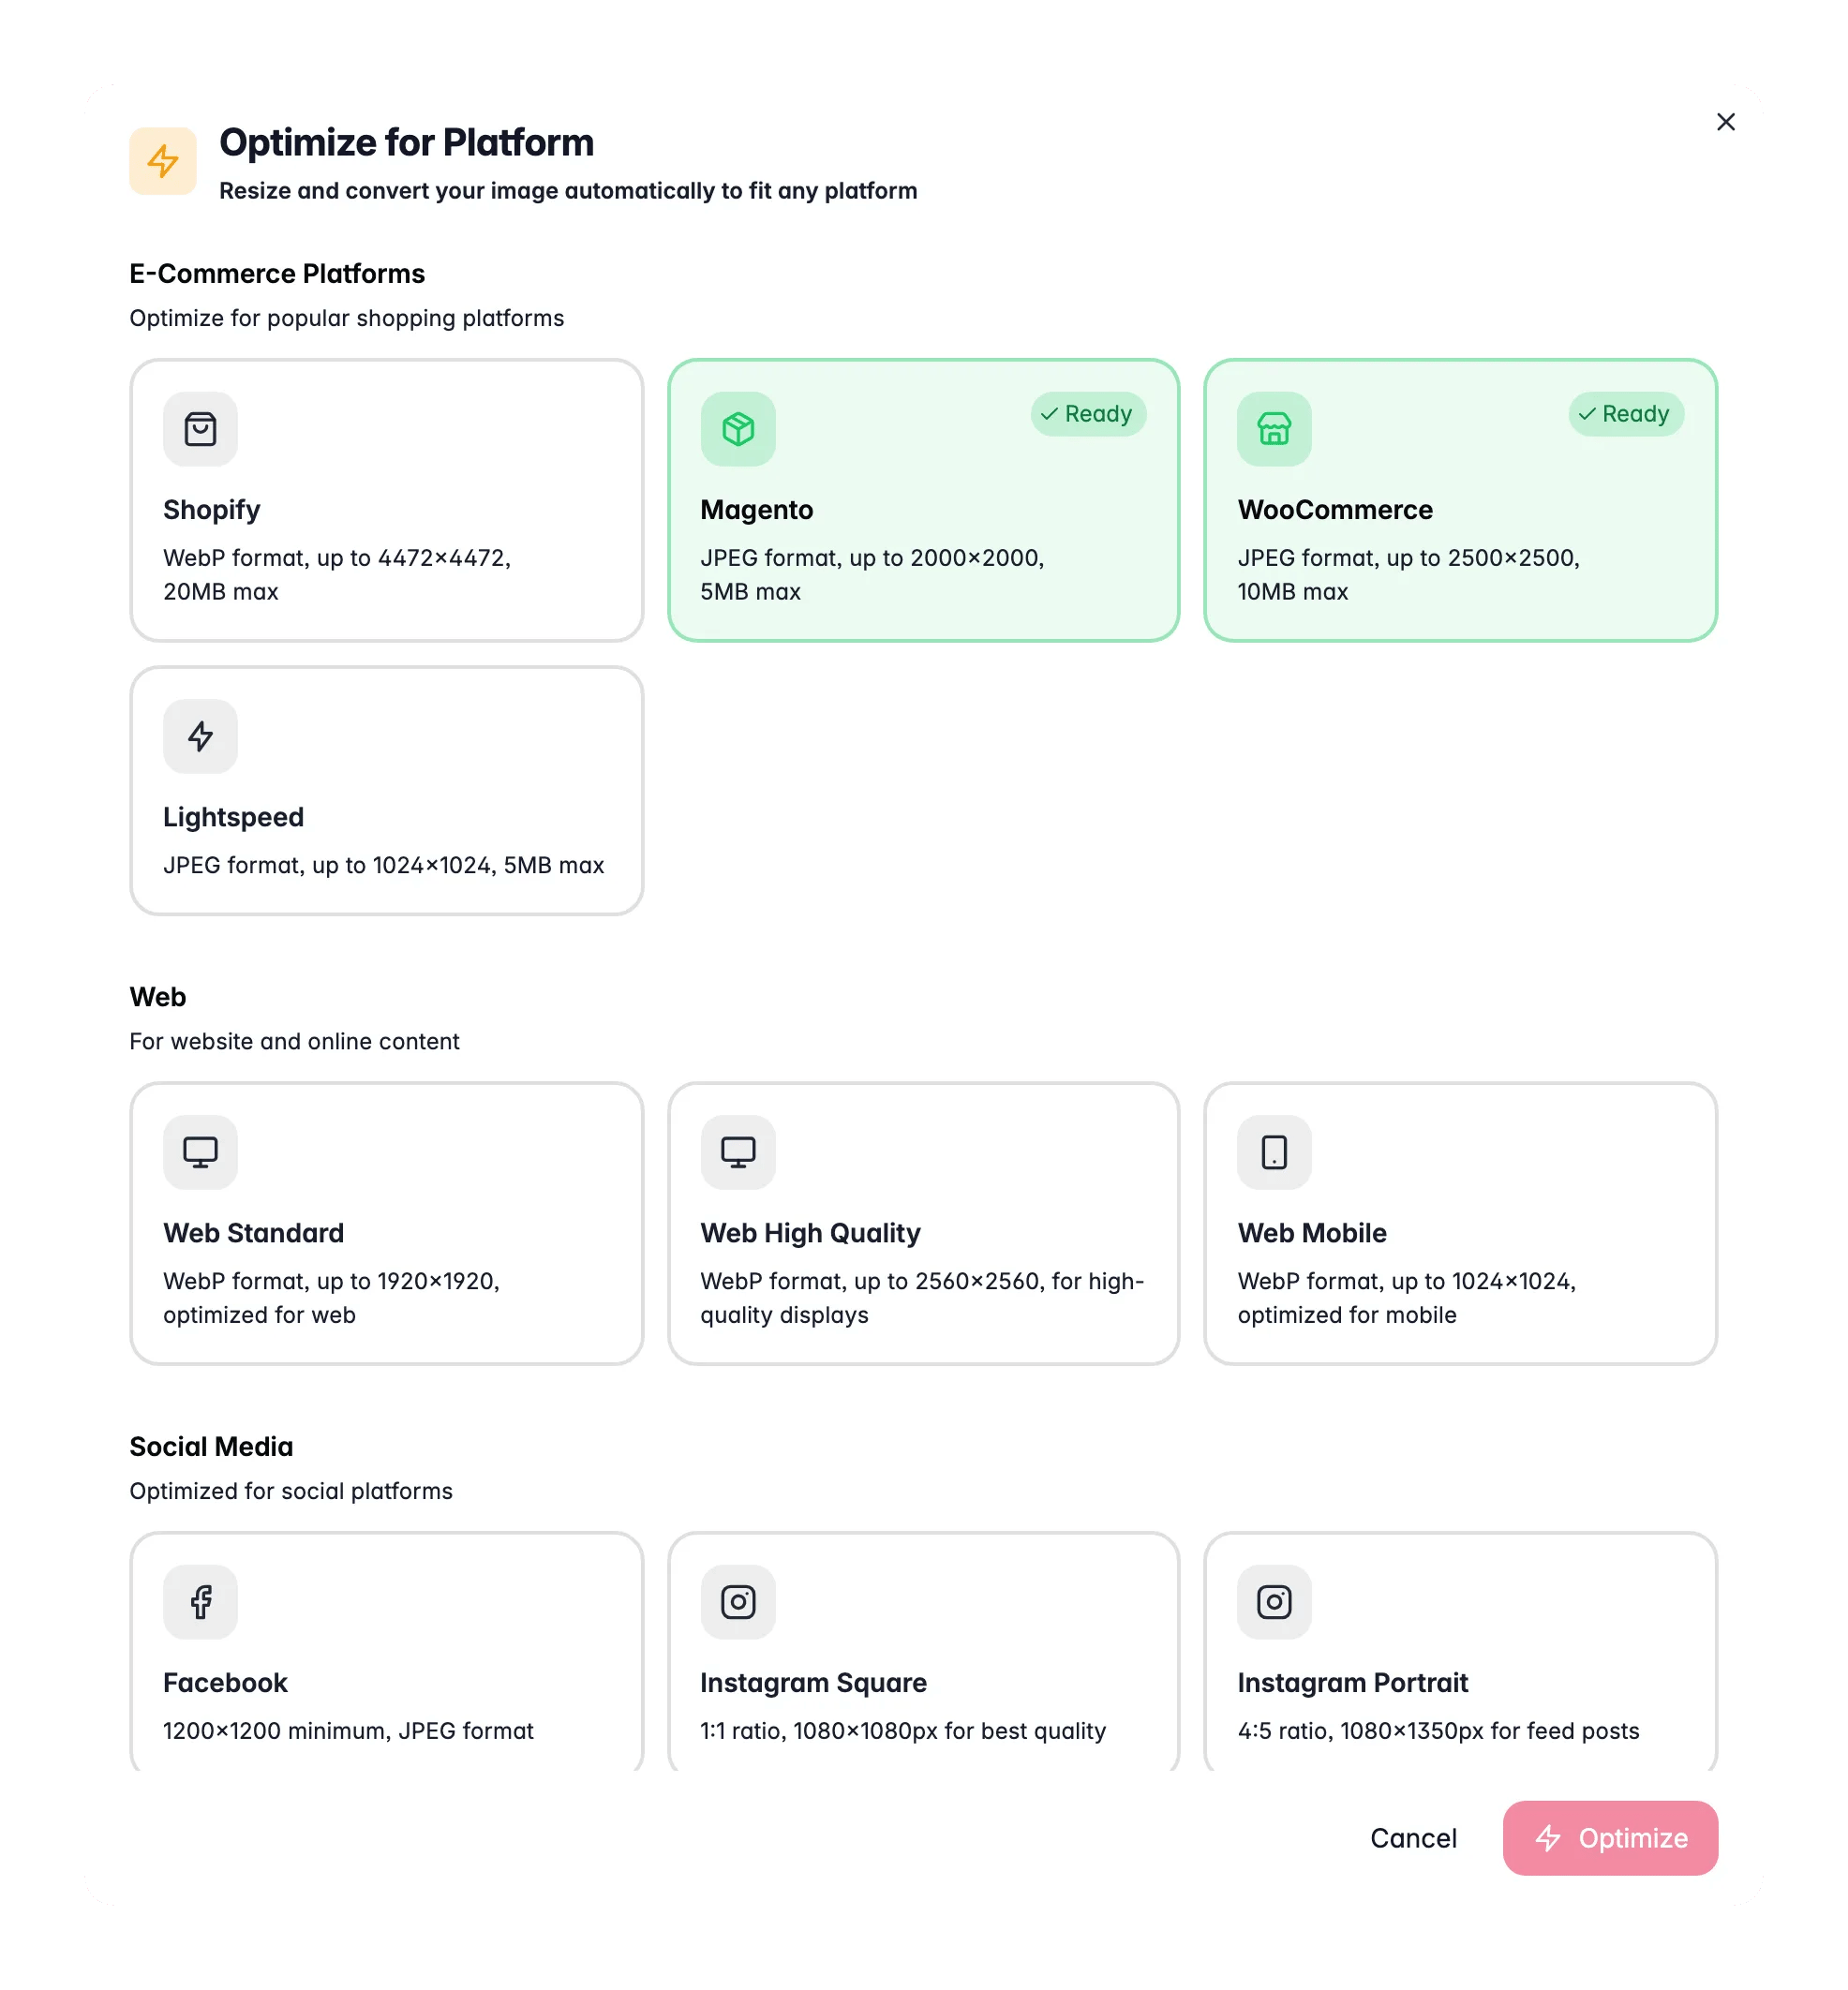
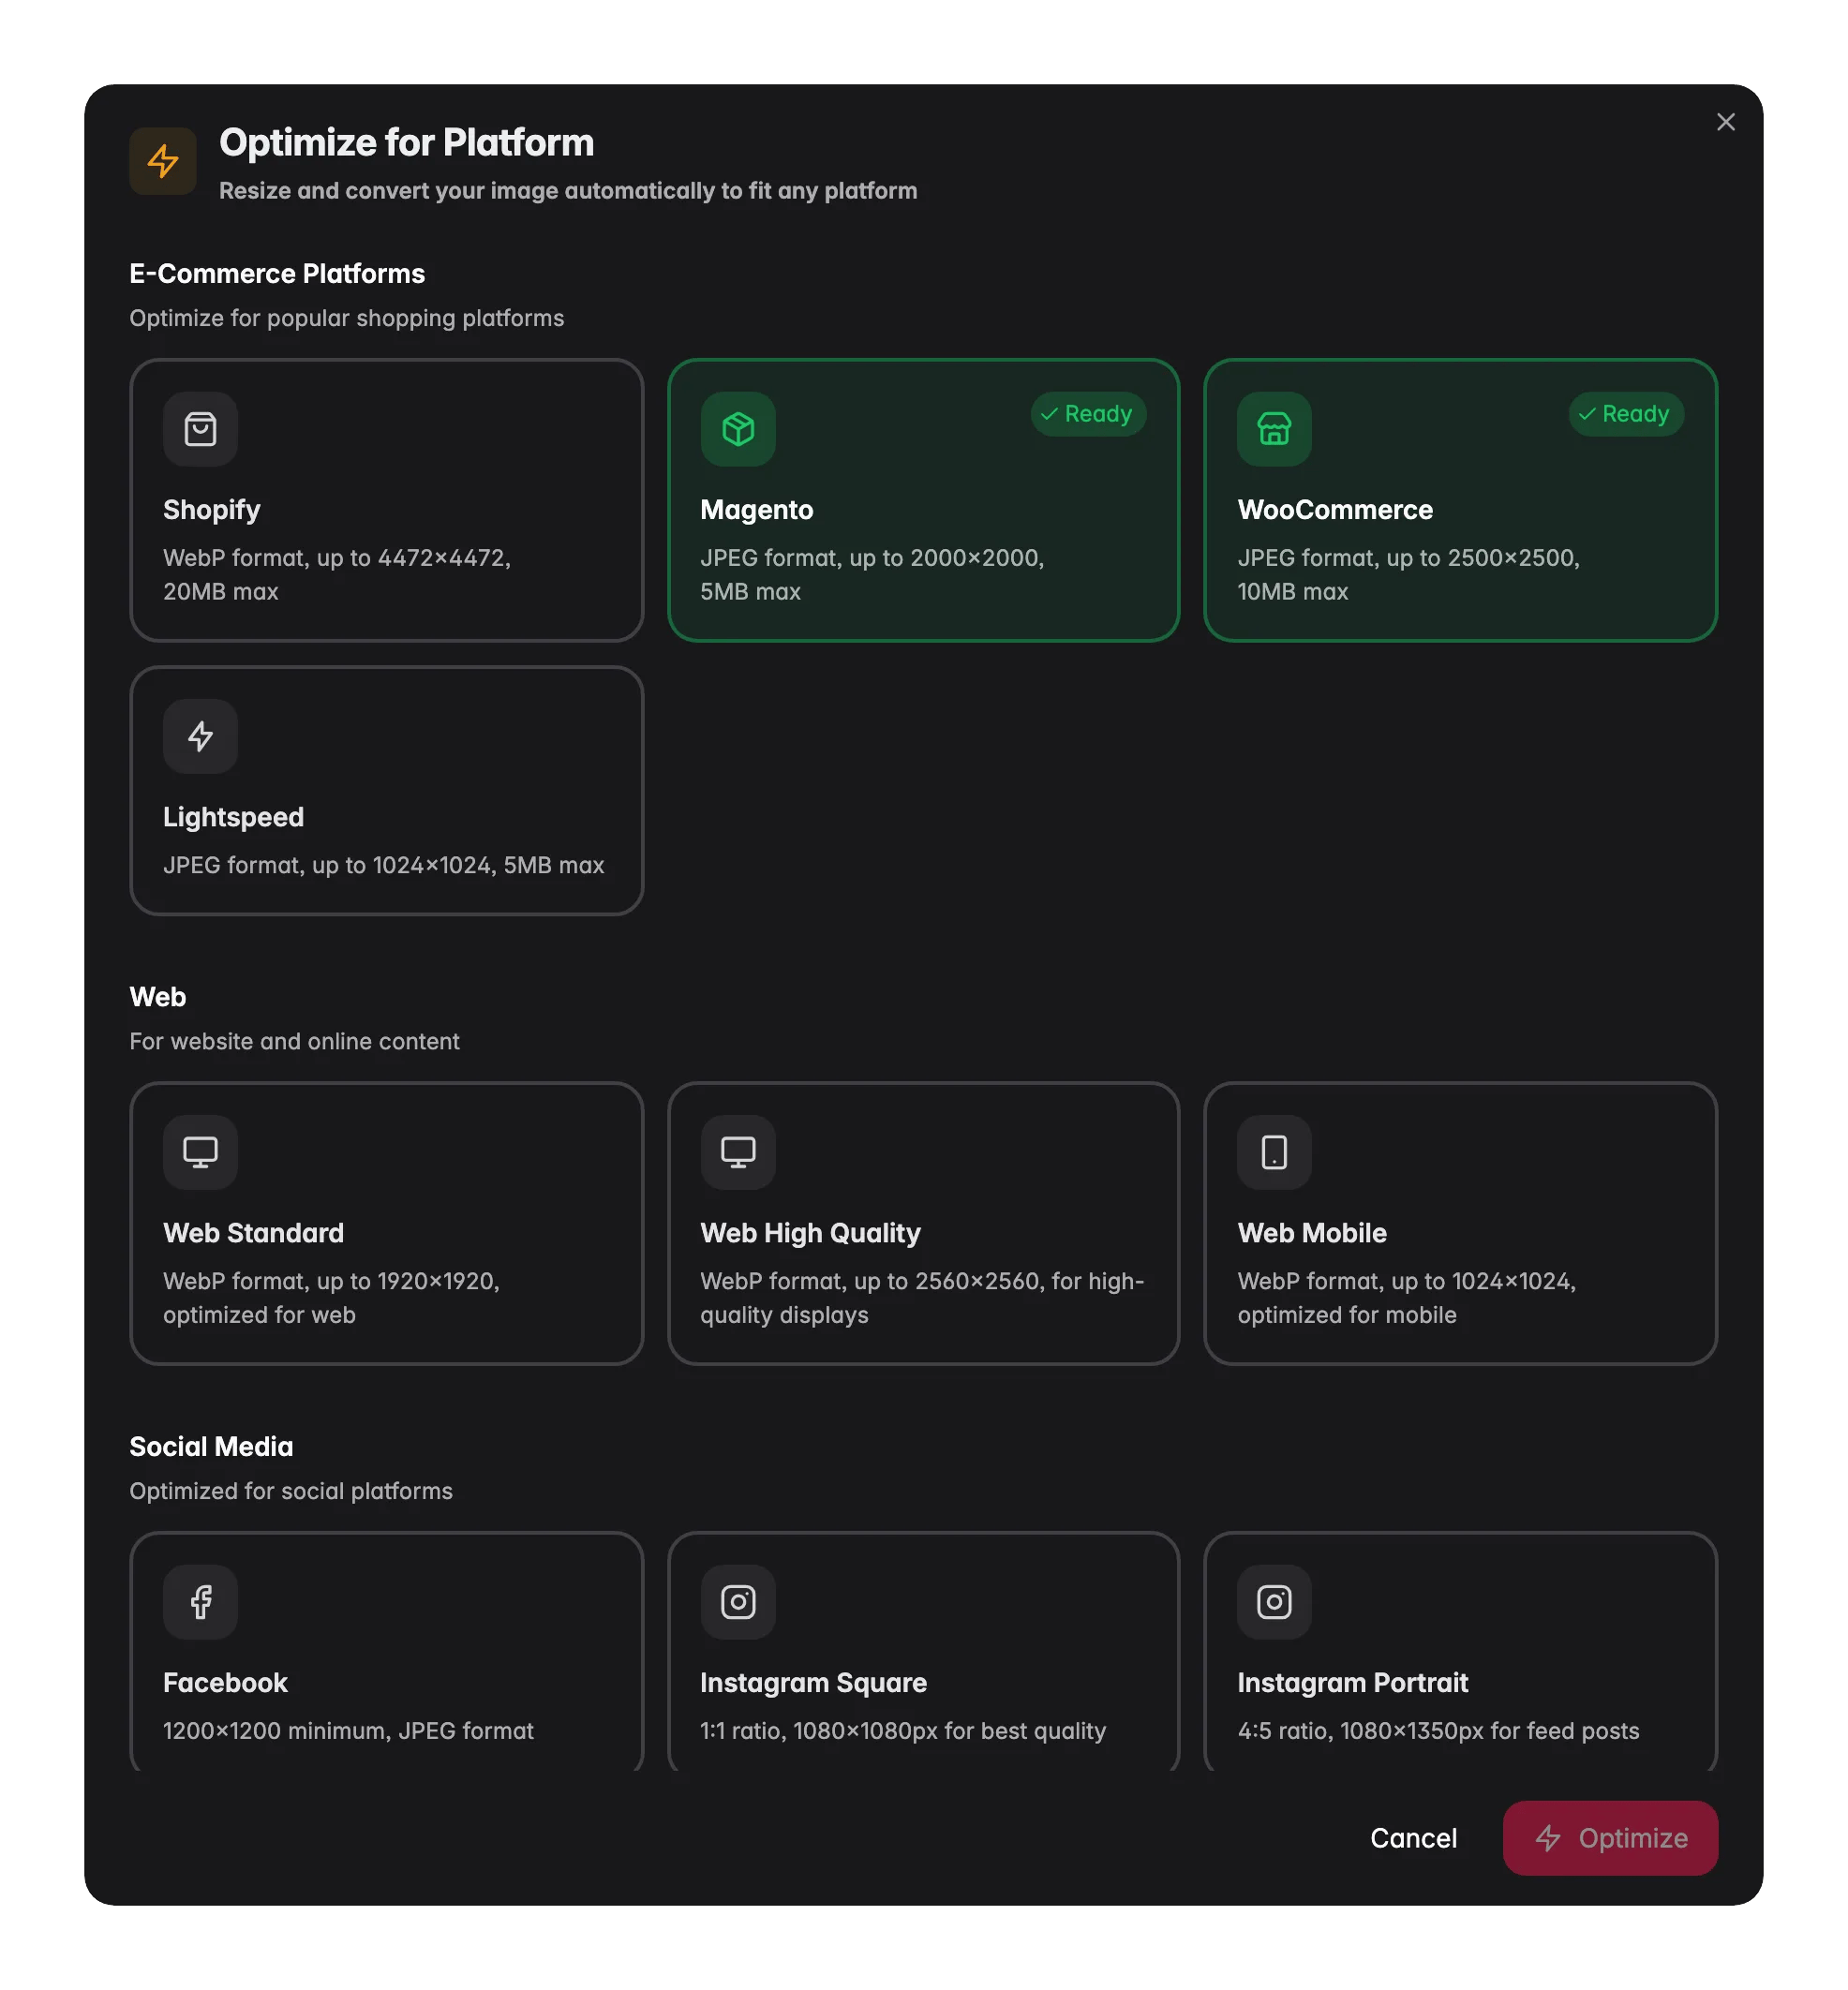
- E-commerce platforms: Shopify, Magento, WooCommerce, and Lightspeed
- Web: standard, high quality, and mobile
- Social: Facebook, Instagram, LinkedIn, X, Pinterest, and more
- Print: standard and high quality
Bulk image actions
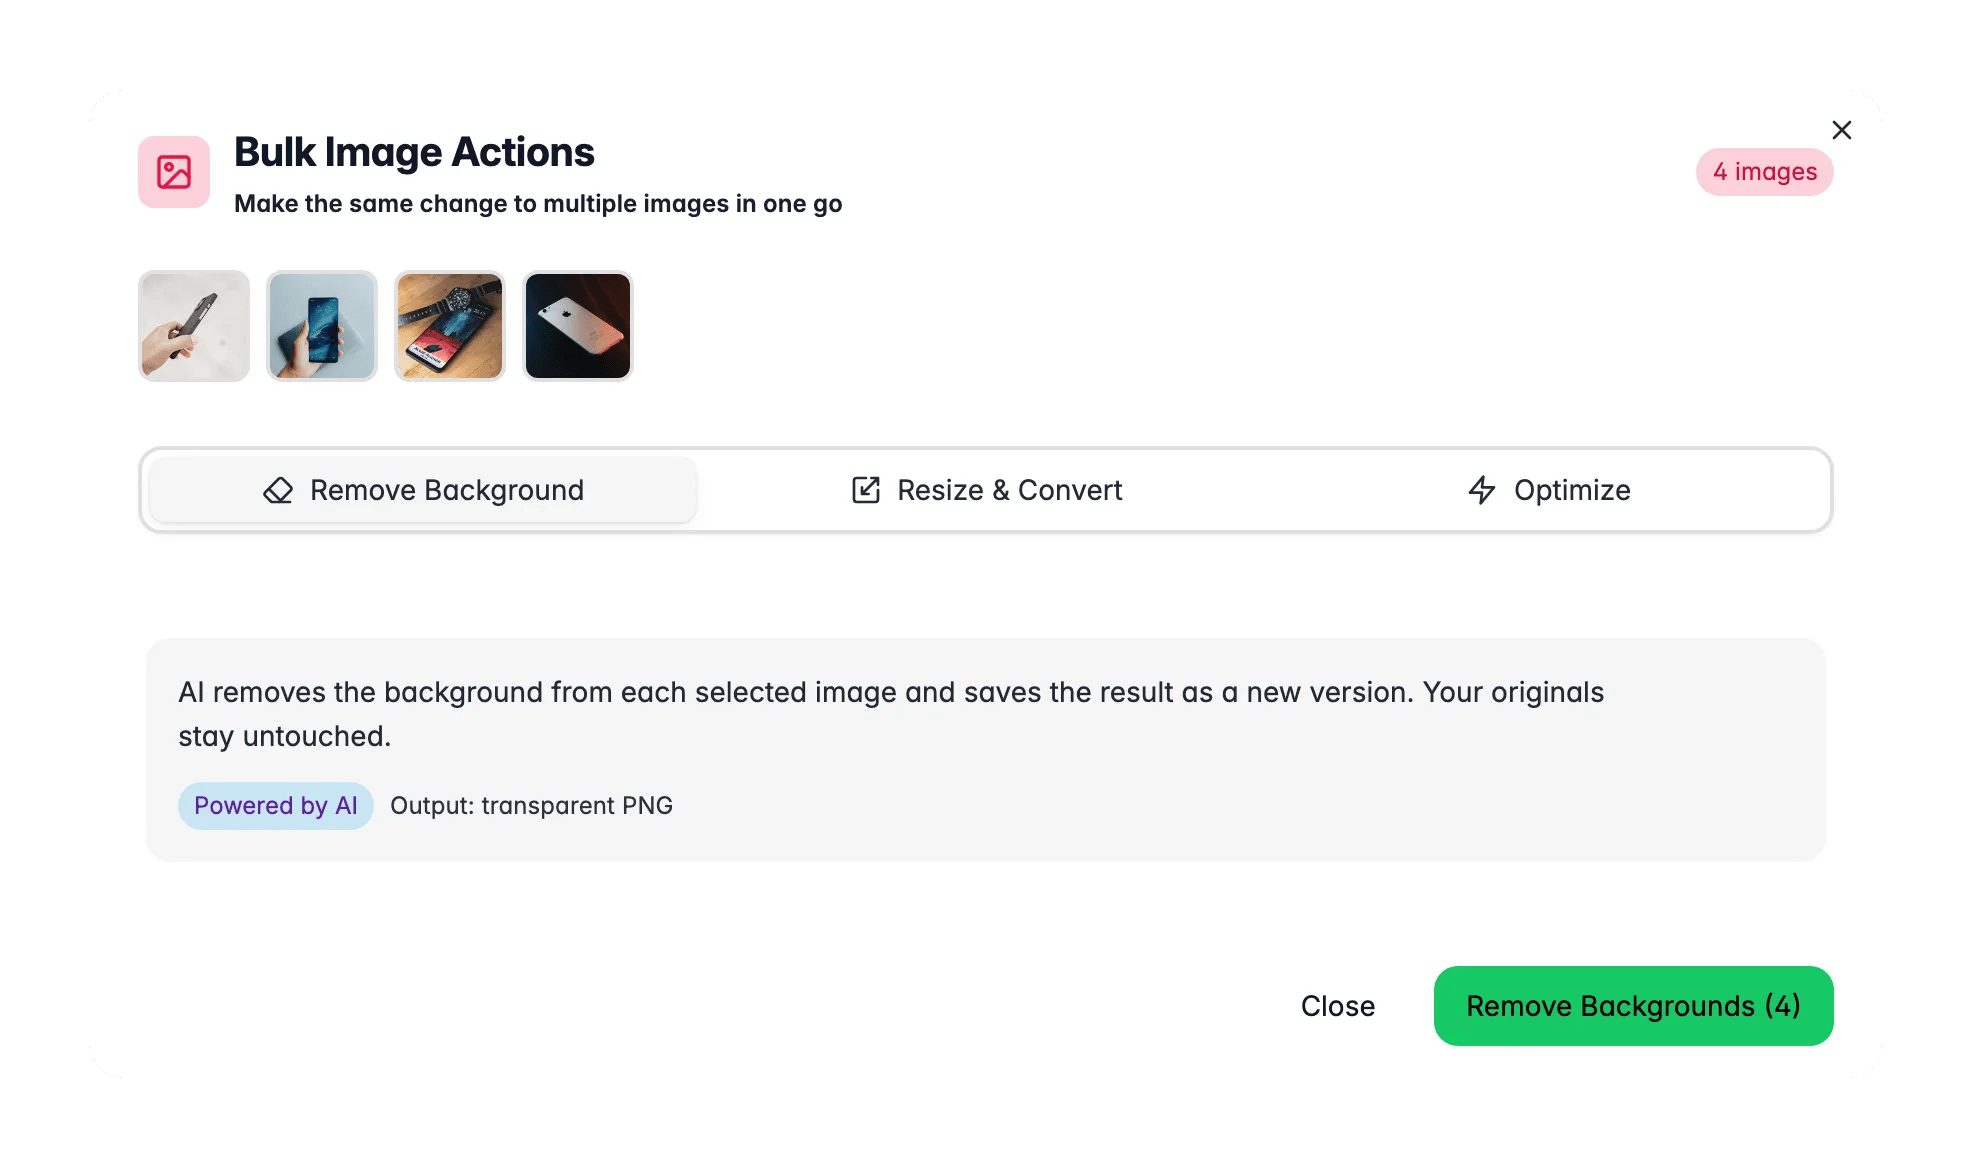
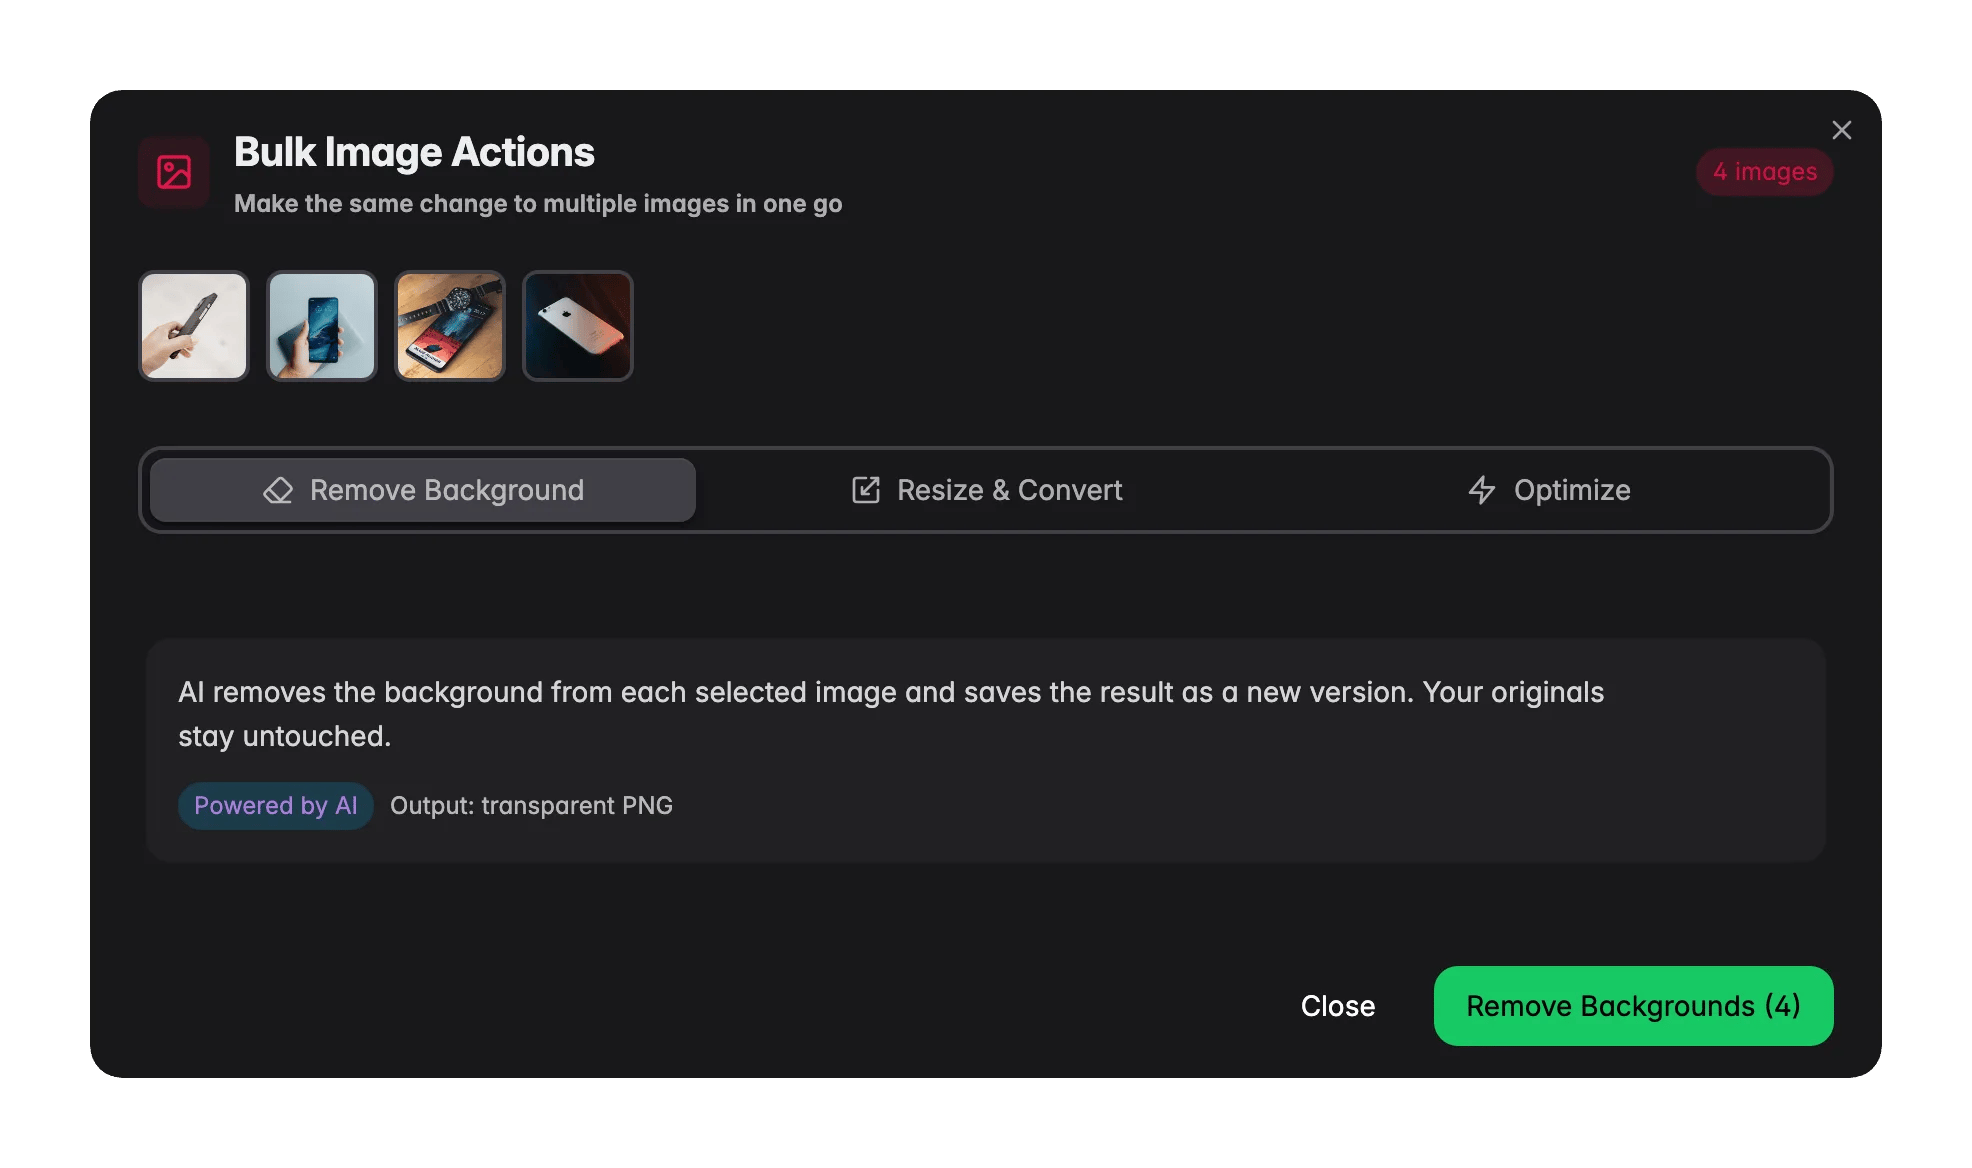
Attaching media to products
There are two ways to connect assets to a product:- From the Media Library: open an asset’s detail panel, scroll to Products, and click Link to product. Search by name or SKU, select the products, and confirm.
- From the product editor: open a product, go to the Media tab (the product gallery), and click Link from Media Library. Browse or search your library, pick the images, and they appear in the product gallery instantly.
The product gallery
The product gallery inside a product shows all linked images and media. You can:- Drag to reorder images
- Set a main image: the first image shown on listings and exports
- Remove background on any image directly from the gallery
- Unlink an image from the product without deleting it from the library. Select several images and unlink them in one go
- Upload new images directly into the product, which also adds them to the Media Library
- Copy the image URL to use in external tools
Related
Editing Products
Open the product editor and work with the Media tab to manage a product’s gallery.
Managing Products
Browse, filter, and organize your product catalog.