Replatforming without losing product data: use WISEPIM as the middle layer, rehearse the move on a copy, and land on the new store with better content.
Moving stores is the scariest week your catalog will ever have. Years of descriptions, categories, and attributes sit in the old system, and a straight copy usually loses something quietly: an attribute that had nowhere to go, a category tree that flattened, a URL structure that changed underneath your rankings. The way out is to stop treating the move as a copy. Put WISEPIM in the middle, land the old catalog there, improve it while it sits still, and push a better catalog into the new store than the one you took out.Budget about half a day of hands-on work, plus background import and export time that scales with your catalog size. If there is no old platform to leave and this is simply your first catalog, follow the first-catalog series instead.
Before you start: you need admin access to both platforms so you can connect them as integrations, and a WISEPIM project you are happy to fill with the old catalog. Nothing you do here touches either store until you run an export.
What you’ll get: your full catalog in WISEPIM with a CSV snapshot you can fall back on, cleaned and re-SEO’d content, and a first push to the new platform that only sends products passing your quality rules.
The route splits once, at the rehearsal, and rejoins before anything reaches the new store:
Connect both ends before you import anything. The source is what you are pulling from, and having the destination connected already means your export template and skip-unchanged baseline are ready when you get there.
1
Connect the platform you are leaving
Set up the source integration first, for example Magento 2. Only connected platforms show up in the import modal, so this has to happen before anything else.
2
Connect the platform you are moving to
Do the same for the destination, for example Shopify. Connecting it now, not later, means you can test a small export the moment your data is ready.
3
Import from the source
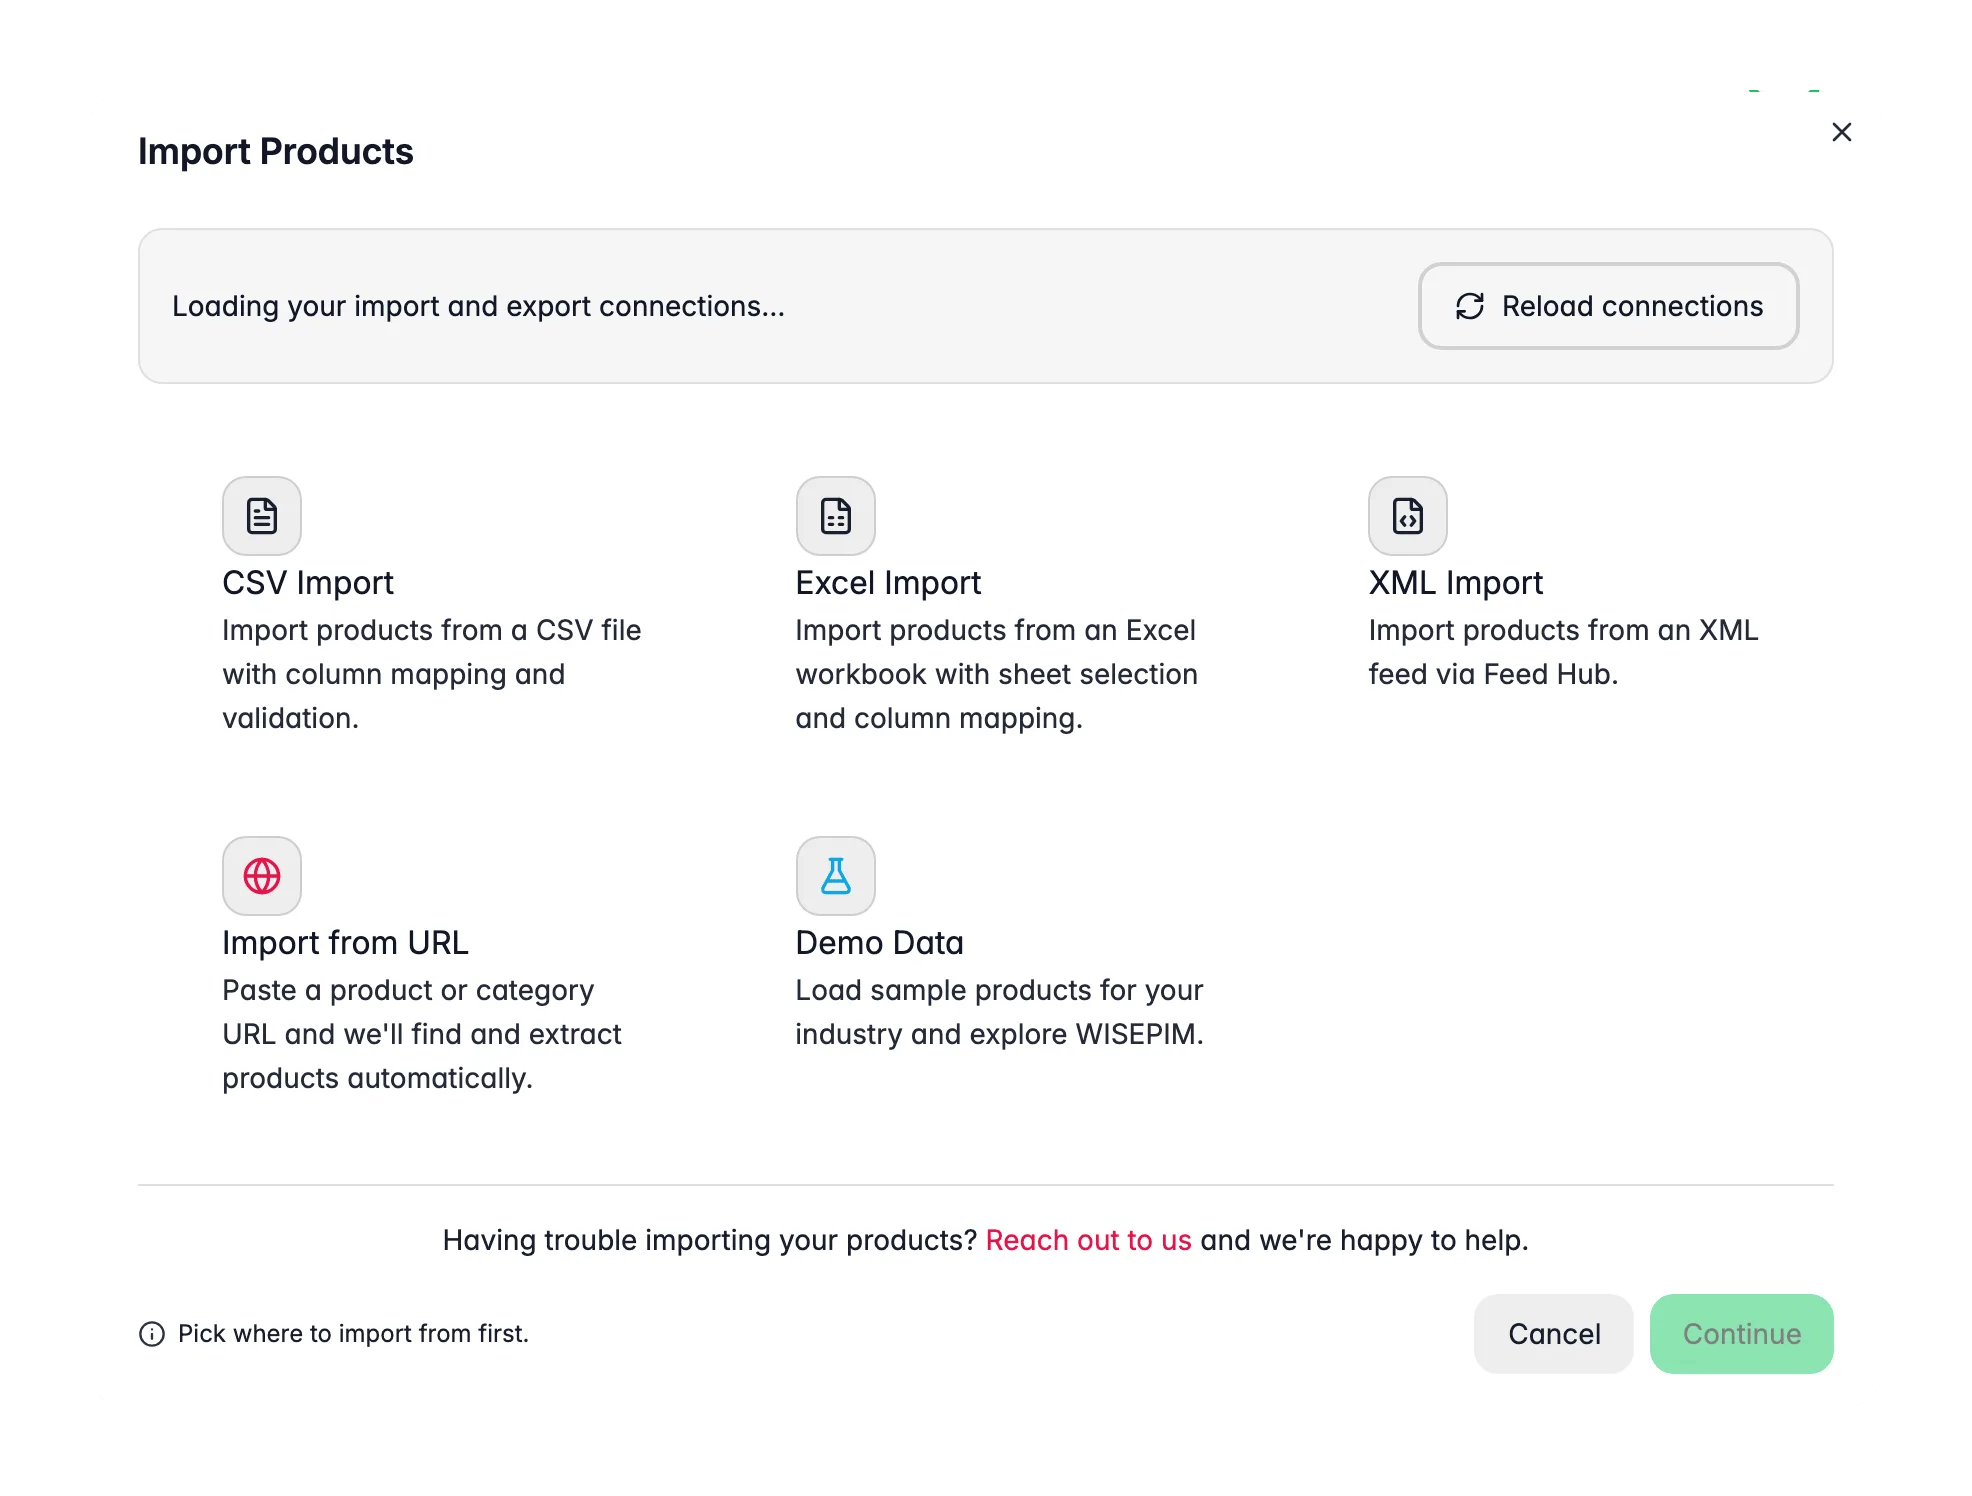
On the Products page click Import in the toolbar and pick the old platform - only connected integrations are listed. On your first platform import WISEPIM pulls your categories and attributes in alongside the products, so the structure comes with the data instead of being rebuilt by hand. See importing products.
4
Verify the structure, not just the product count
Open your category tree and your attribute list and check they match the old system. A product count that looks right can still hide a category that collapsed or an attribute that arrived empty. If the import was wrong at the source, roll it back from the Process Tracker before you build anything on top of it.
5
Export a CSV snapshot as your rollback net
With nothing selected, click Export in the Products toolbar so the run covers the whole catalog, choose CSV with all columns and languages, and keep the file. Take it now rather than after the cleanup: it is the only artifact that still holds the original values once you start bulk-editing.
The Data Sync category of the automation gallery ships ready-made migration workflows, including Magento to Shopify and WooCommerce to Shopify. If your move is one of those pairs, apply the template and point its nodes at your own integrations rather than wiring each step yourself.
Not every move needs a rehearsal, but the decision has to happen now: a staging project is one action to create today and awkward to retrofit once you have started editing.
Your situation
Route
Small catalog, few custom attributes, old store stays up a while
Direct cutover - clean in place, export when it passes your rules
Thousands of products, or restructuring you cannot eyeball
Staging project - make the expensive mistakes on a copy
The old store switches off on a fixed date
Staging project - you want a proven run, not a first attempt
Someone has to sign off on what changed before it ships
Staging project - Compare Projects turns your edits into a readable diff
Chose direct cutover? Skip ahead. The rest of this section builds the copy.
1
Duplicate the project, or copy a slice into a new one
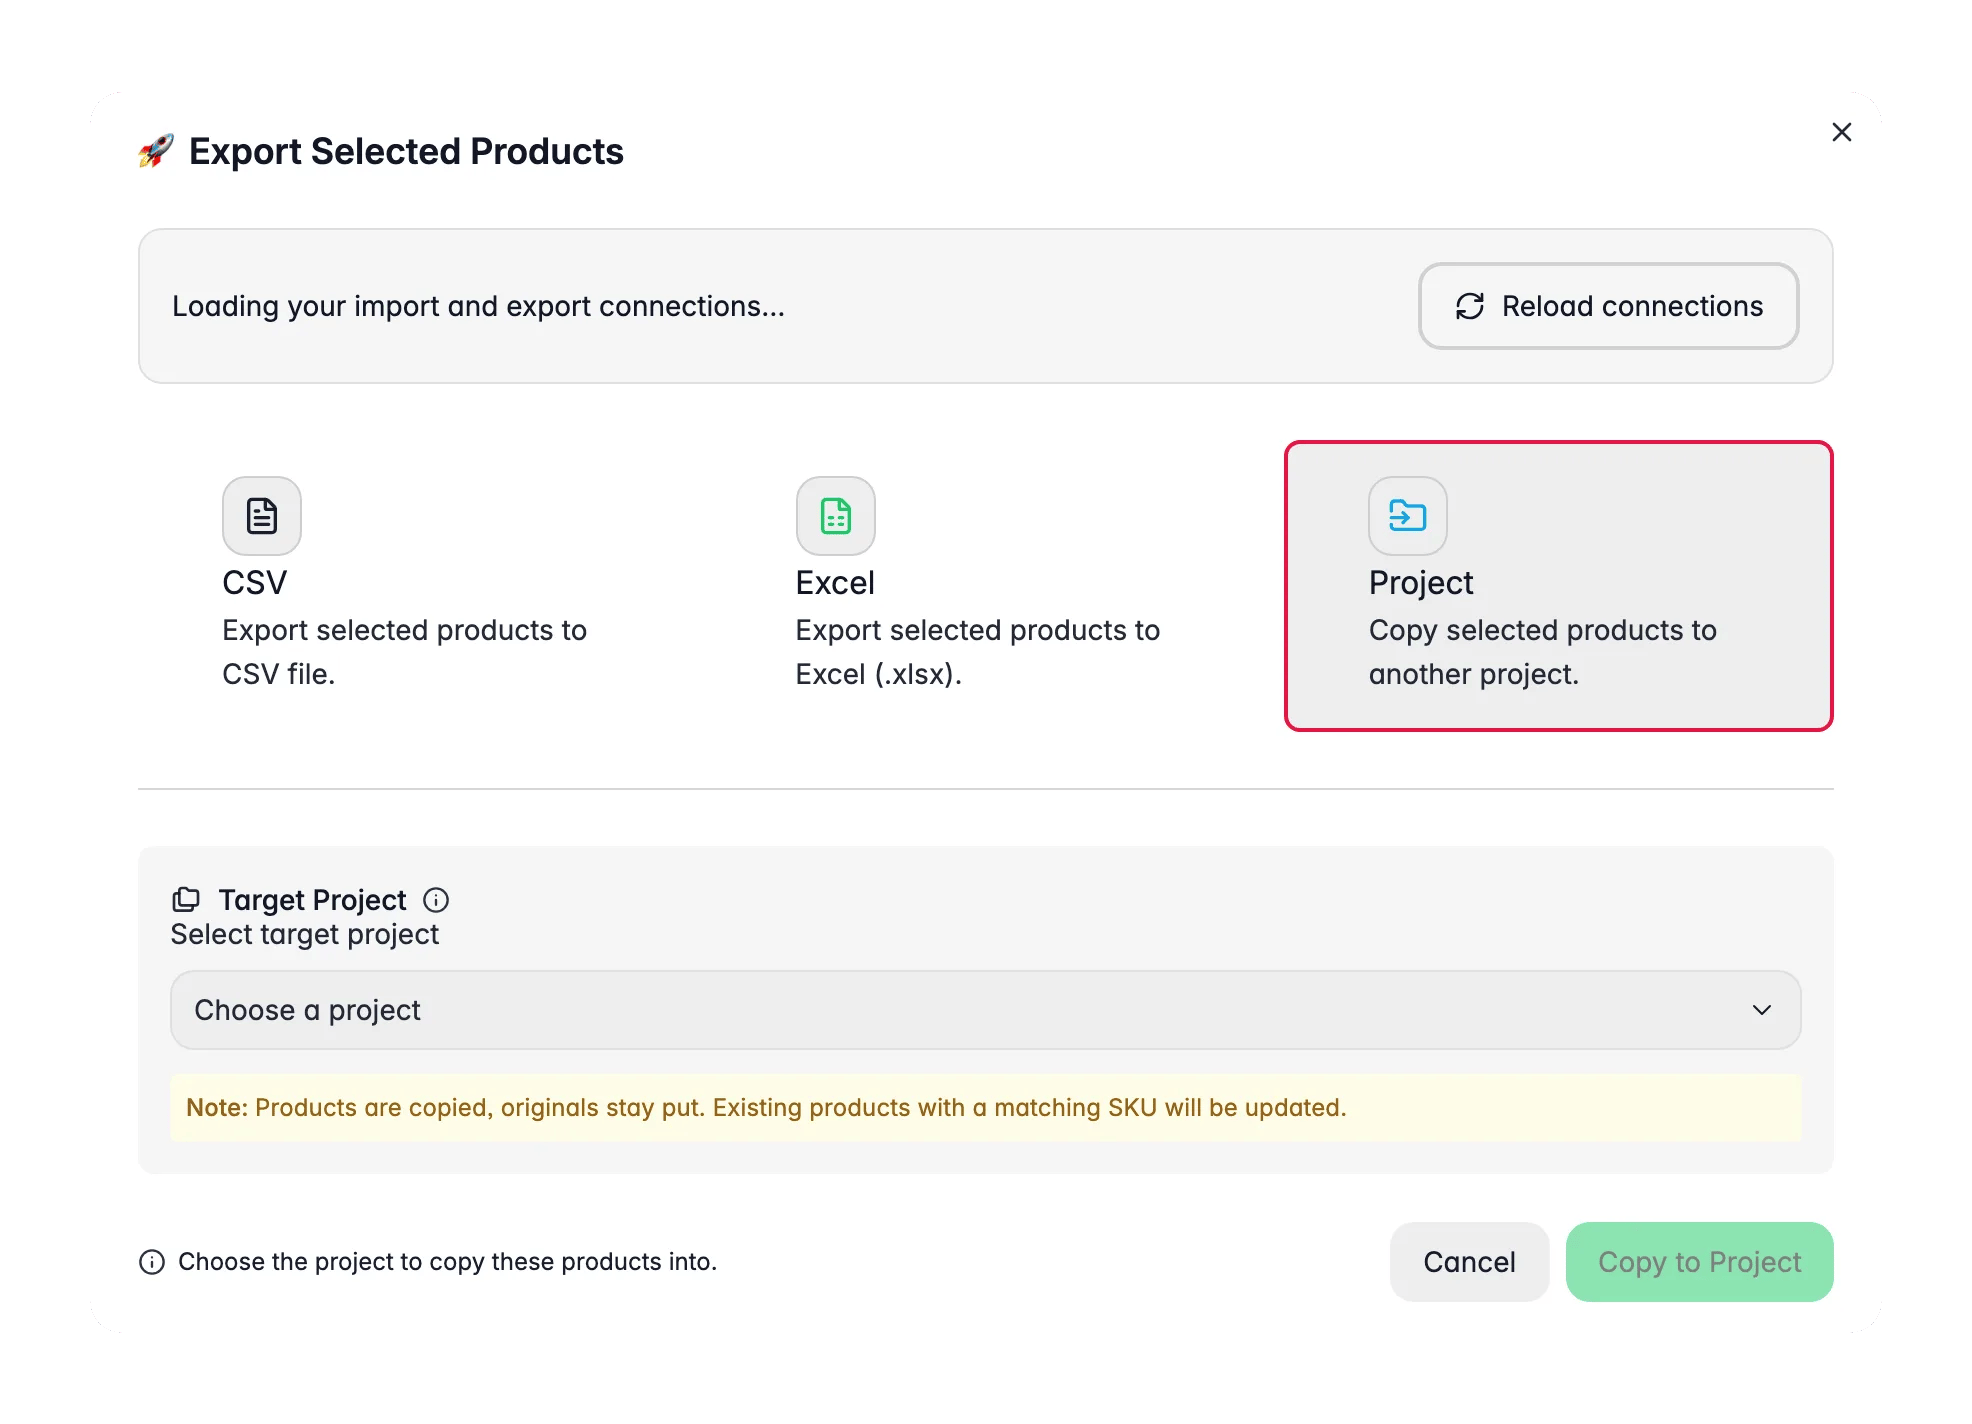
Open the Projects page from the main menu and choose Duplicate in the project’s actions menu: products, categories, attributes, and settings come across in one go. For security a duplicate does not carry integration API keys, so reconnect the destination there if you want to test a real export. To rehearse on a subset instead, filter to a few hundred products and Export them to another project.
2
Run the risky steps in the copy first
Do the bulk restructuring and the enrichment run in the staging project. This is where you find out that a find-and-replace was too broad, at a point where it does not matter.
3
Compare the two projects by SKU
Open Compare Projects, set the staging project and the live one as A and B, and start on the Differ tab. It matches products by SKU and lists the fields that disagree, so you read your own changes back as a diff instead of trusting that they landed.
4
Promote what worked
Once the rehearsal reads right, either repeat the same steps on the real project, or open a product’s diff drawer, set the sync direction, and Sync all the fields across. The rehearsal is only finished when the live project carries the result.
This is the part a plain migration skips. The content is already in one place and nothing is live yet, so it is the cheapest moment you will ever have to fix it.
1
Normalize the text the old system left behind
Select products and click Bulk Edit in the Products toolbar to trim whitespace, standardize case, and strip inherited links. Filter to a small set and test each action there first. If the old catalog is genuinely messy, clean up an inherited catalog has the full running order rather than this shortlist.
2
Restructure categories while they are portable
Reassign, replace, or set primary categories in bulk now, from the same Bulk Edit modal. Changing a category tree in WISEPIM is a bulk action; changing it after the new store is live is a redirect project.
3
Set the new URL rules first
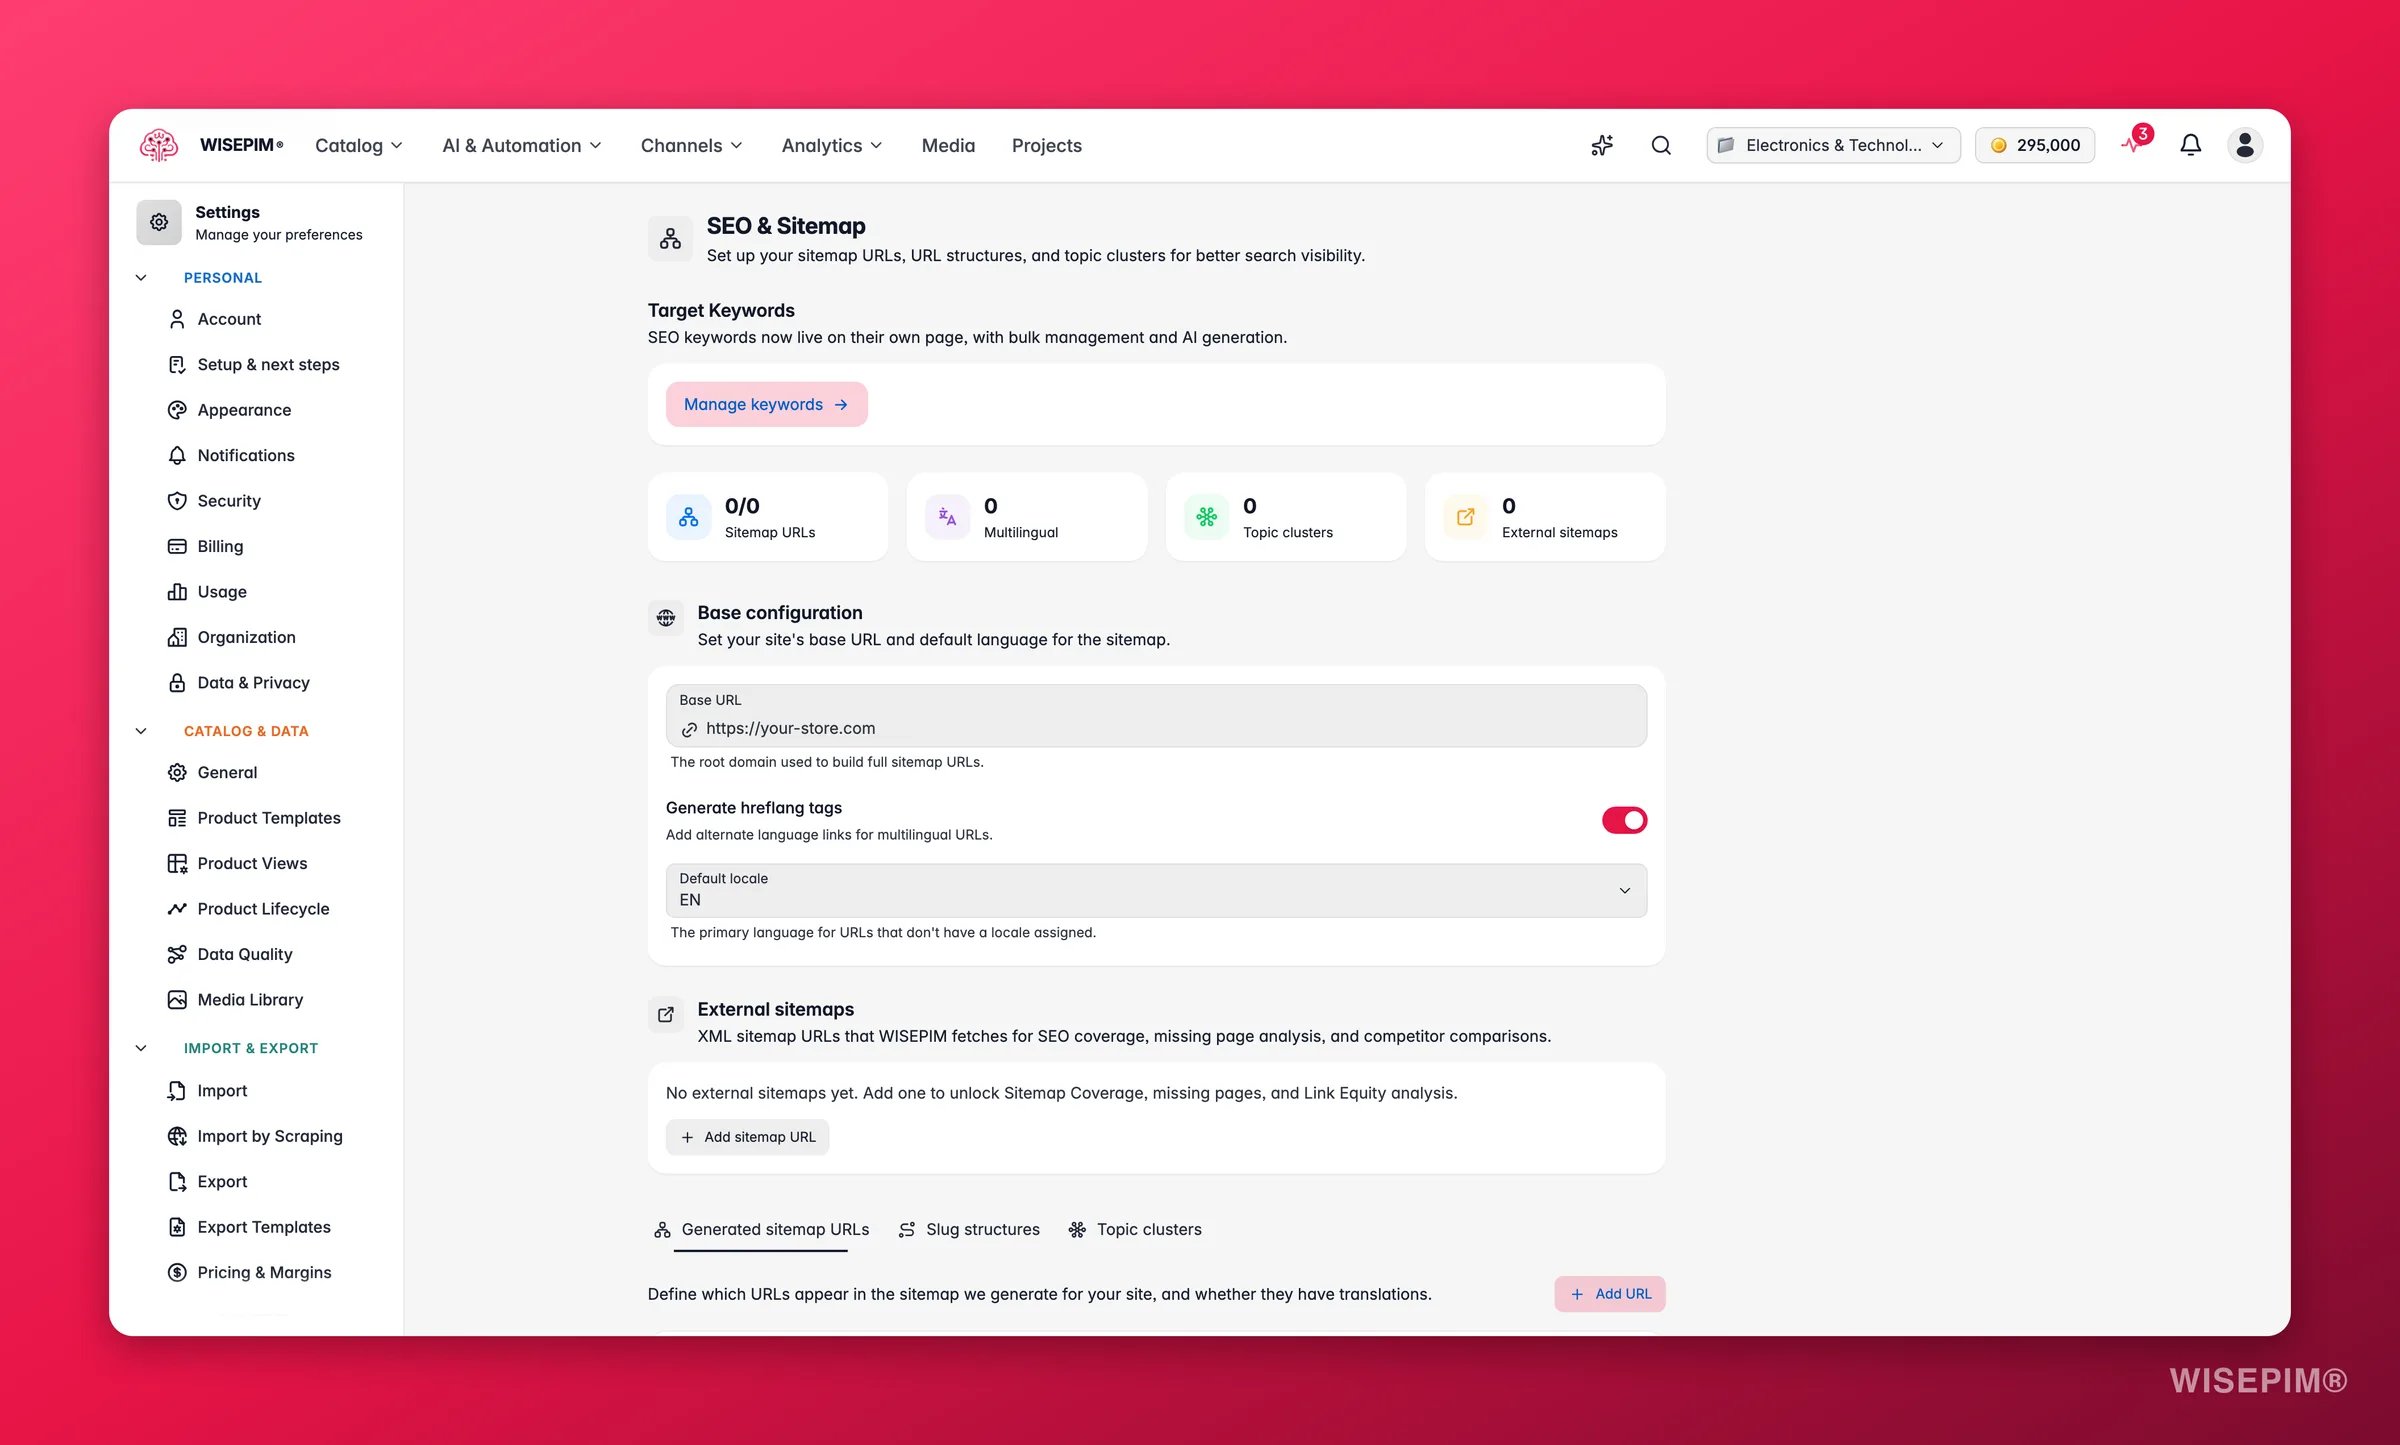
In SEO & Sitemap settings, set the Base URL and then the slug patterns on the Slugs tab, before you generate any meta content. Every slug and sitemap preview is built on that base, so getting it right first is what makes every preview after it honest.
4
Regenerate meta titles and descriptions
Select the catalog, click Enrich with AI in the toolbar, and run SEO title and meta. Do it after the slug rules, not before: this writes the meta fields only, so your on-page copy stays exactly as you just cleaned it.
5
Optionally rewrite the inherited copy
If the old descriptions are not worth carrying over, Bulk Enrich regenerates titles, descriptions, and SEO in one run. It always overwrites, which is exactly what you want here and exactly what you do not want on a selection you did not check first.
Everything so far was reversible inside WISEPIM. From here you are writing into a live system, so the order flips to defensive: rules first, then a handful of products, then the rest.
1
Put rules in front of the export
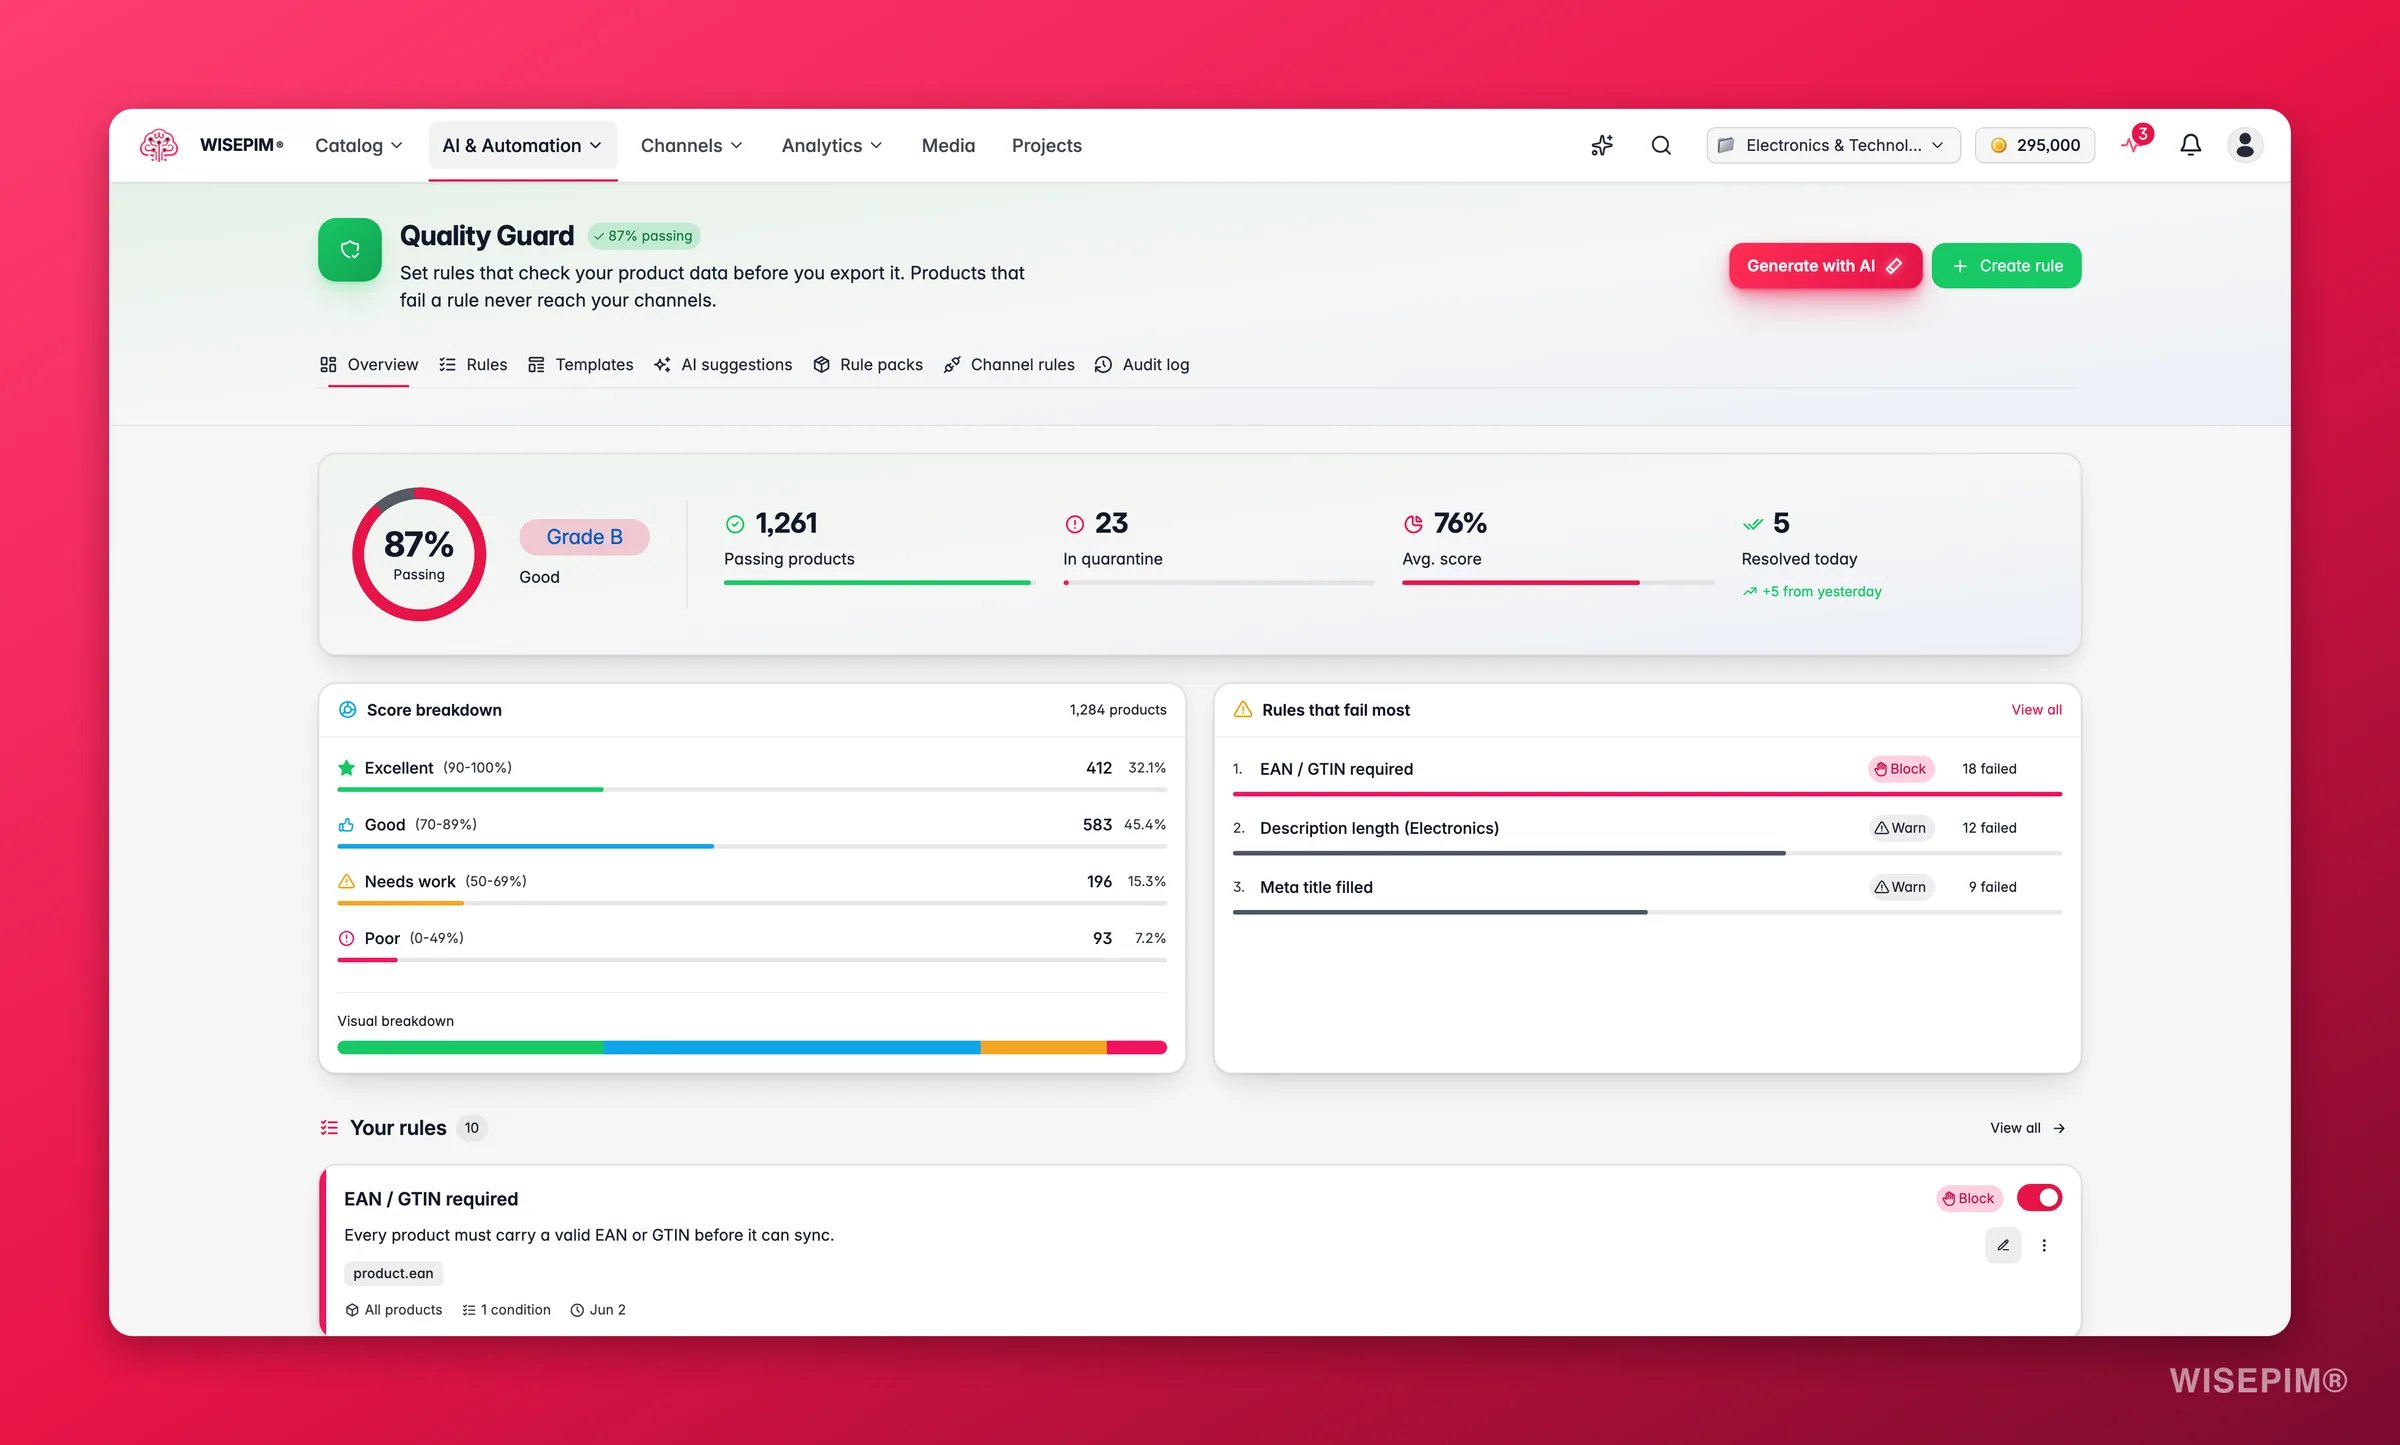
In Quality Guard, open the Rule Packs tab and install the pack for the platform you are moving to, or start from a single template on the Rule Templates tab. Packs install as drafts, so review them and toggle them active. Quality Guard runs on every export, which makes these the gate the migration has to pass.
2
Read the compliance rate before you push anything
On the Quality Guard dashboard, read the compliance rate and the Top Failing Rules list. Fix the rule that fails the most products first - one root cause usually clears several rules at once - and empty the quarantine before the first export, not after a half-broken store is live.
3
Build the export template for the new platform
In Export templates, click New template, target the destination, then run the preview action to push your first three products through it and read the resulting headers. A wrong column header is a two-second catch here and a support ticket later.
4
Export a small batch, then check the store
Filter to a handful of representative products, export them, and open them in the new platform. Verify the storefront, not just the admin.
5
Push the rest, then keep syncing with skip-unchanged
Run the full export. Skip unchanged is on by default for platform exports, so every sync after the first one only sends the products that actually changed.
Only one variant's price and SKU made it to Shopify
Shopify sync is single-variant today: import reads the first variant’s price, SKU, barcode, and stock onto the product, and export writes those fields back to that same variant. The full option matrix is not synced in either direction, so keep managing multi-variant options in Shopify itself.
I imported the wrong store, or the wrong file
Open the import task in the Process Tracker and choose Rollback. It removes what that import brought in. Rollback exists only on import tasks, so do it before you start enriching, or you throw away the work you did on top.
The export ran but nothing was sent
With Skip unchanged on, products that have not changed since the last export to that platform are skipped on purpose. Turn it off to force a full re-export, which is what you want after changing the channel’s settings. See exporting products.
Products are being held back and never reach the new store
A Quality Guard rule with Block severity quarantines a product instead of exporting it, and on a large catalog one blocking rule can hold up the whole cutover. Open quarantine, read the failure reason, fix the underlying field in bulk, then use Bulk Resolve to release the batch. A product you genuinely want to ship despite the violation can be bypassed with a recorded reason.
The prices in the new store are not the prices in WISEPIM
If Pricing & Margins rules are active, markups and margins are applied at export time, per channel, while your stored prices stay as they are. Check your pricing rules before you go hunting through product data.