

Before you start: finish part 1, and have your file saved as UTF-8 CSV with headers in the first row, or your platform connected on the Integrations page. Products already in? Skip to part 3.
Decide the rules before you upload anything
Import settings are project-wide defaults that apply to every import, including the ones your colleagues run later. Setting them before the first upload is what makes the second and third import boring. The one that bites is conflict resolution: what happens when an incoming product already exists, matched on SKU or another identifier.1
Set your conflict resolution
Pick from the table above. You can still override it for one specific run in the importer, so the setting here is your safe default, not a lock.
2
Set empty-field handling
Skip empty fields keeps whatever is already in WISEPIM, which is the safe choice when your file only carries part of each product. The alternatives clear the field or fall back to the attribute’s default.
3
Pick a validation strictness
Strict rejects any row with missing required fields, standard imports the valid rows and reports what it skipped, lenient auto-fixes minor issues. Standard is the documented recommendation.
4
Add import filters if the file has junk in it
Conditions on fields like price or SKU let you leave test products and incomplete rows behind, instead of importing them and deleting them afterwards.
Test-import about 50 rows
Cut the first 50 rows of your file into a separate file and import that. You are not checking whether the import works, you are checking whether your interpretation of the file is right, while the cost of being wrong is 50 records instead of 5,000.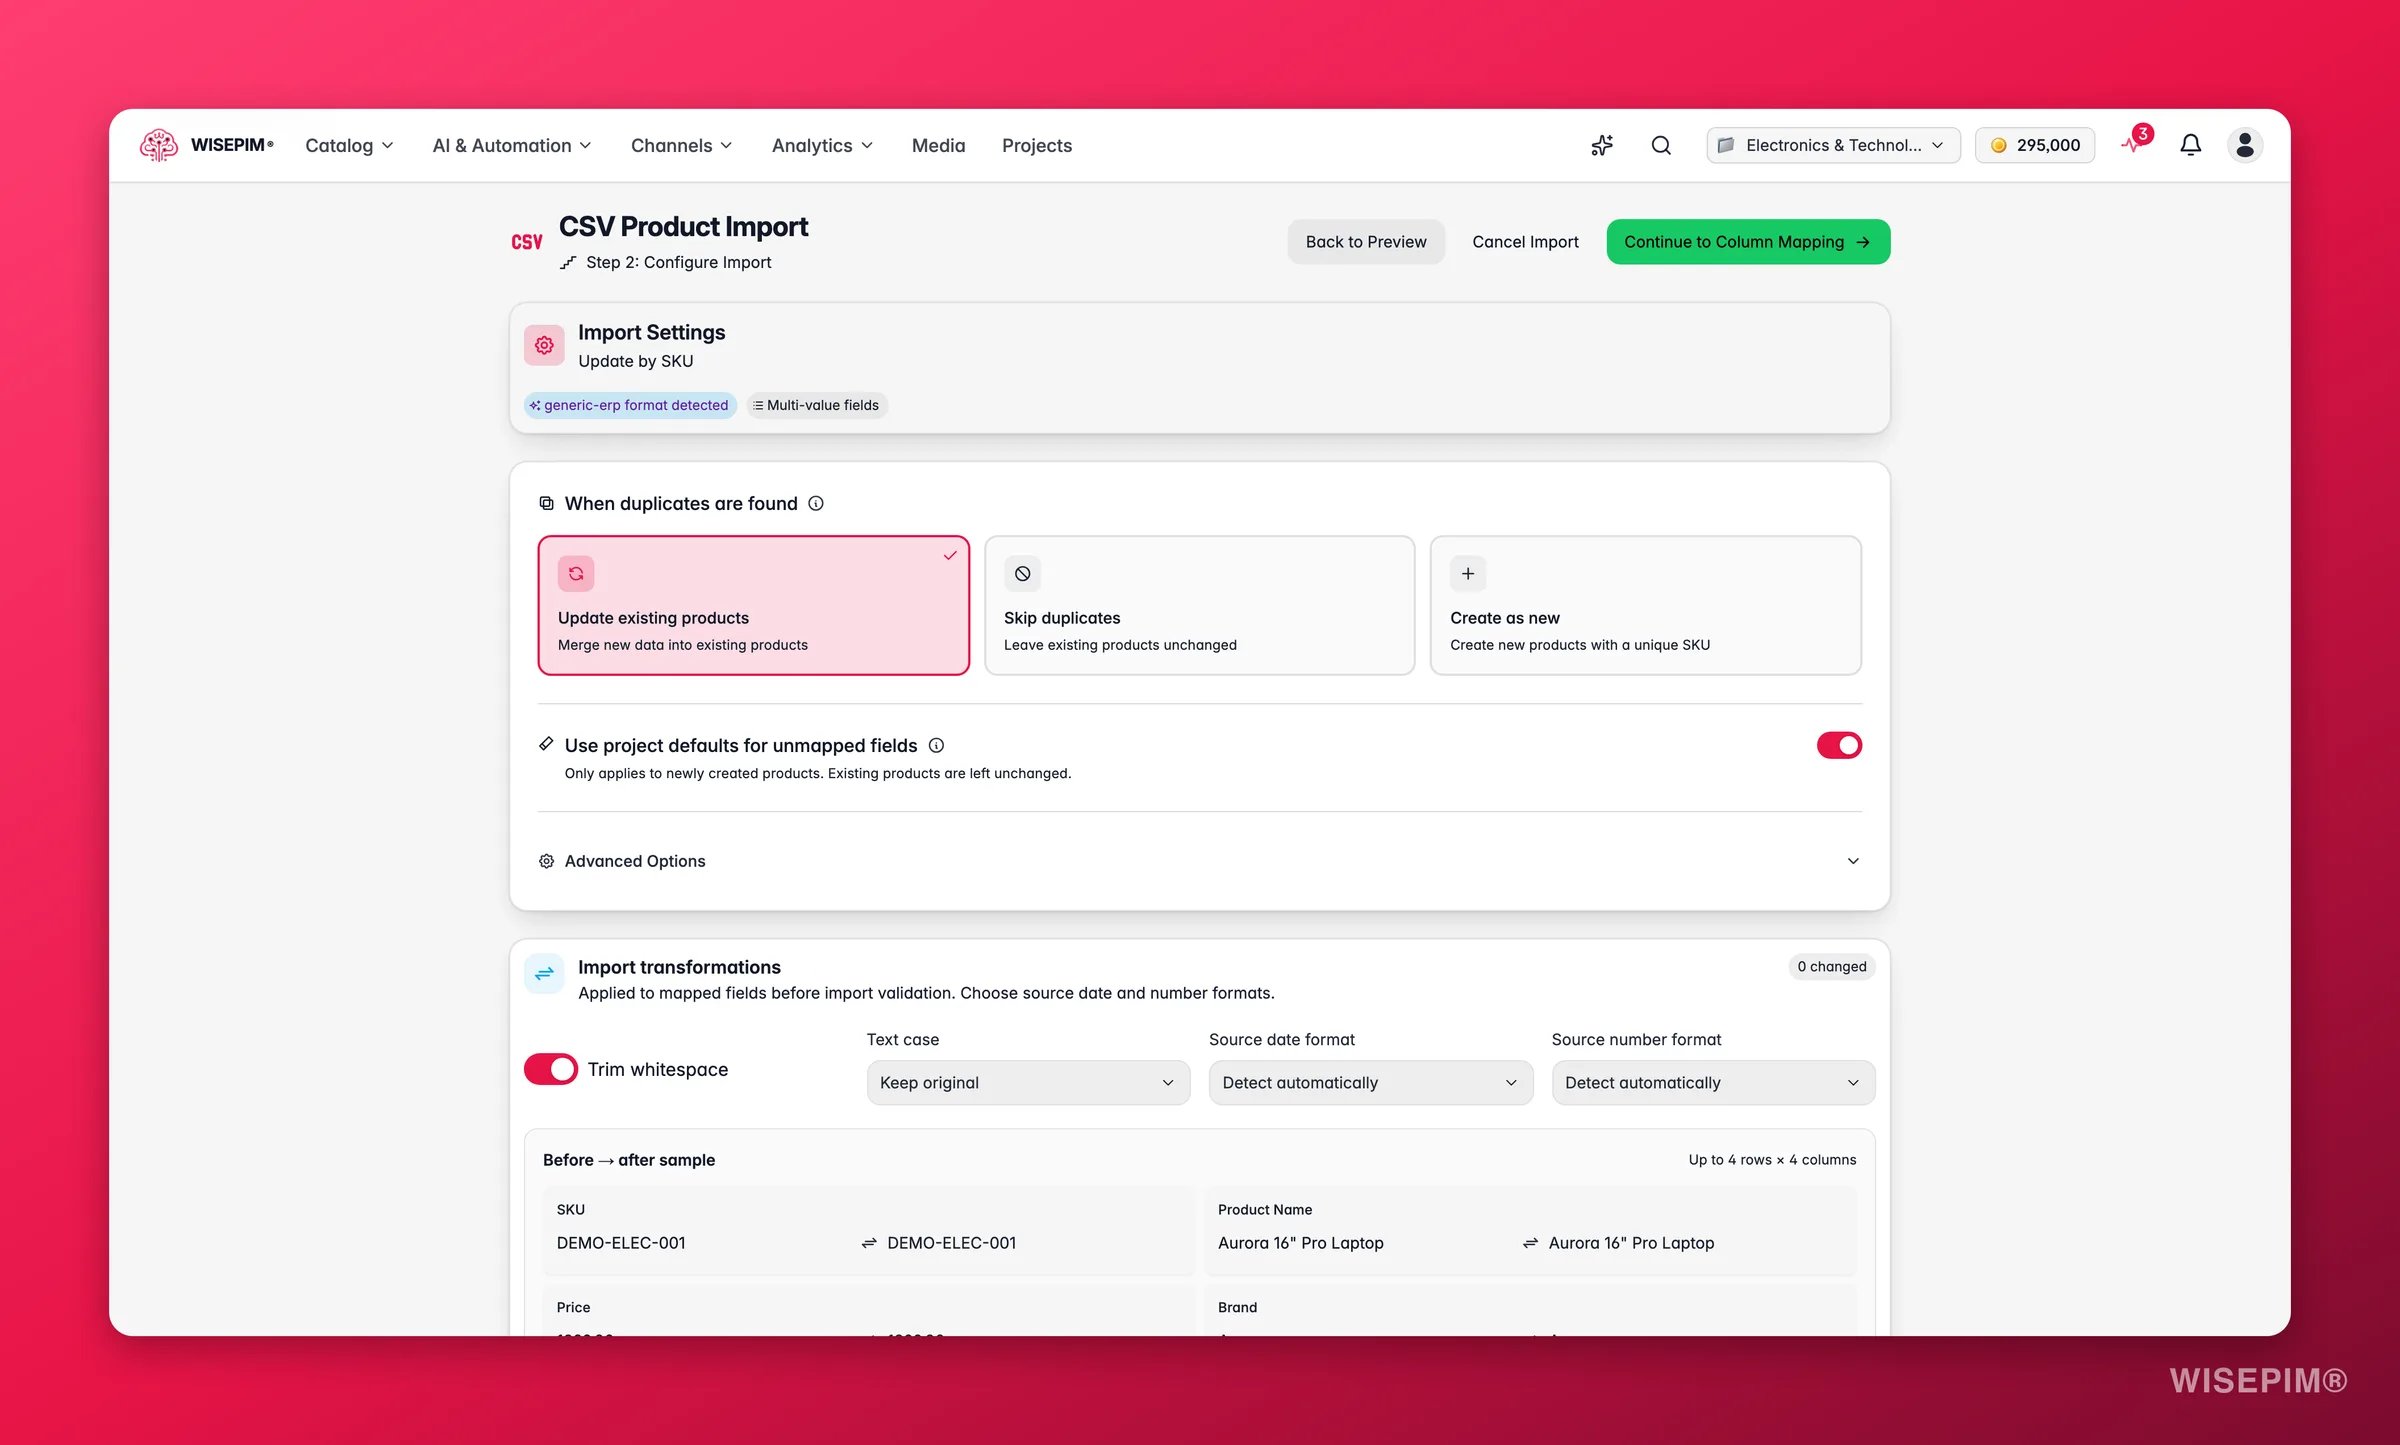
1
Upload and confirm what WISEPIM detected
On the Products page, click Import in the toolbar and pick your source. The CSV importer runs in four steps, Upload, Configure, Mapping, and Importing, and the first one reports the row count, the detected delimiter, and the encoding. Fix a wrong guess here rather than debugging garbled text later.
2
Read the three numbers on the Nested Data step
When the file’s structure suggests variants, a Variants detected chip appears with a proposed setup, and WISEPIM shows how many Parents, Variants, and Standalone products it would produce before you import. Those three numbers are the cheapest sanity check in the whole import, and getting them right here saves regrouping by hand in part 3.
3
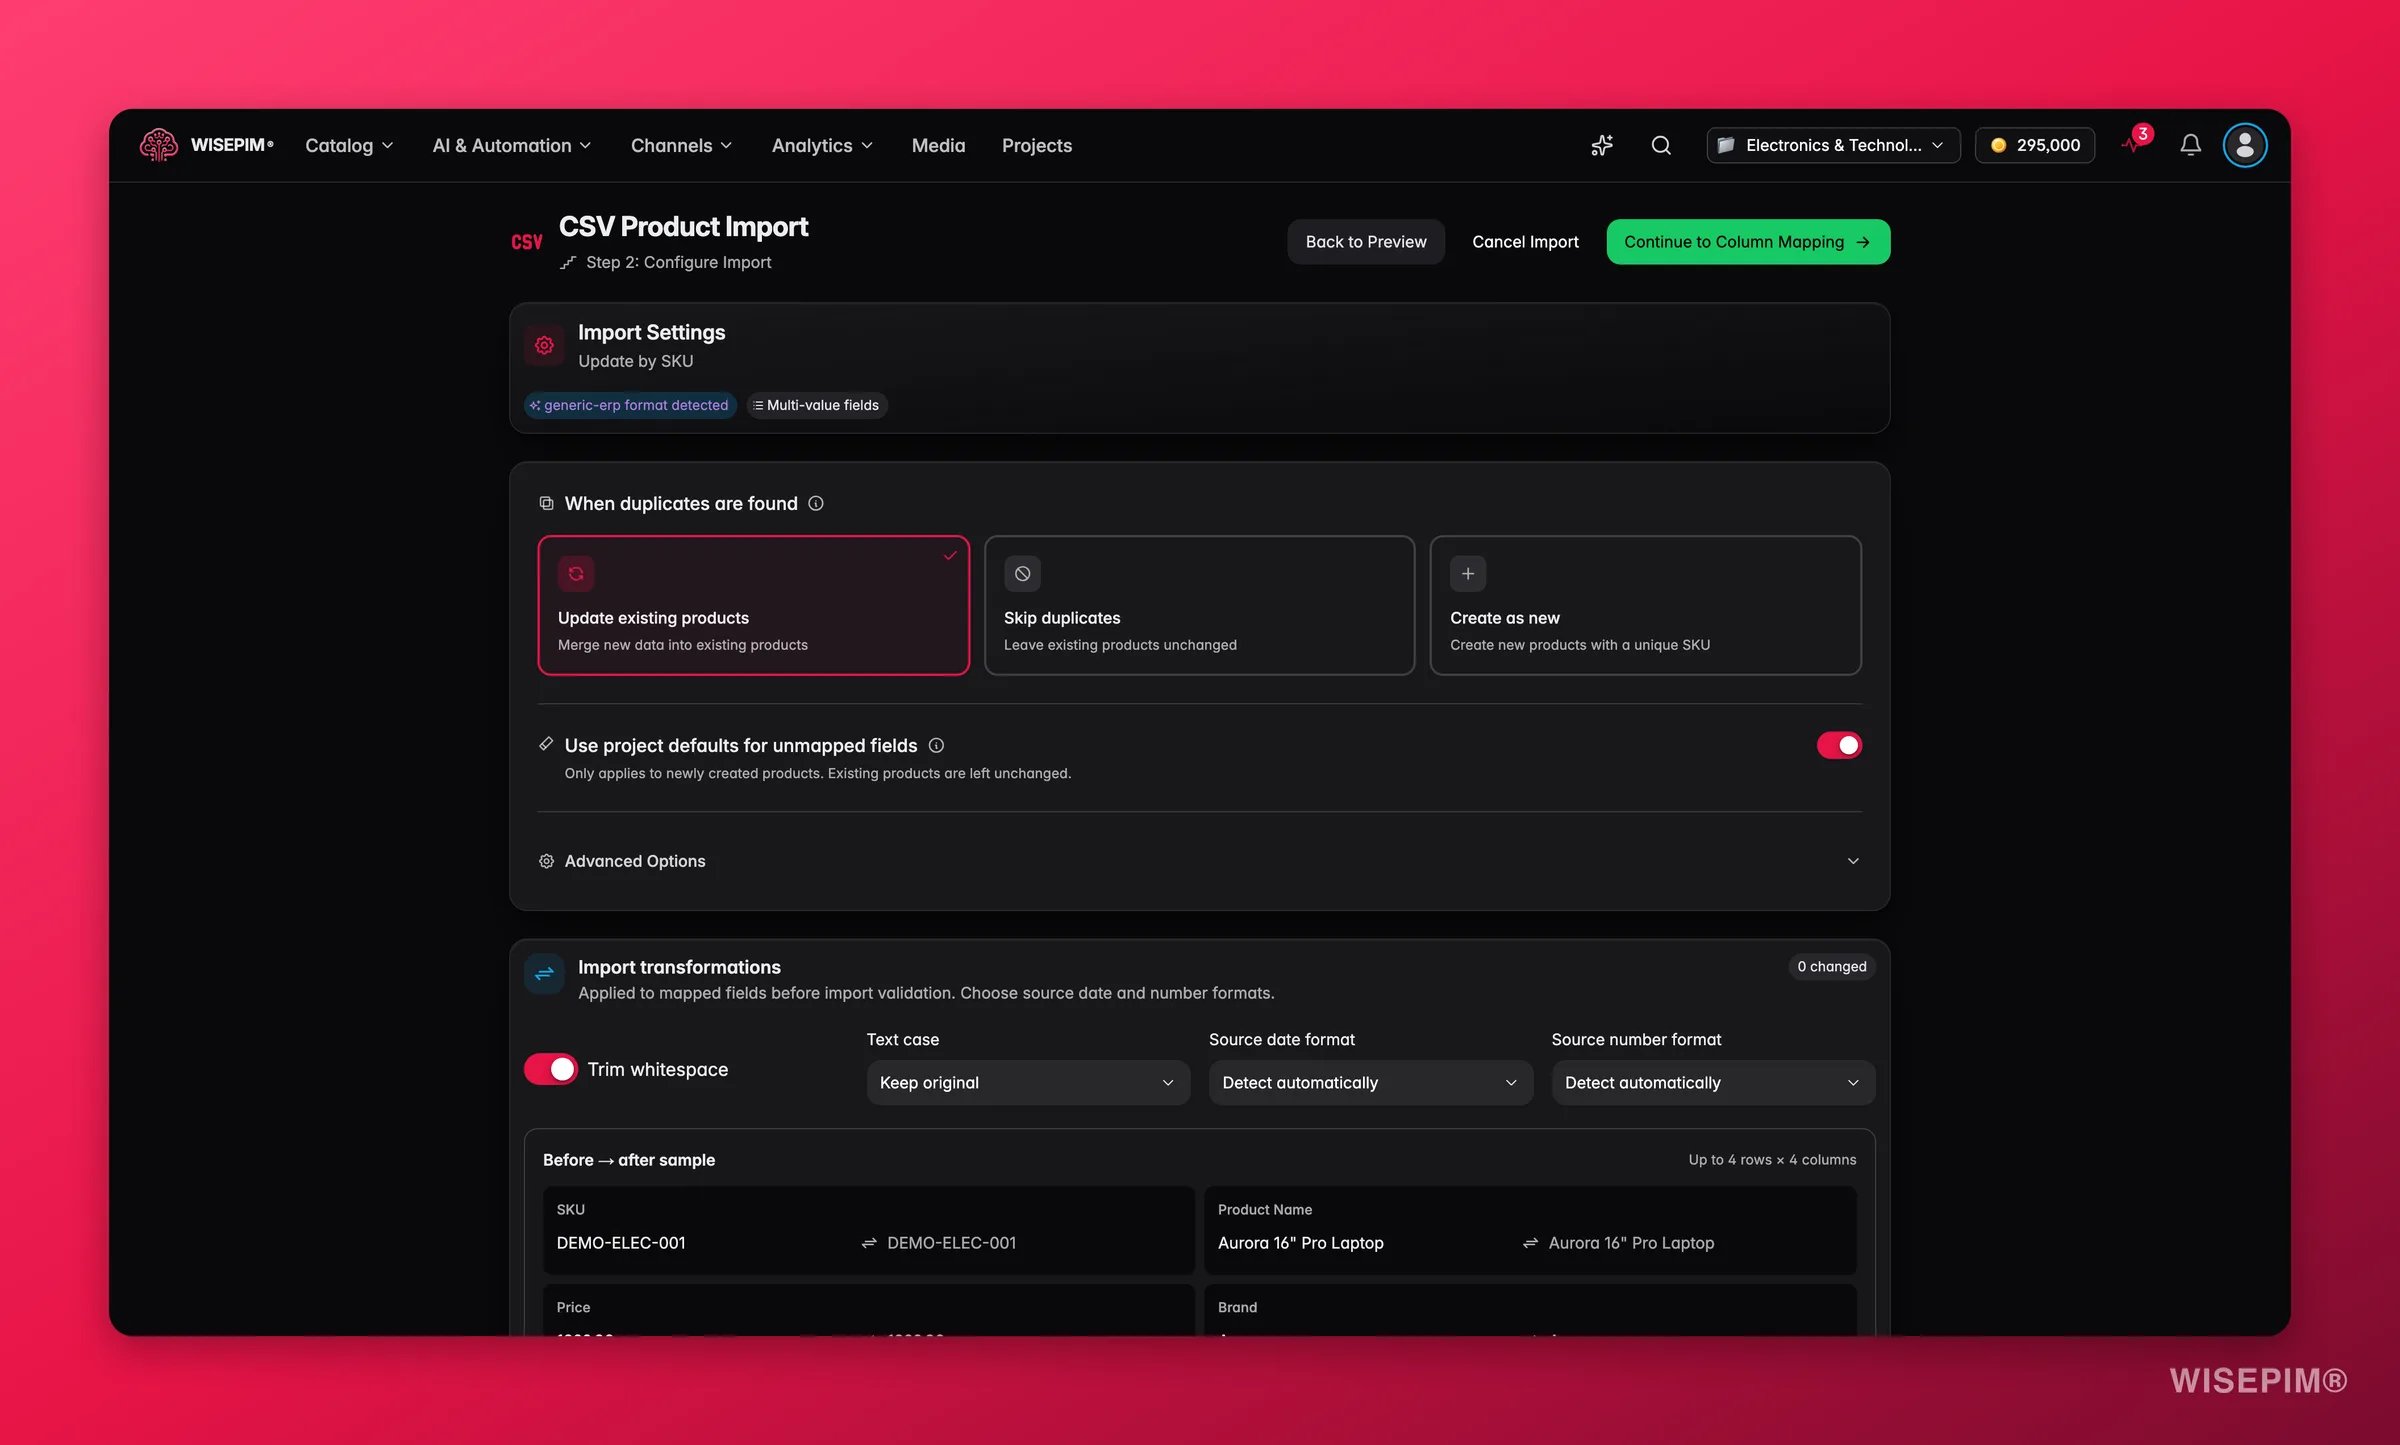
Set the multi-value delimiter for images
In the Multi-Value panel of the Configure step. One column can hold several image URLs; the first becomes the main image and the rest become gallery images. The default separator is the pipe character, so switch it if your file uses something else.
4
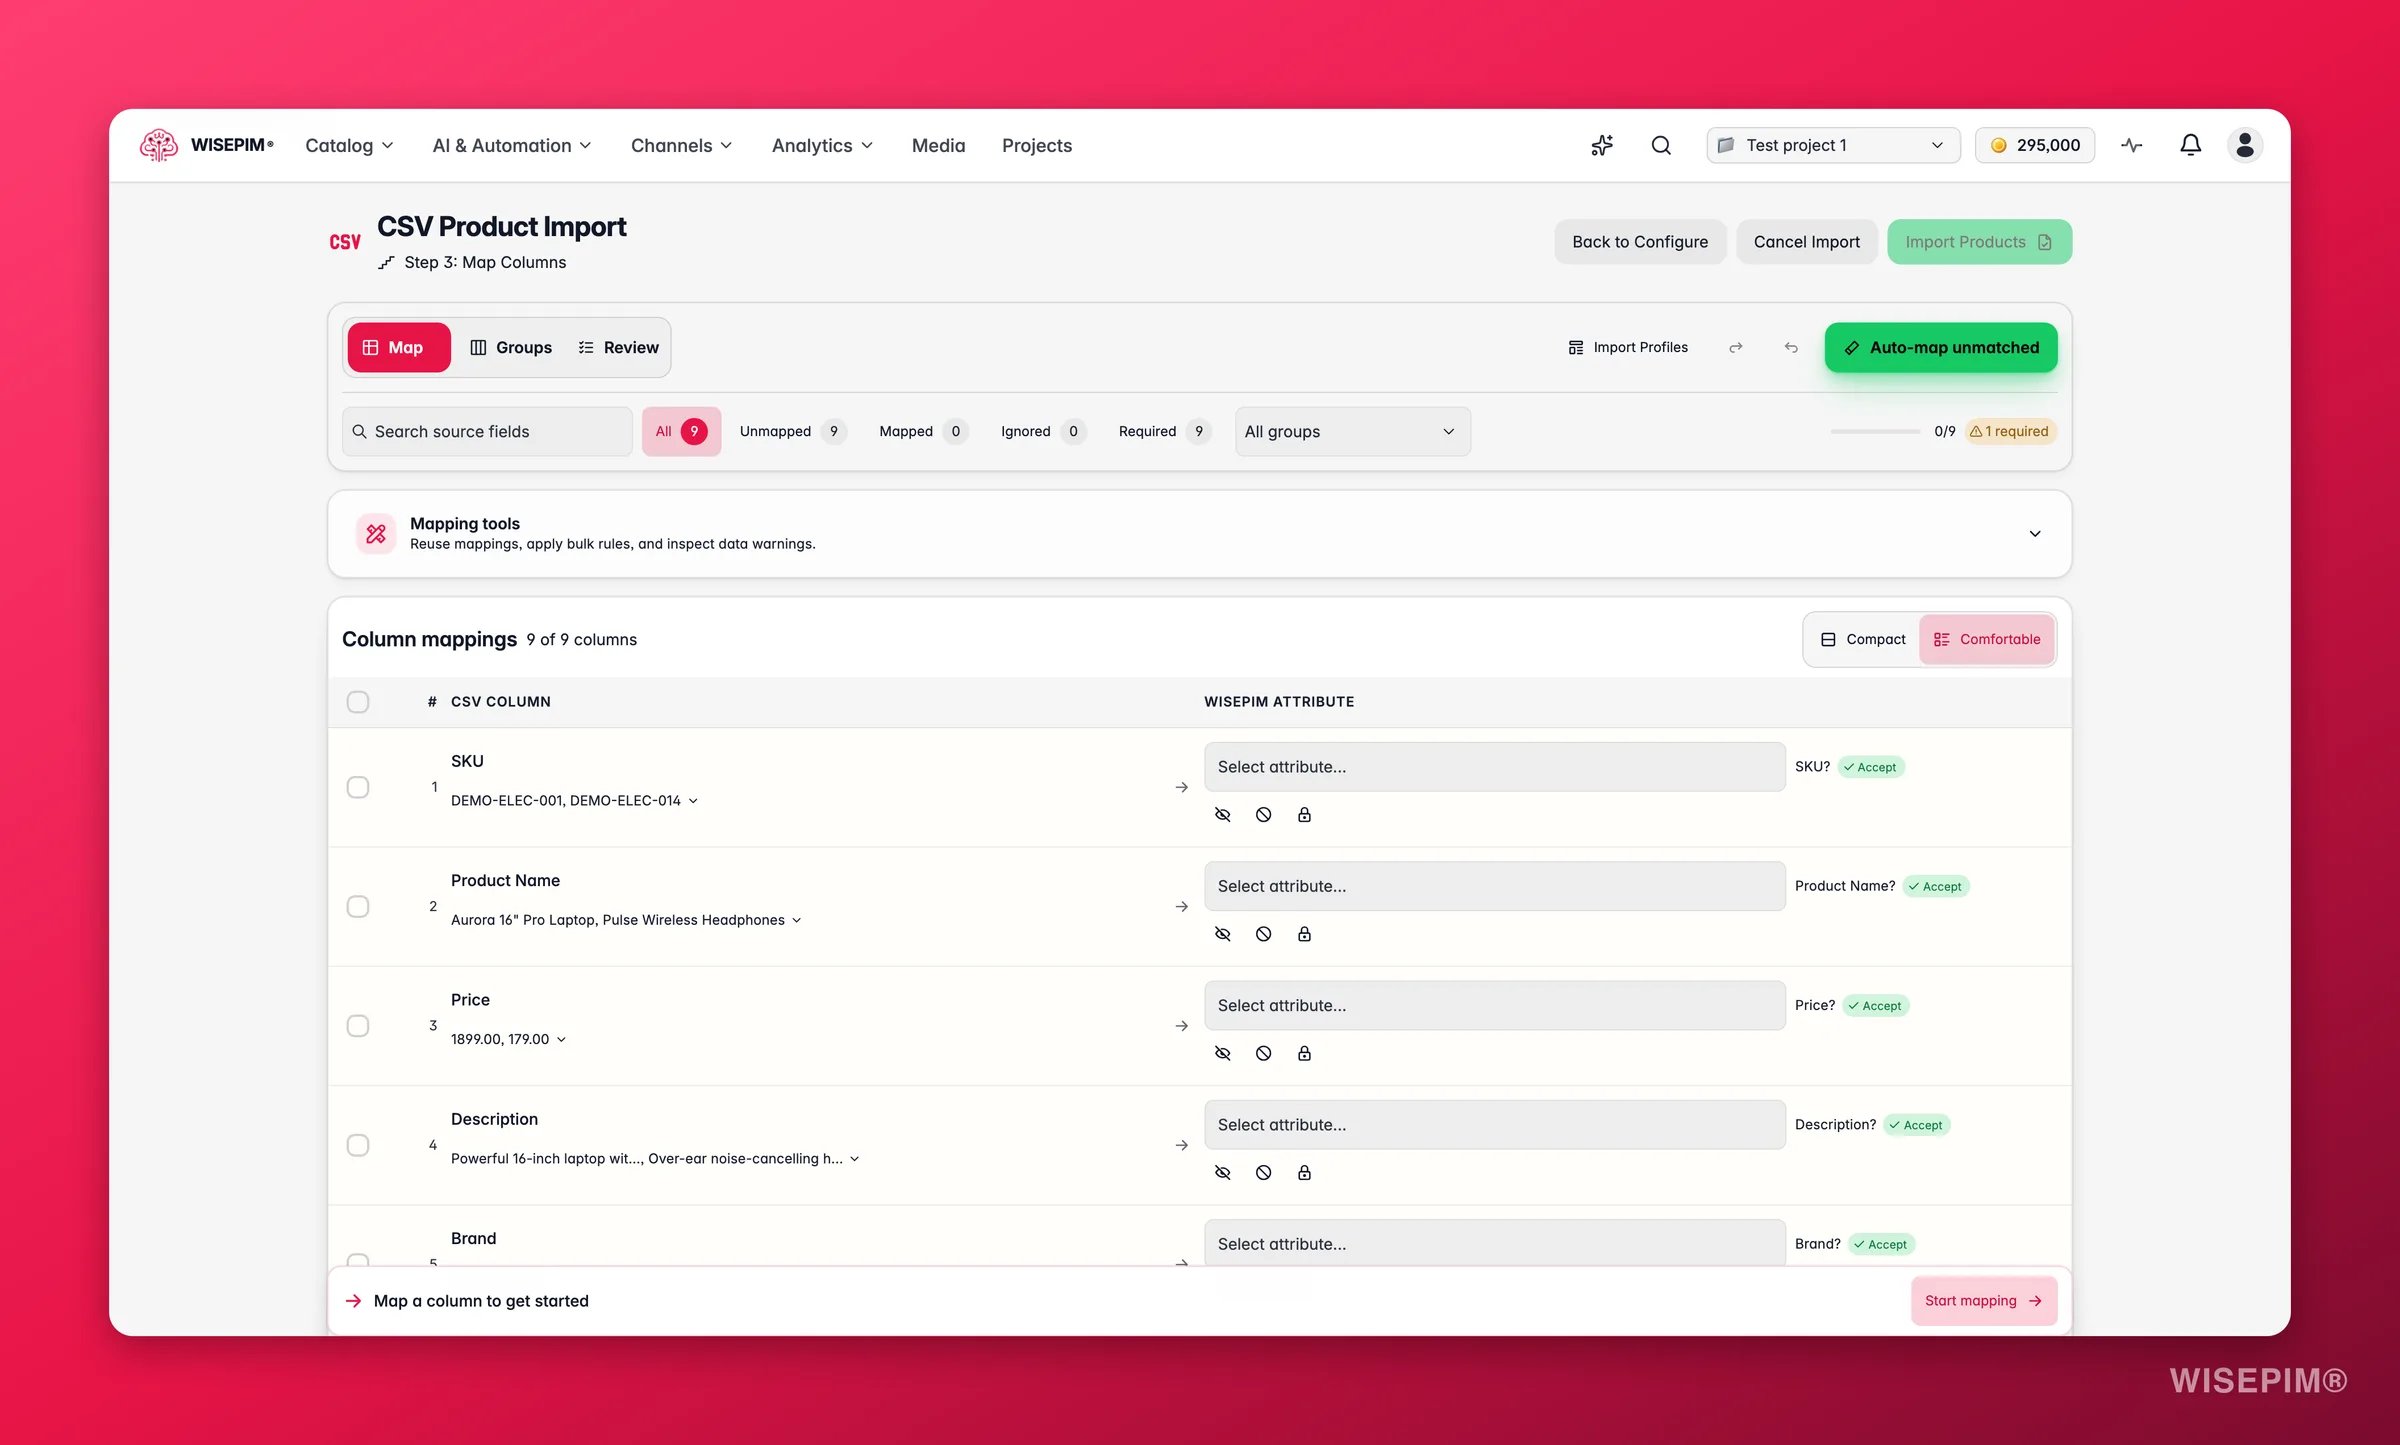
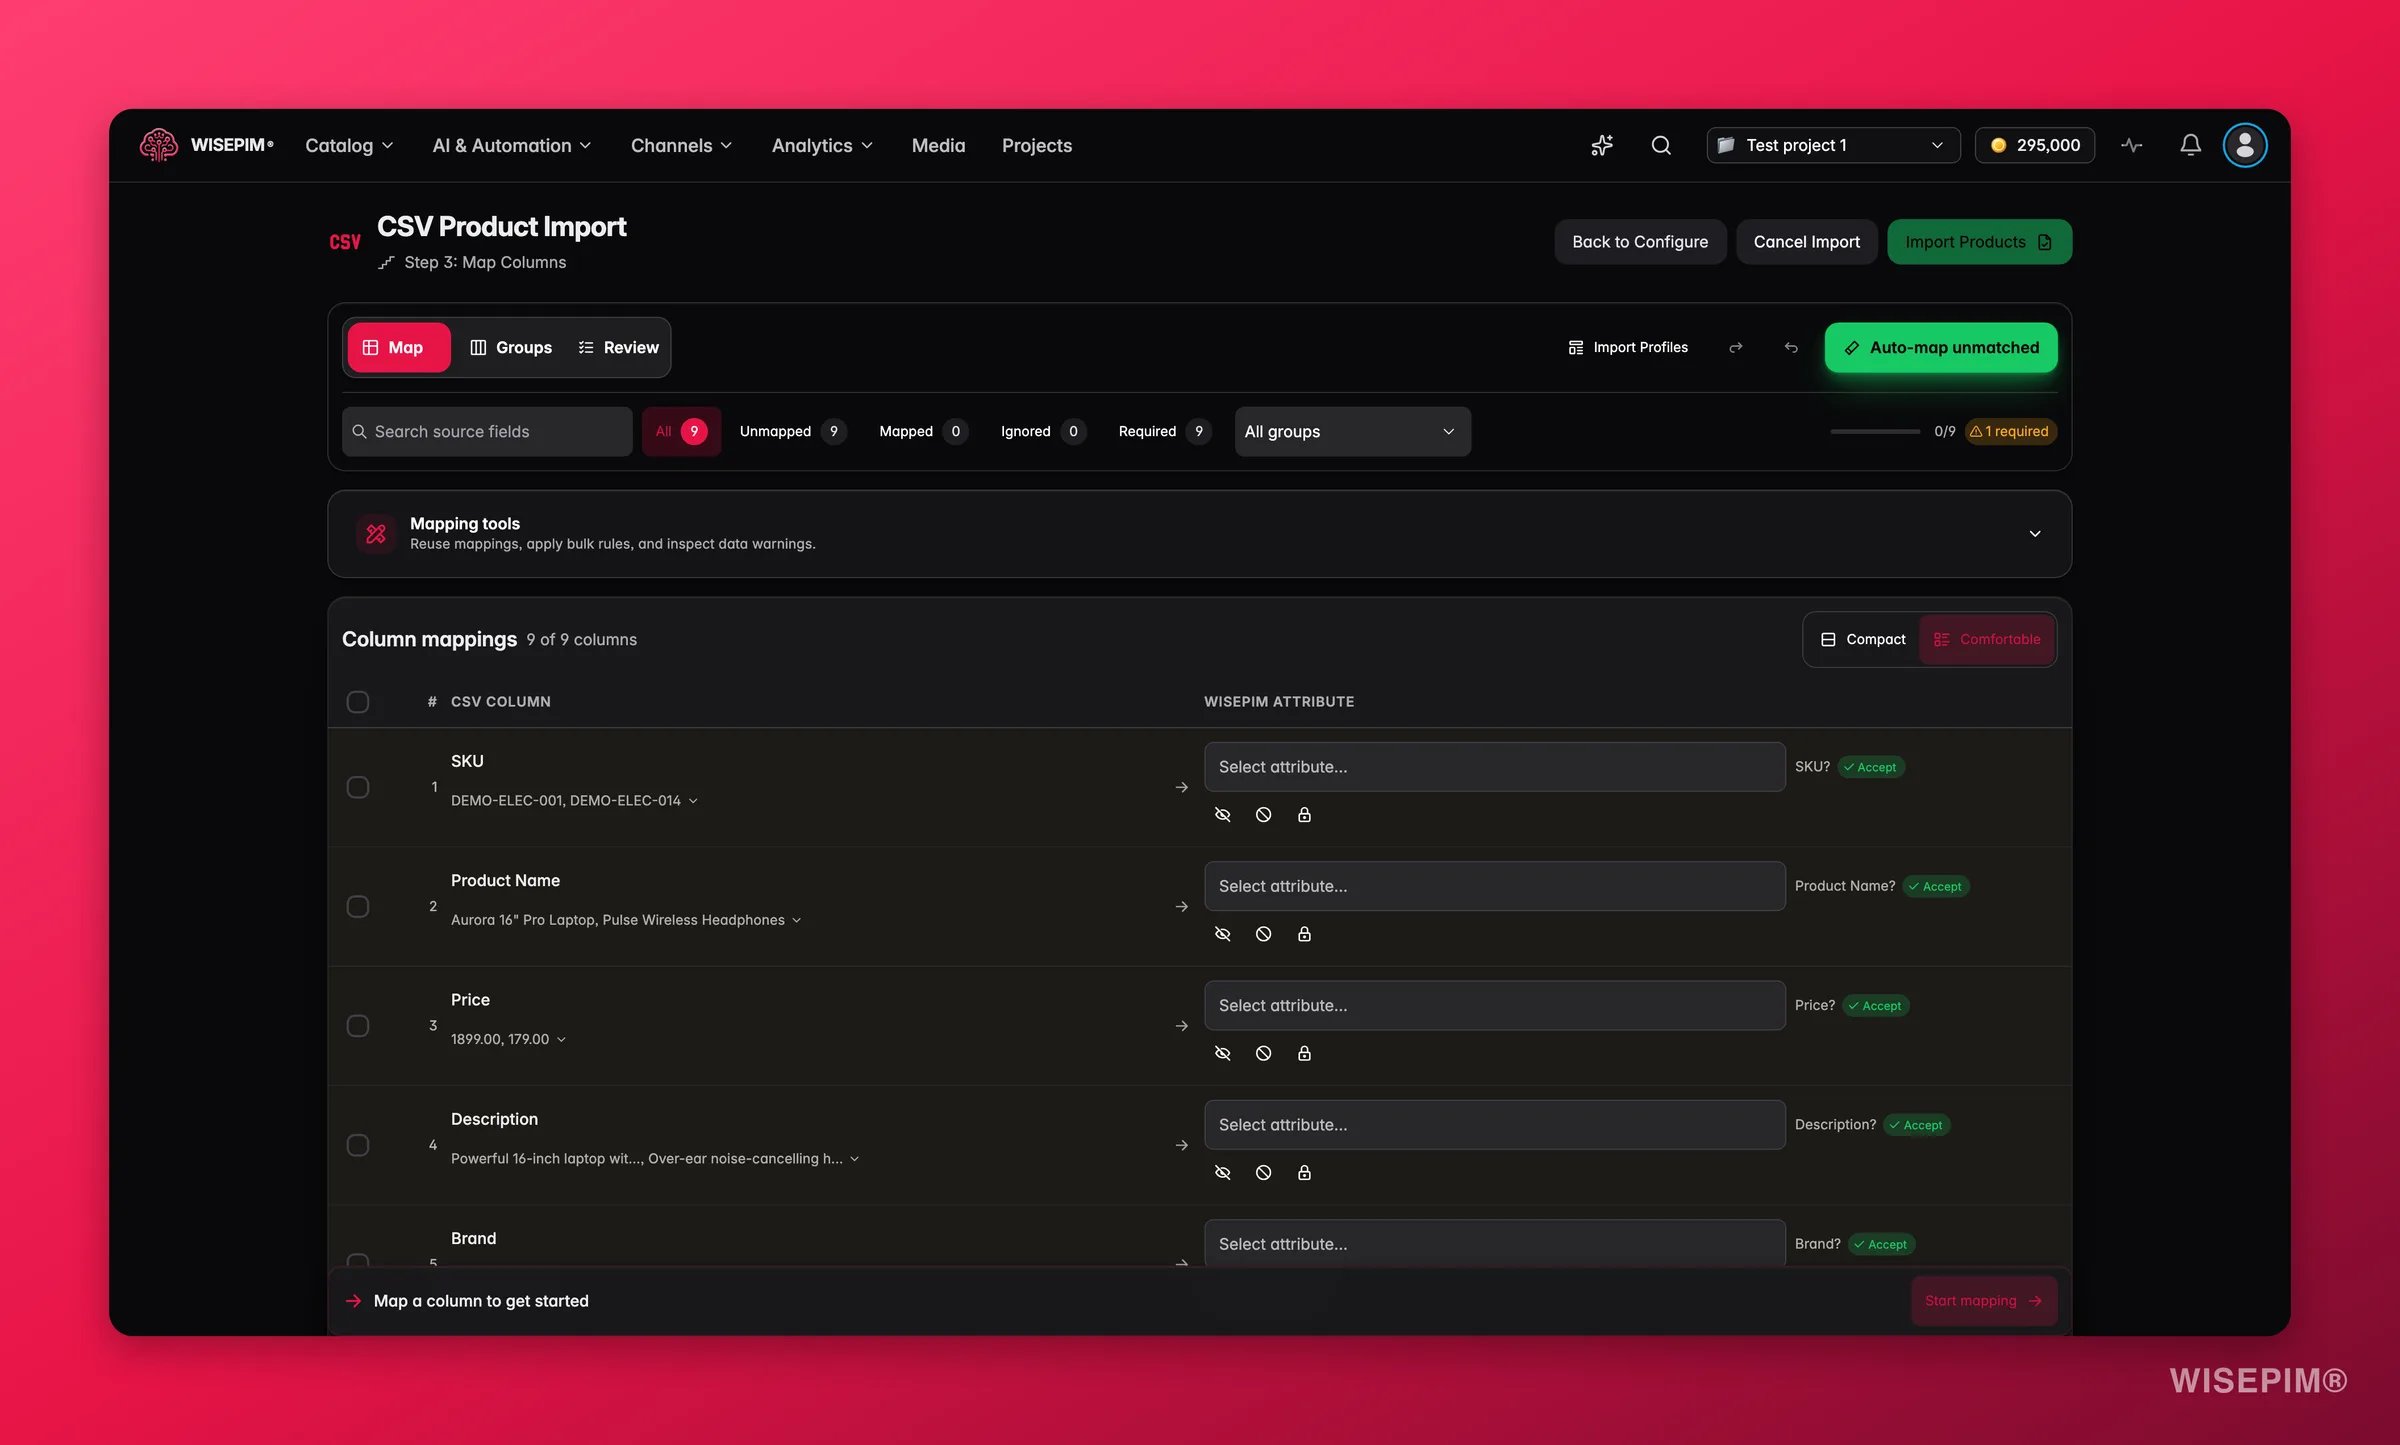
Map the columns, then save the mapping as a template
Auto-mapping proposes matches from your column names. Correct them once, save the setup as a template, and every future file from this supplier skips the mapping work entirely.
5
Open five imported products and read them
Check the title, price, images, and category path on a handful of records. This is the step people skip and regret.
Run the full import and work the Cleanup Wizard
With the mapping proven on 50 rows, run the rest. Imports execute in the background, so you can keep working while they do.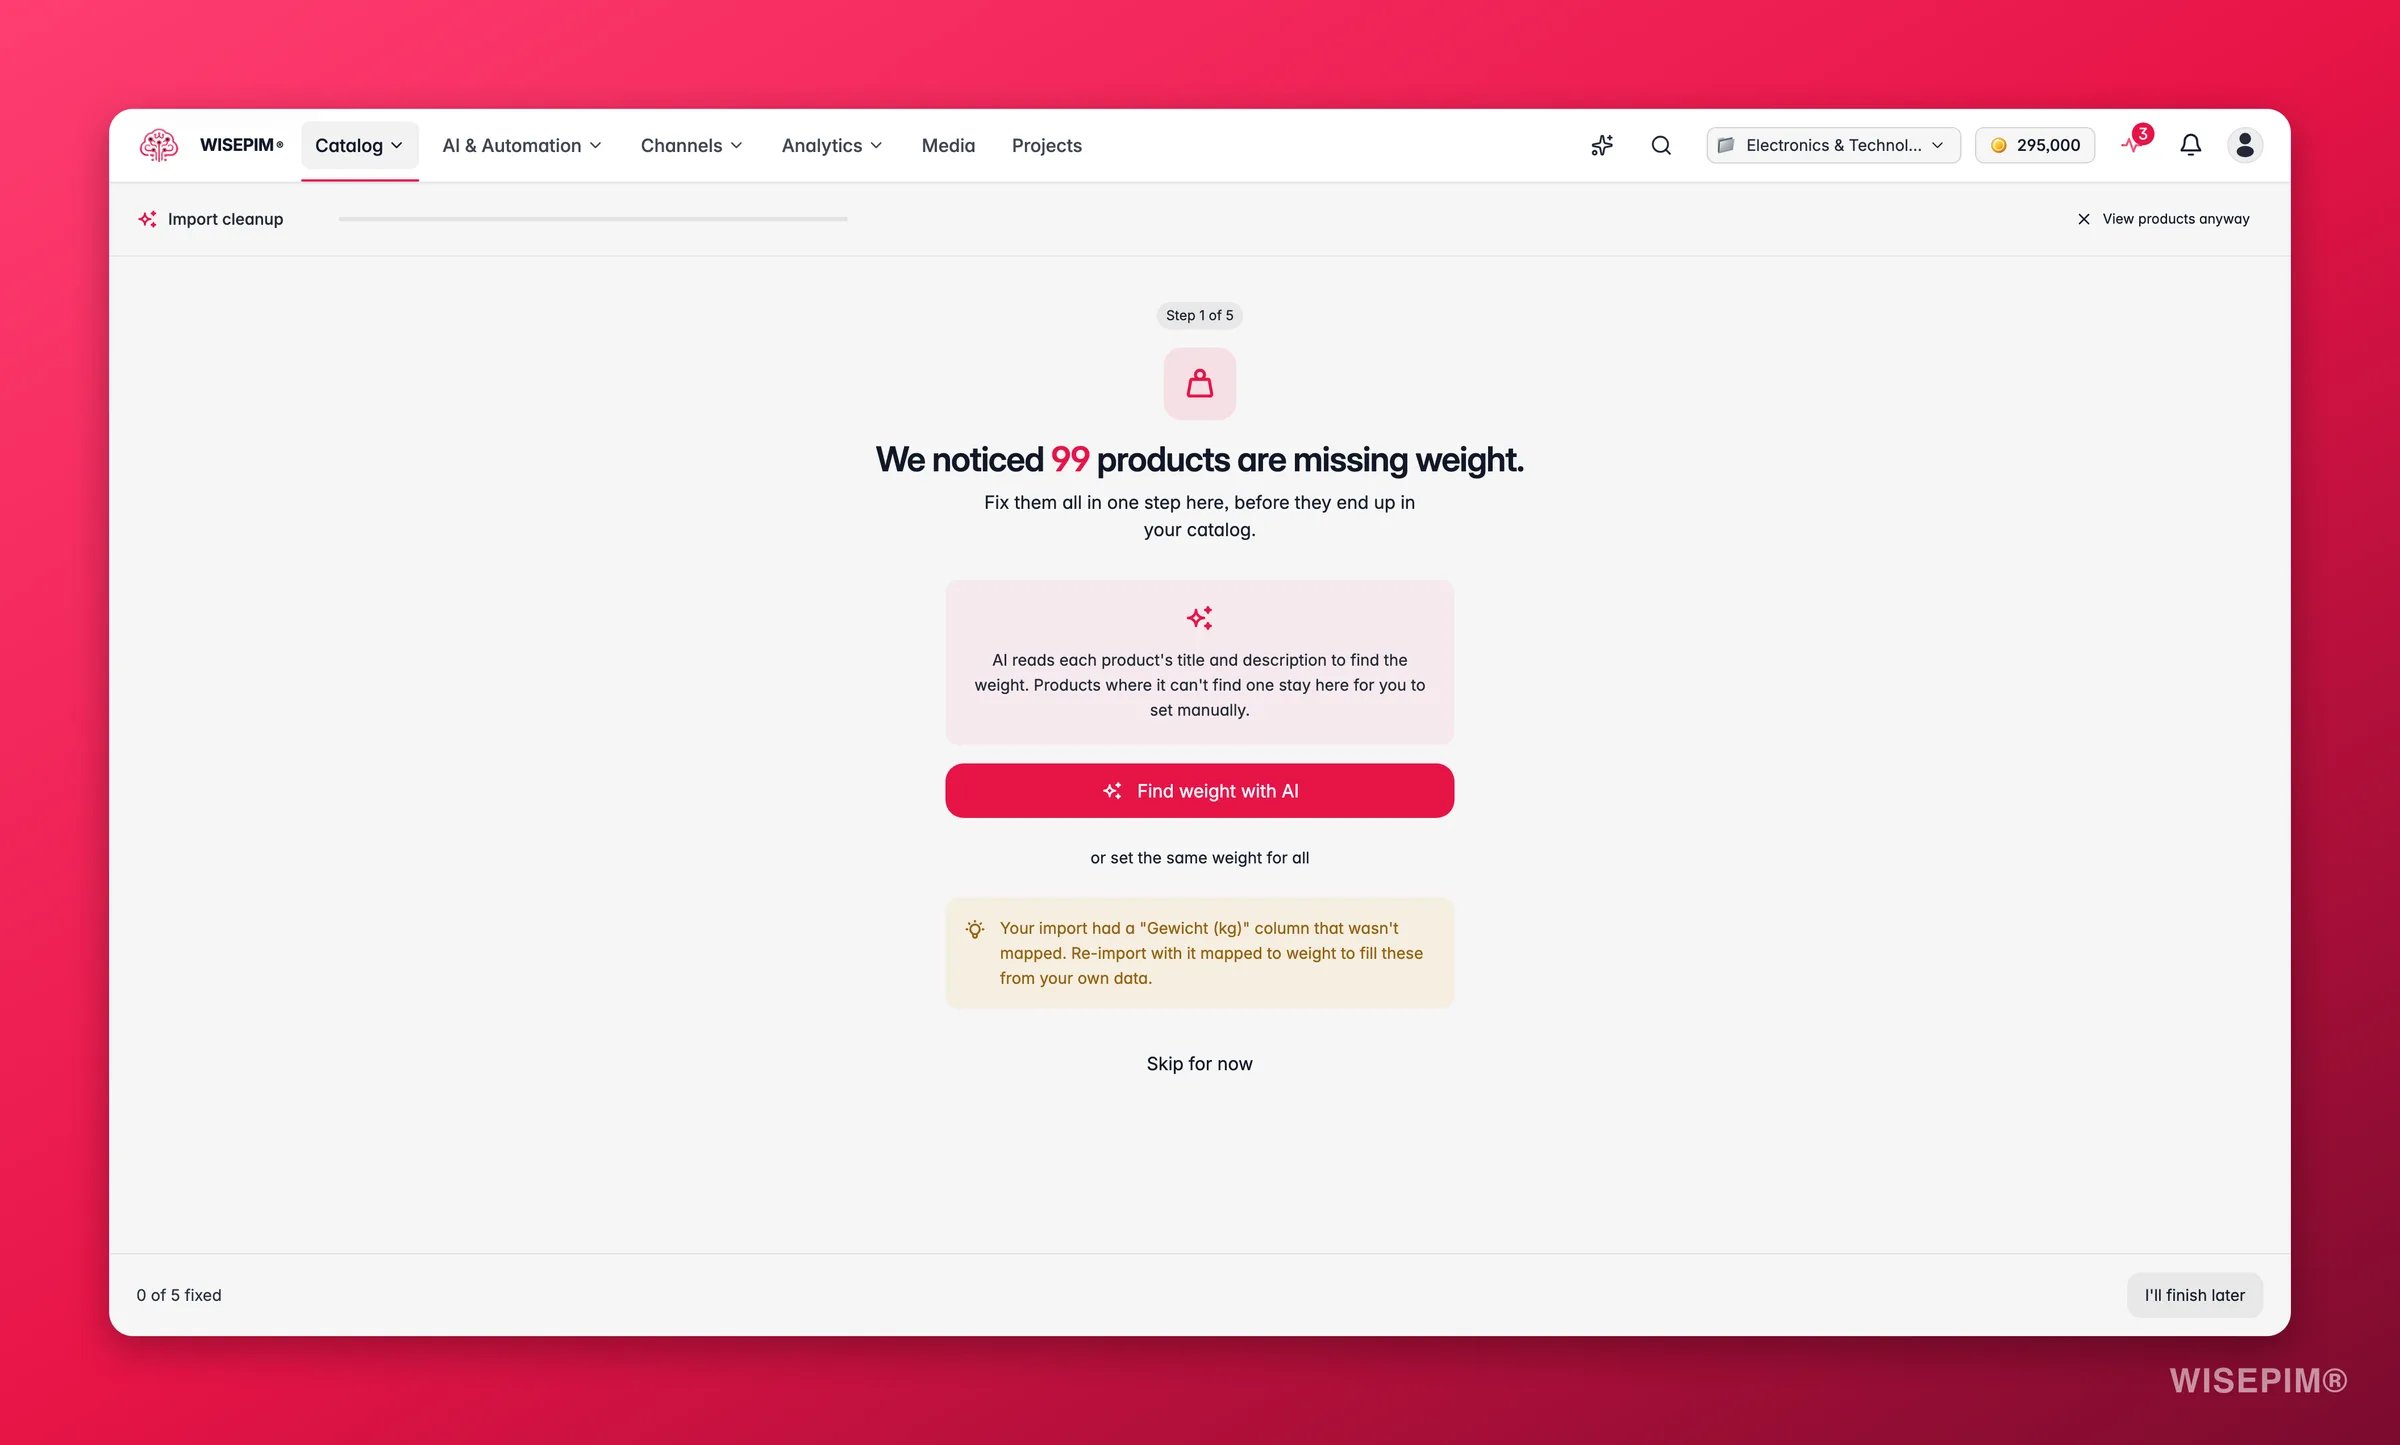
1
Apply your saved template and start
Load the template you just saved so the full run uses the same mapping and configuration as your test.
2
Follow it in the Process Tracker
The Process Tracker shows processed, successful, failed, and skipped counts per task, and a plain-language recap when it finishes.
3
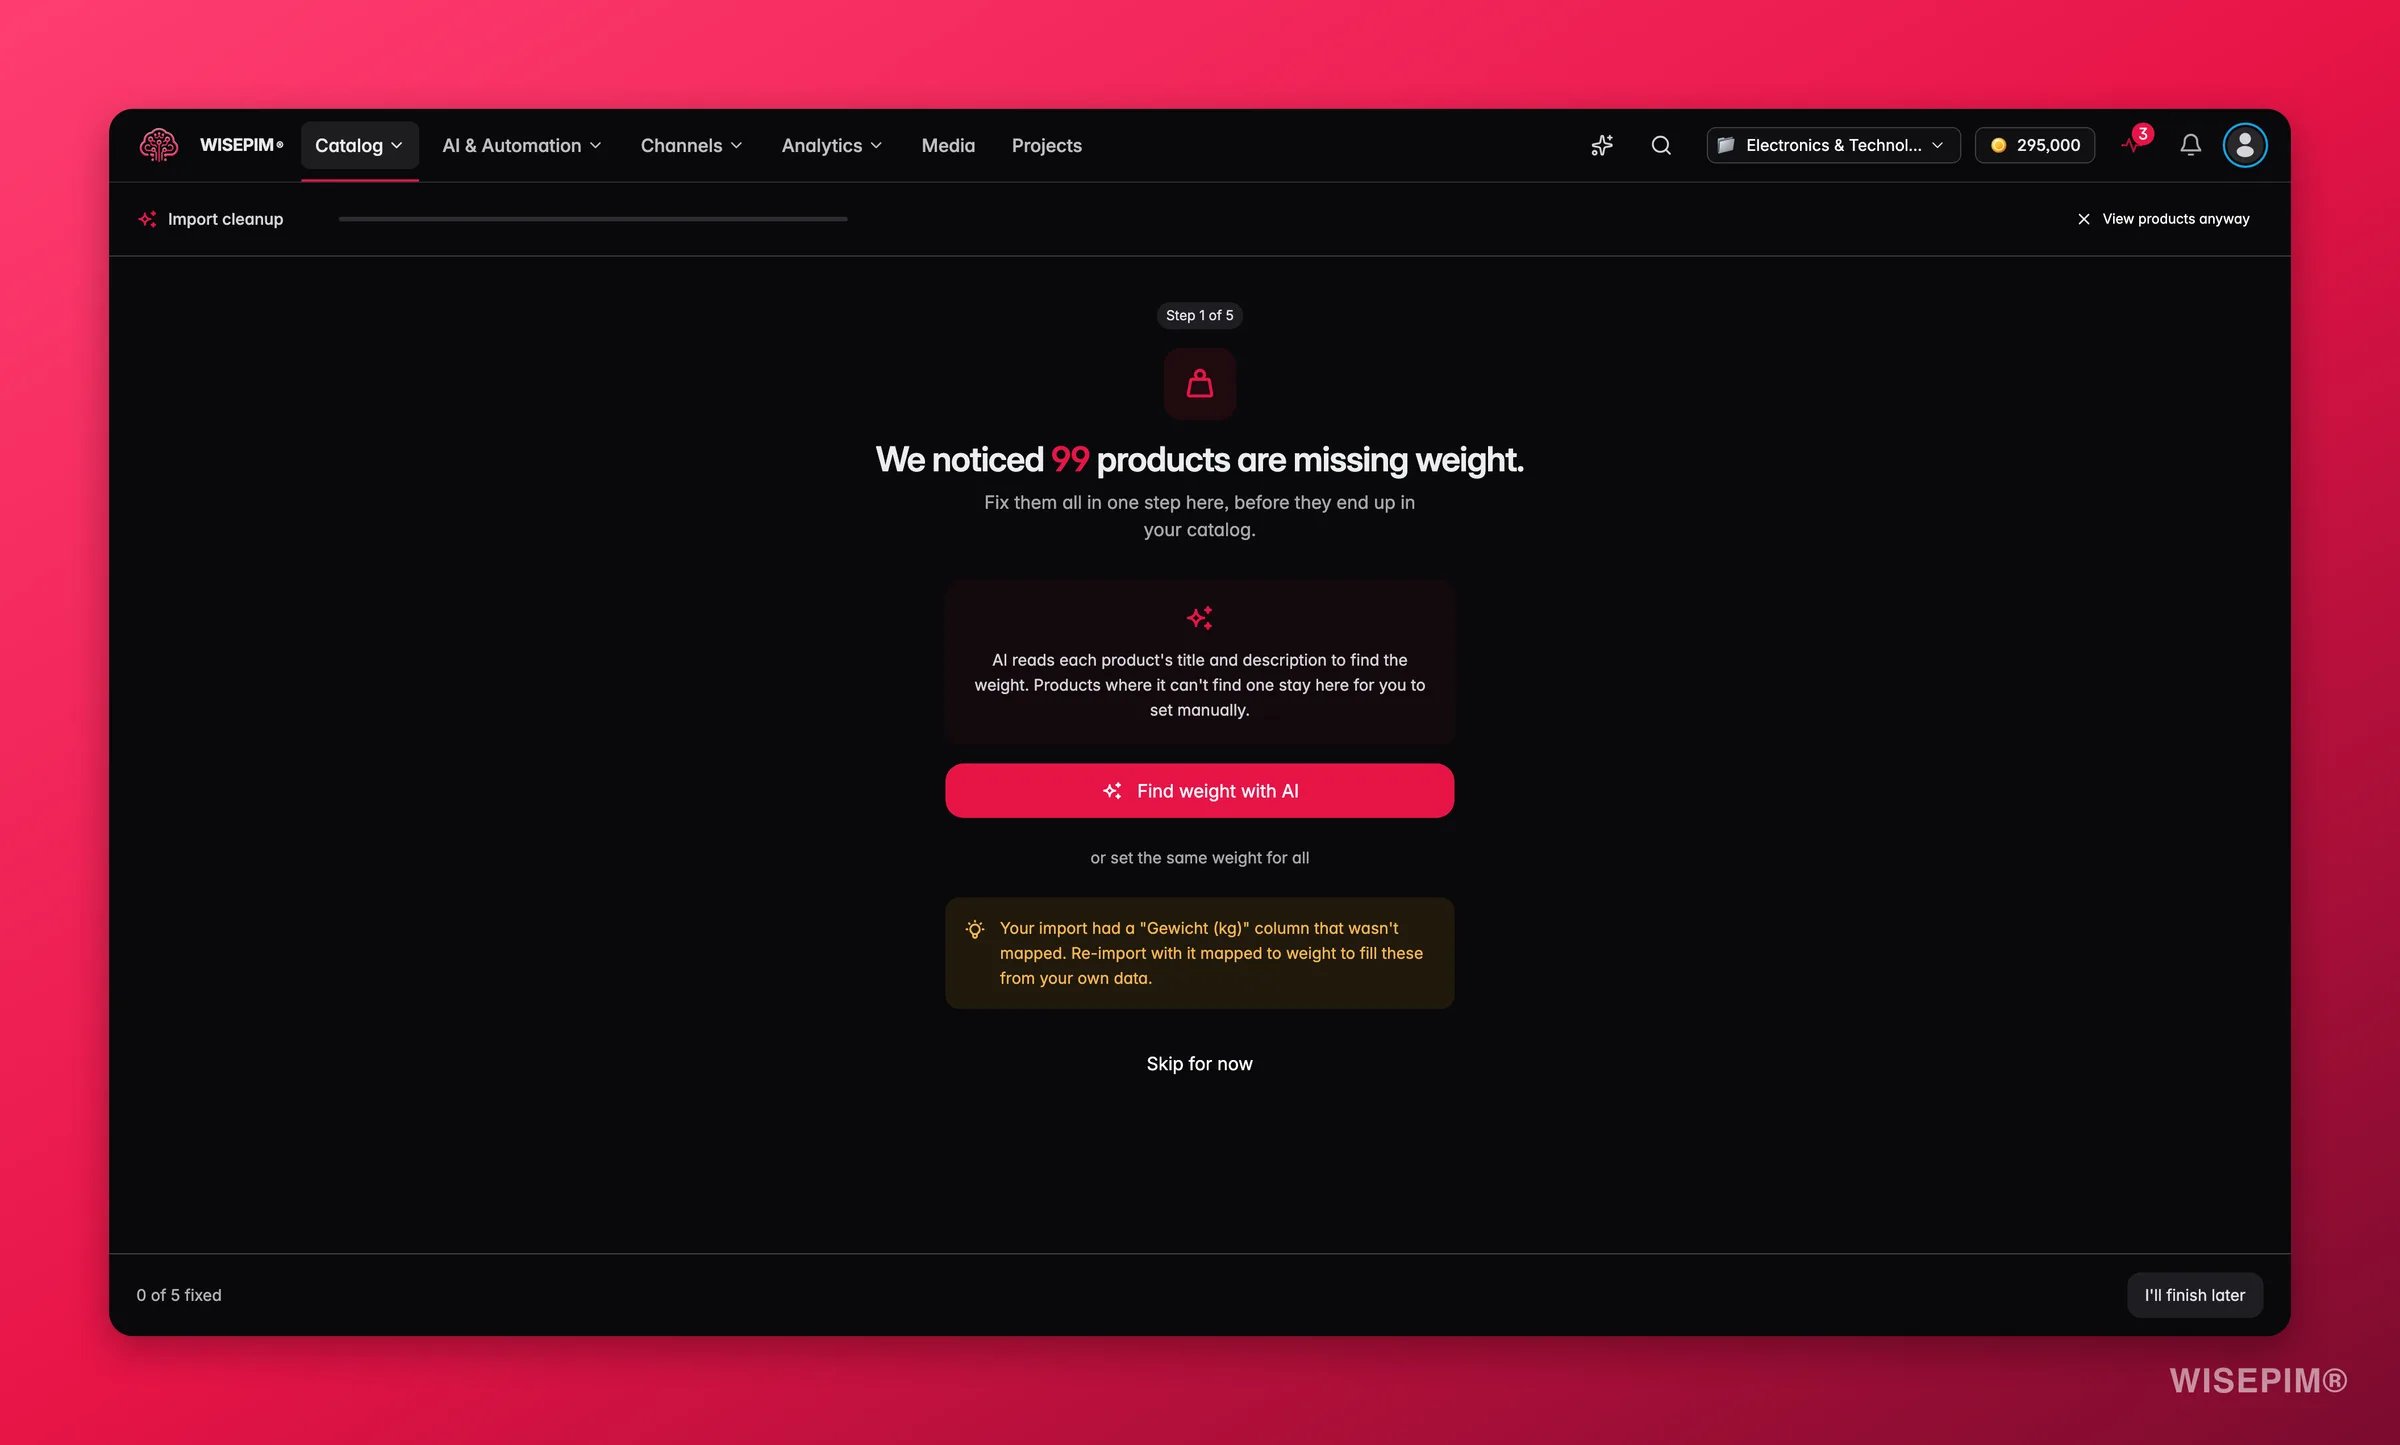
Work the Import Cleanup Wizard
After a CSV import, WISEPIM scans for missing critical fields and opens the wizard when it finds gaps. It handles missing images, weight, and price one step at a time, including suggesting an unmapped column that might hold your image URLs. Skipped gaps stay visible as a banner on the Products page until they are filled.
4
Make the keep-or-redo call now
Open the import task and choose Rollback to remove everything that import brought in. Rollback exists on import tasks only, and it takes the enrichment you did on top with it, so decide before part 4 rather than after.
How to tell it worked
When it doesn’t work
Every size and colour arrived as its own product
Every size and colour arrived as its own product
Nested data handling was off, or no variant mode was picked. Either roll back and re-import with one chosen, or fix it in place in part 3 with Group as Variants.
The images didn't come through
The images didn't come through
Usually the multi-value delimiter did not match your file, or the image column was never mapped. The Cleanup Wizard checks whether an unmapped column looks like image URLs and offers to re-run with it mapped.
Hundreds of rows never appeared
Hundreds of rows never appeared
Under standard validation, rows with errors are skipped and reported rather than imported. Read the report, then fix the file or loosen the setting in Import settings.
Good descriptions came back blank
Good descriptions came back blank
That is Overwrite doing what it says on a partial file. Roll the import back, switch conflict resolution to Merge, and run it again.
My platform isn't in the import list
My platform isn't in the import list
The import modal only shows platforms that have been successfully connected. Set the connection up and test it on the Integrations page, and the source appears on its own.
Related
3. Clean and structure what you imported
Next in the series: dedupe, normalize, categorize, and group variants in the right order.
Migrate platforms without losing data
The same import discipline applied to a full replatform.
Importing products
Every source, every step of the importer, and what each option does.
Import settings
Conflict resolution, empty fields, validation, and import filters.