Team management is project-scoped. Each project has its own team, so you can control exactly who has access to which product catalog.
Accessing Team Settings
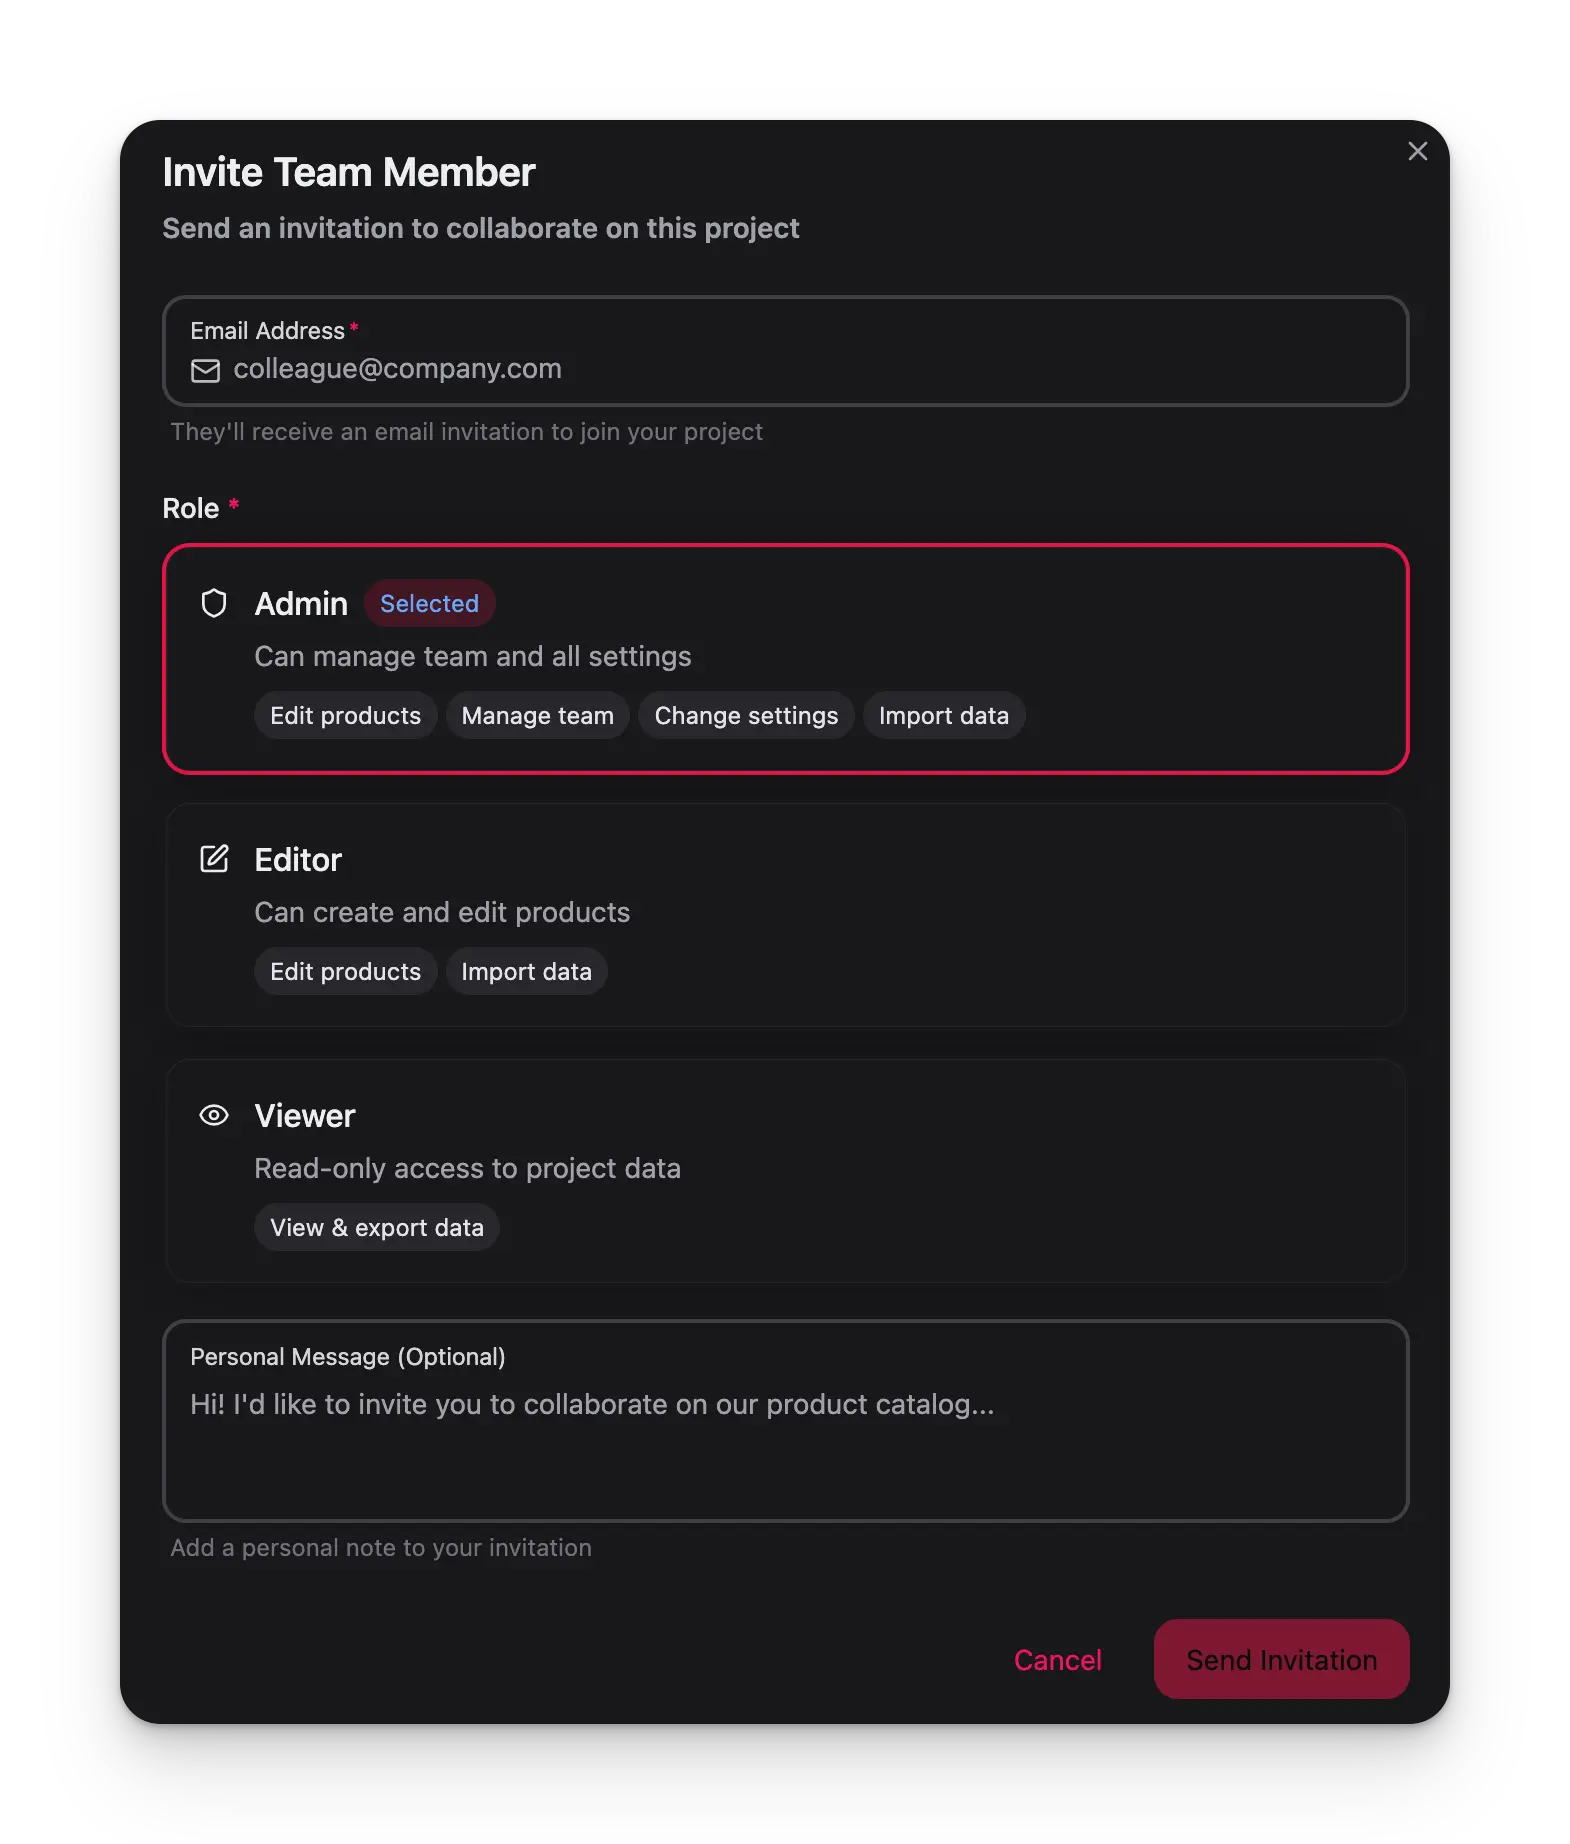
To manage your team, navigate to Settings > Team & Permissions. You need to have a project selected in the project switcher before this page becomes available.Roles and Permissions
Every team member is assigned a role that determines what they can do within the project. WISEPIM offers five role types:| Role | Description | Key Permissions |
|---|---|---|
| Owner | Full control over the project and team | Edit products, manage team, change settings, import, export, delete project |
| Admin | Can manage the team and all settings | Edit products, manage team, change settings, import, export |
| Editor | Can create and edit products | Edit products, import, export |
| Viewer | Read-only access | View and export data |
| Custom | Individually configured permissions | Granular control over each permission |
Inviting Team Members
Open the invite modal
Click the Invite Member button in the top-right corner of the Team Members card. This button is visible to Owners and Admins.
Enter the email address
Type the email address of the person you want to invite. They will receive an email with instructions to join your project.
Select a role
Choose a role for the new member. You can pick from Admin, Editor, or Viewer. Each option displays its included permissions so you can make an informed decision.
Add a personal message (optional)
Include a note to give your colleague context about why they are being invited.
Managing Pending Invitations
After you send an invitation, it appears in the Pending Invitations section below the active member list. From here you can:- Resend the invitation email if the recipient has not received it
- Copy the invitation link to share it manually (for example, via Slack or another messaging tool)
- Cancel the invitation if it is no longer needed
Changing a Member’s Role
Edit Permissions
Select Edit Permissions to open the permissions modal. Here you can either pick a preset role or toggle individual permissions for a custom configuration.
When you adjust individual permissions, WISEPIM automatically detects if your configuration matches a preset role and labels it accordingly. If it does not match any preset, the member is assigned the Custom role.
Granular Permissions
The permissions editor lets you control access at a fine-grained level. You can configure permissions across categories such as:- Product management — create, edit, delete, and bulk-edit products
- Import and export — control who can bring data in or push it out
- Settings — determine who can change project configuration
- Team management — decide who can invite or remove members
- Field-level access — restrict editing of specific product attributes
Removing a Team Member
To remove a member from the project:- Click the three-dot menu on their row
- Select Remove from Project
- Confirm the removal in the dialog that appears
Best Practices
Start with Viewer
When in doubt, invite new members as Viewers. You can always upgrade their role later once you understand their needs.
Use Custom Roles
For team members who need a specific subset of permissions, use the Custom role to give them exactly what they need — nothing more.
Review Permissions Regularly
Periodically review your team list and remove members who no longer need access to keep your data secure.
Add Context to Invitations
Use the personal message field when inviting members so they understand why they have been added and what is expected.