> ## Documentation Index
> Fetch the complete documentation index at: https://docs.wisepim.com/llms.txt
> Use this file to discover all available pages before exploring further.
# Workflow Settings
> Build guided pipelines that move products through lifecycle stages. Give each stage its own columns and filters so your team always knows what to work on.
## What workflows do for you
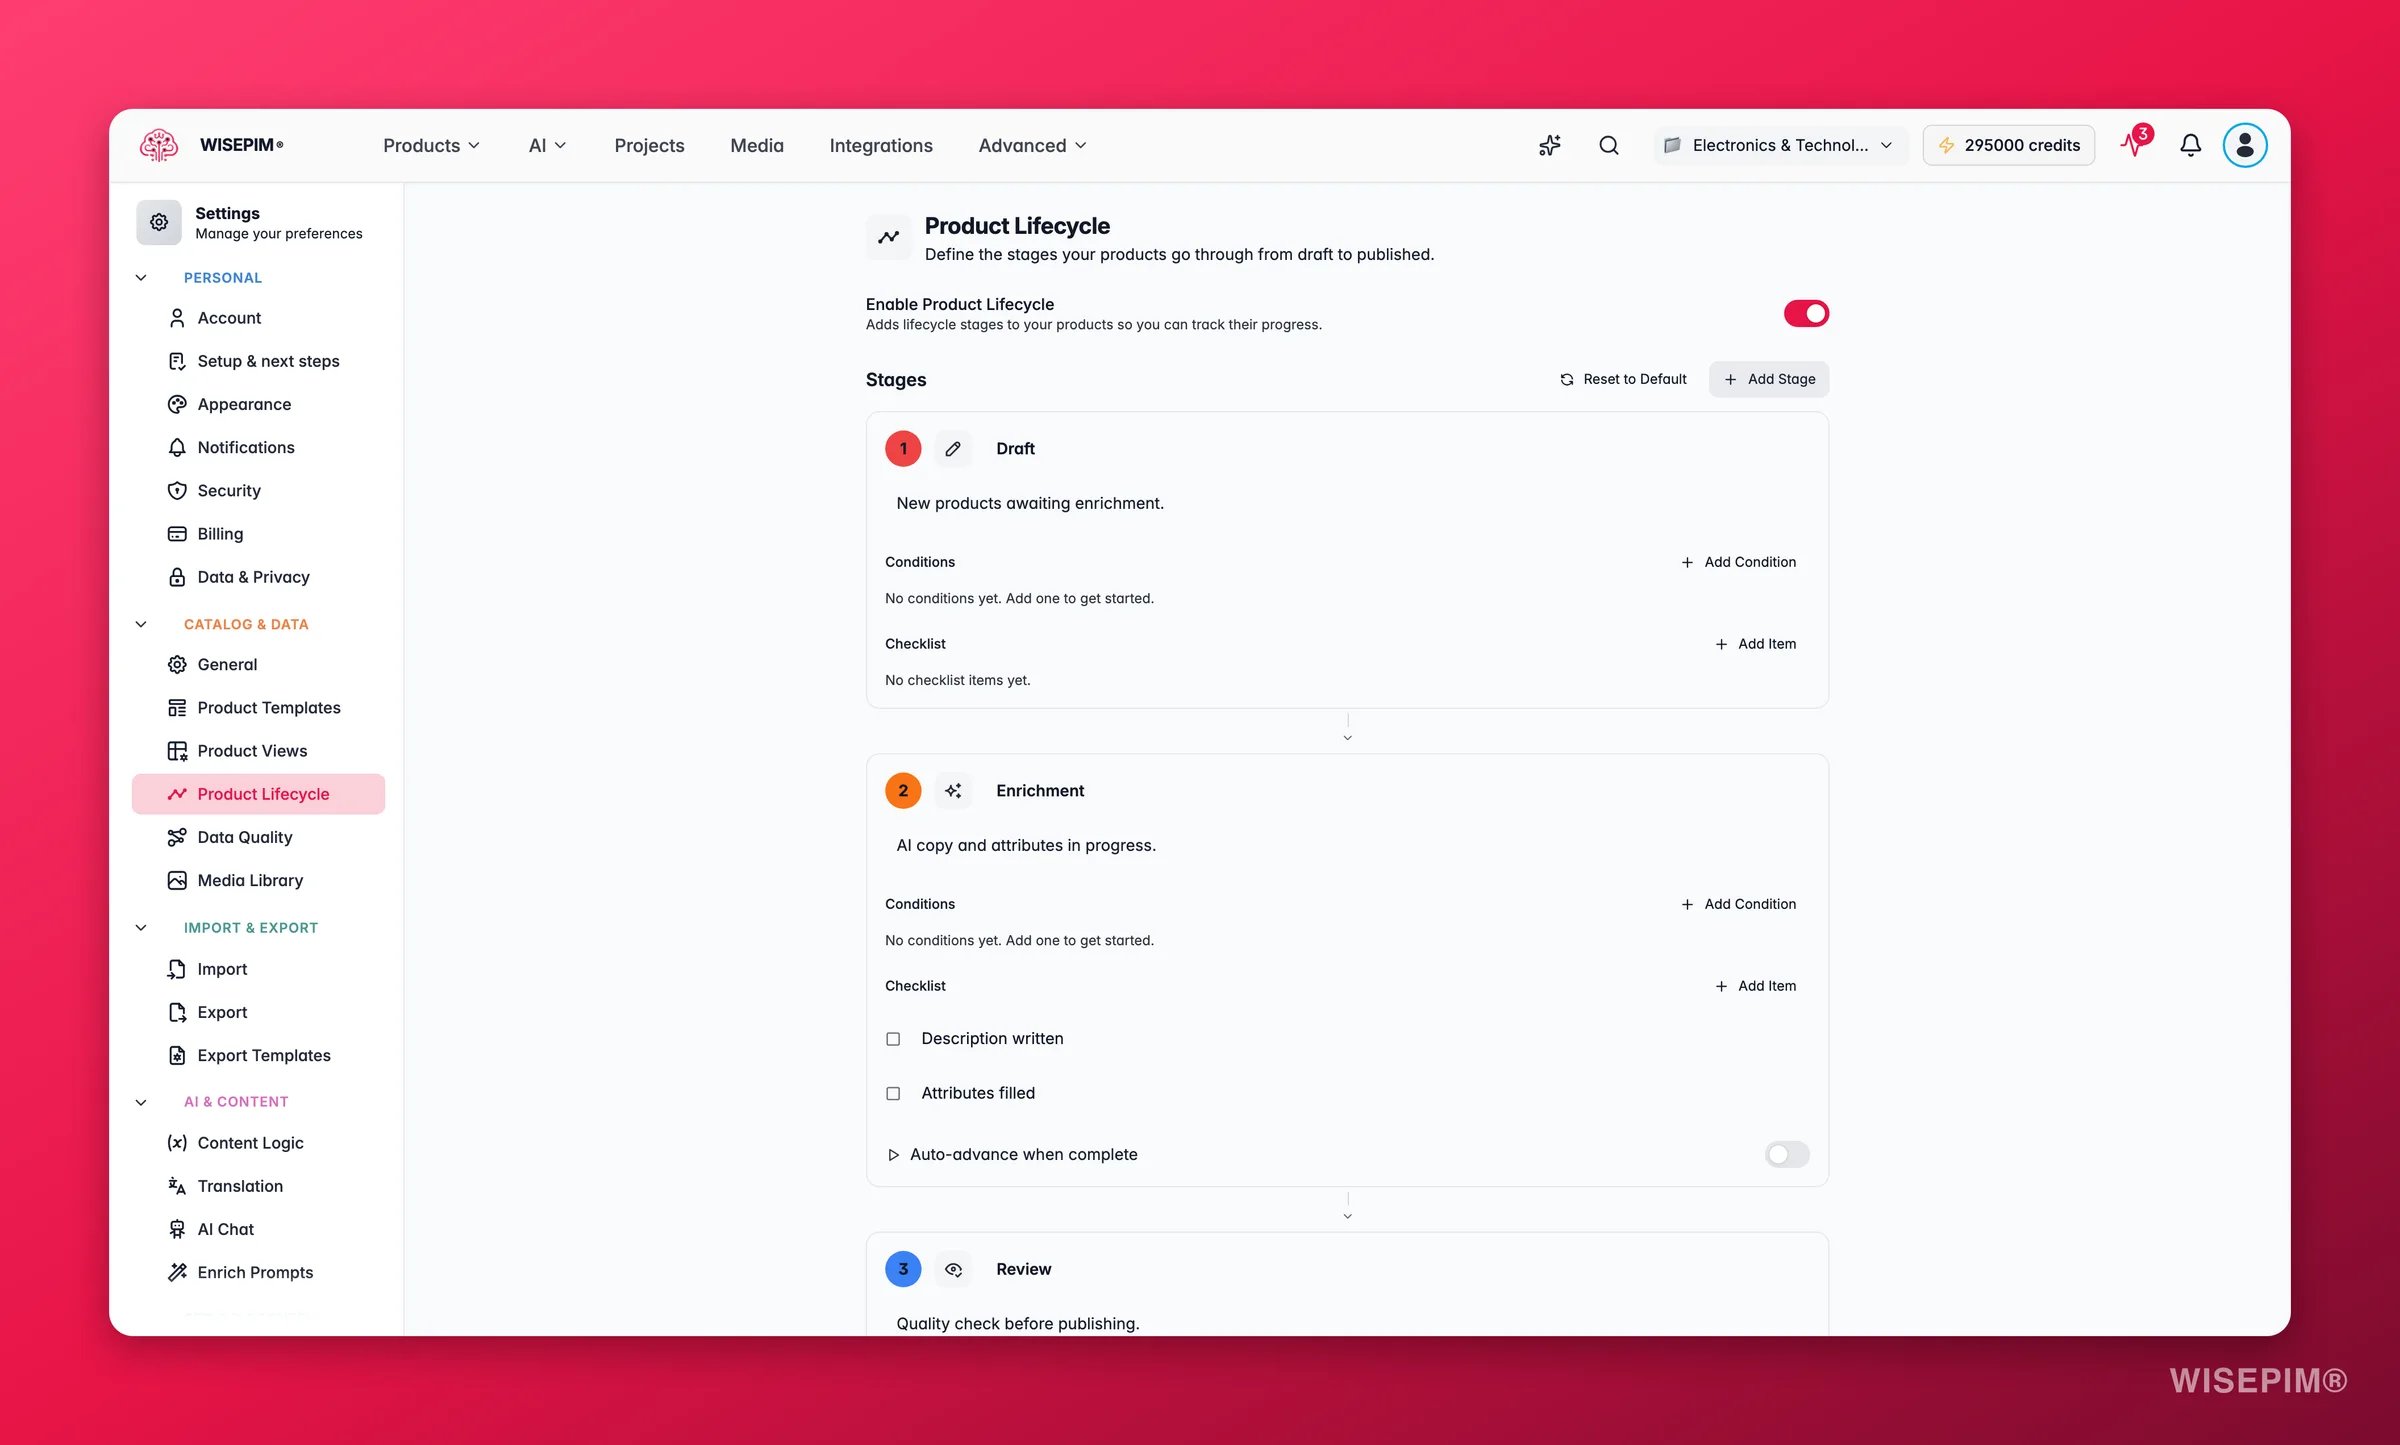
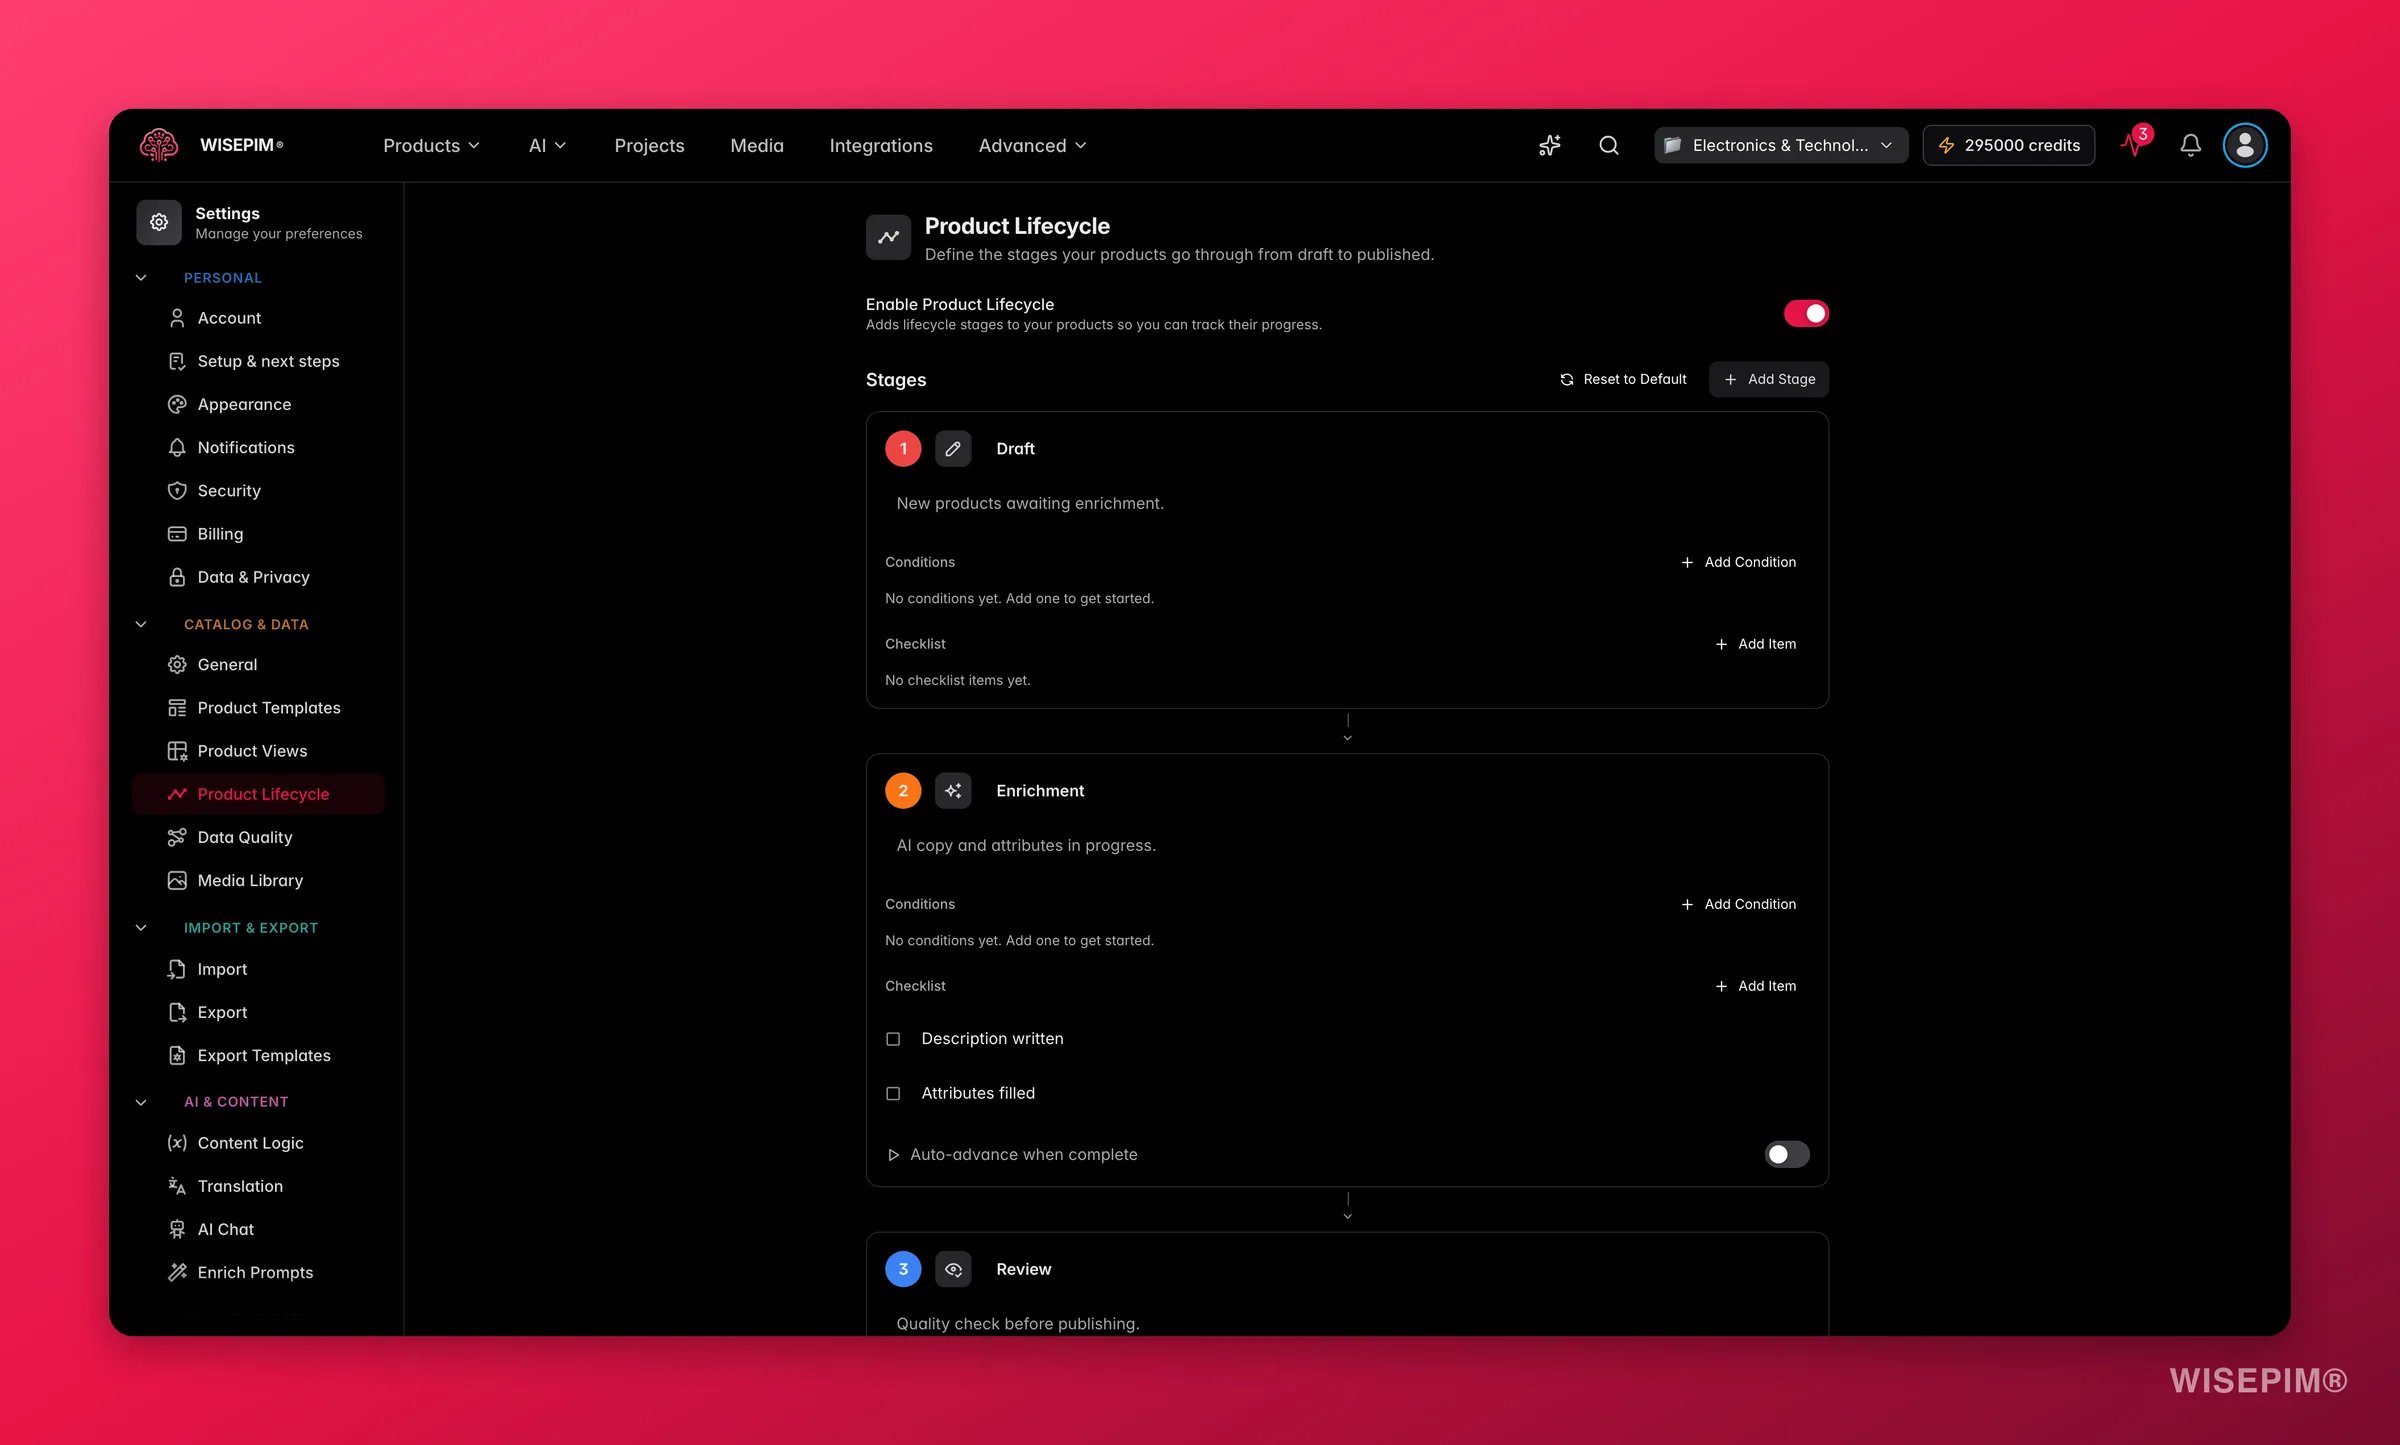 A workflow turns your lifecycle stages into a guided pipeline. Instead of changing product statuses by hand, your team follows a clear path from a starting stage like "Draft" to a target stage like "Published."
Each stage shows only the columns and products that matter at that step. Your team always knows what to work on next.
Workflows build on lifecycle stages. You need at least **two stages** before you can create one. Set these up first in [Product Lifecycle](/en/workflows/product-lifecycle).
## Turn workflows on
Toggle **Enable Workflows** to activate the feature for your project. When it is off, your workflows are saved but inactive.
## Create a workflow
Click **Create Your First Workflow** if you have none yet. Otherwise click **Add Workflow** in the top right.
Give it a clear name, like "Product Launch Pipeline." Add an optional description to explain its purpose.
These help you tell workflows apart. They appear on the workflow cards in the list view.
Choose the **From Stage** (where products begin) and the **To Stage** (where they should end up). WISEPIM finds every stage in between automatically.
For each stage, you can choose which columns to show and which products to filter in. This is optional.
## Edit a workflow
Click any workflow card in the list to open the editor. It has three sections.
### Basic information
* **Workflow Name**: a descriptive name your team sees.
* **Description**: an optional note about the workflow's purpose.
* **Color**: pick one from the palette.
* **Icon**: pick one from the icon picker.
### Lifecycle stages
Choose the start and end stages. WISEPIM works out the full path between them. For example, with stages "Draft > Review > Approved > Published," choosing "Draft" to "Published" includes all four.
Changing the From or To stage resets every per-stage setting. Finalize your stage selection before you configure columns and filters.
### Per-stage configuration
For each stage in the path, you can set two things: which columns show, and which products appear.
#### Visible columns
Click the columns icon to choose which product fields show when your team works on that stage. This keeps each stage focused on what matters.
For example:
* **Draft stage**: name, SKU, description, brand, and category.
* **Review stage**: name, quality score, completion score, and images.
* **Published stage**: name, price, stock status, and channel readiness.
#### Stage filters
Click the filter icon to control which products appear in a stage. Each condition has three parts:
| Part | What it sets |
| ------------ | -------------------------------------------------------------------------------------------------- |
| **Field** | The product field to check, such as Name, Price, Quality Score, or Has Main Image. |
| **Operator** | The comparison: equals, contains, is empty, has value, greater than, less than, is true, is false. |
| **Value** | The value to compare against. Not needed for operators like "is empty" or "is true." |
Combine conditions with **AND** (all must match) or **OR** (any can match).
Use filters to surface products that need work. In a Review stage, filter for Quality Score less than 80 to show only the products that need attention.
## Manage workflows
You can run several workflows for different goals. For example:
* **Product Launch Pipeline**: Draft to Published, with quality checks at each stage.
* **Seasonal Refresh**: Review to Updated, to refresh existing content.
* **New Supplier Onboarding**: Import to Active, to process new supplier catalogs.
To delete a workflow, open it and click **Delete workflow** in the top right.
Deleting a workflow is permanent and cannot be undone. Products in progress are not affected. They stay in their current lifecycle stage.
## Save your changes
When you change any setting, a save bar appears at the bottom:
* **Save**: saves all workflow changes to the project.
* **Undo**: discards all changes since your last save.
## Related
Set up the stages your workflows move products through.
Work with products as they move through each stage.
A workflow turns your lifecycle stages into a guided pipeline. Instead of changing product statuses by hand, your team follows a clear path from a starting stage like "Draft" to a target stage like "Published."
Each stage shows only the columns and products that matter at that step. Your team always knows what to work on next.
Workflows build on lifecycle stages. You need at least **two stages** before you can create one. Set these up first in [Product Lifecycle](/en/workflows/product-lifecycle).
## Turn workflows on
Toggle **Enable Workflows** to activate the feature for your project. When it is off, your workflows are saved but inactive.
## Create a workflow
Click **Create Your First Workflow** if you have none yet. Otherwise click **Add Workflow** in the top right.
Give it a clear name, like "Product Launch Pipeline." Add an optional description to explain its purpose.
These help you tell workflows apart. They appear on the workflow cards in the list view.
Choose the **From Stage** (where products begin) and the **To Stage** (where they should end up). WISEPIM finds every stage in between automatically.
For each stage, you can choose which columns to show and which products to filter in. This is optional.
## Edit a workflow
Click any workflow card in the list to open the editor. It has three sections.
### Basic information
* **Workflow Name**: a descriptive name your team sees.
* **Description**: an optional note about the workflow's purpose.
* **Color**: pick one from the palette.
* **Icon**: pick one from the icon picker.
### Lifecycle stages
Choose the start and end stages. WISEPIM works out the full path between them. For example, with stages "Draft > Review > Approved > Published," choosing "Draft" to "Published" includes all four.
Changing the From or To stage resets every per-stage setting. Finalize your stage selection before you configure columns and filters.
### Per-stage configuration
For each stage in the path, you can set two things: which columns show, and which products appear.
#### Visible columns
Click the columns icon to choose which product fields show when your team works on that stage. This keeps each stage focused on what matters.
For example:
* **Draft stage**: name, SKU, description, brand, and category.
* **Review stage**: name, quality score, completion score, and images.
* **Published stage**: name, price, stock status, and channel readiness.
#### Stage filters
Click the filter icon to control which products appear in a stage. Each condition has three parts:
| Part | What it sets |
| ------------ | -------------------------------------------------------------------------------------------------- |
| **Field** | The product field to check, such as Name, Price, Quality Score, or Has Main Image. |
| **Operator** | The comparison: equals, contains, is empty, has value, greater than, less than, is true, is false. |
| **Value** | The value to compare against. Not needed for operators like "is empty" or "is true." |
Combine conditions with **AND** (all must match) or **OR** (any can match).
Use filters to surface products that need work. In a Review stage, filter for Quality Score less than 80 to show only the products that need attention.
## Manage workflows
You can run several workflows for different goals. For example:
* **Product Launch Pipeline**: Draft to Published, with quality checks at each stage.
* **Seasonal Refresh**: Review to Updated, to refresh existing content.
* **New Supplier Onboarding**: Import to Active, to process new supplier catalogs.
To delete a workflow, open it and click **Delete workflow** in the top right.
Deleting a workflow is permanent and cannot be undone. Products in progress are not affected. They stay in their current lifecycle stage.
## Save your changes
When you change any setting, a save bar appears at the bottom:
* **Save**: saves all workflow changes to the project.
* **Undo**: discards all changes since your last save.
## Related
Set up the stages your workflows move products through.
Work with products as they move through each stage.