> ## Documentation Index
> Fetch the complete documentation index at: https://docs.wisepim.com/llms.txt
> Use this file to discover all available pages before exploring further.
# WISECHAT Widget
> Add an AI shopping assistant to your storefront that answers shopper questions, recommends products, and lifts conversion.
WISECHAT is an AI shopping assistant you embed on your storefront, grounded in your live product catalog so it answers shopper questions, recommends the right products, and guides buyers to checkout. A well-tuned assistant reduces pre-sale friction and lifts conversion by helping shoppers find what they need without leaving the page.
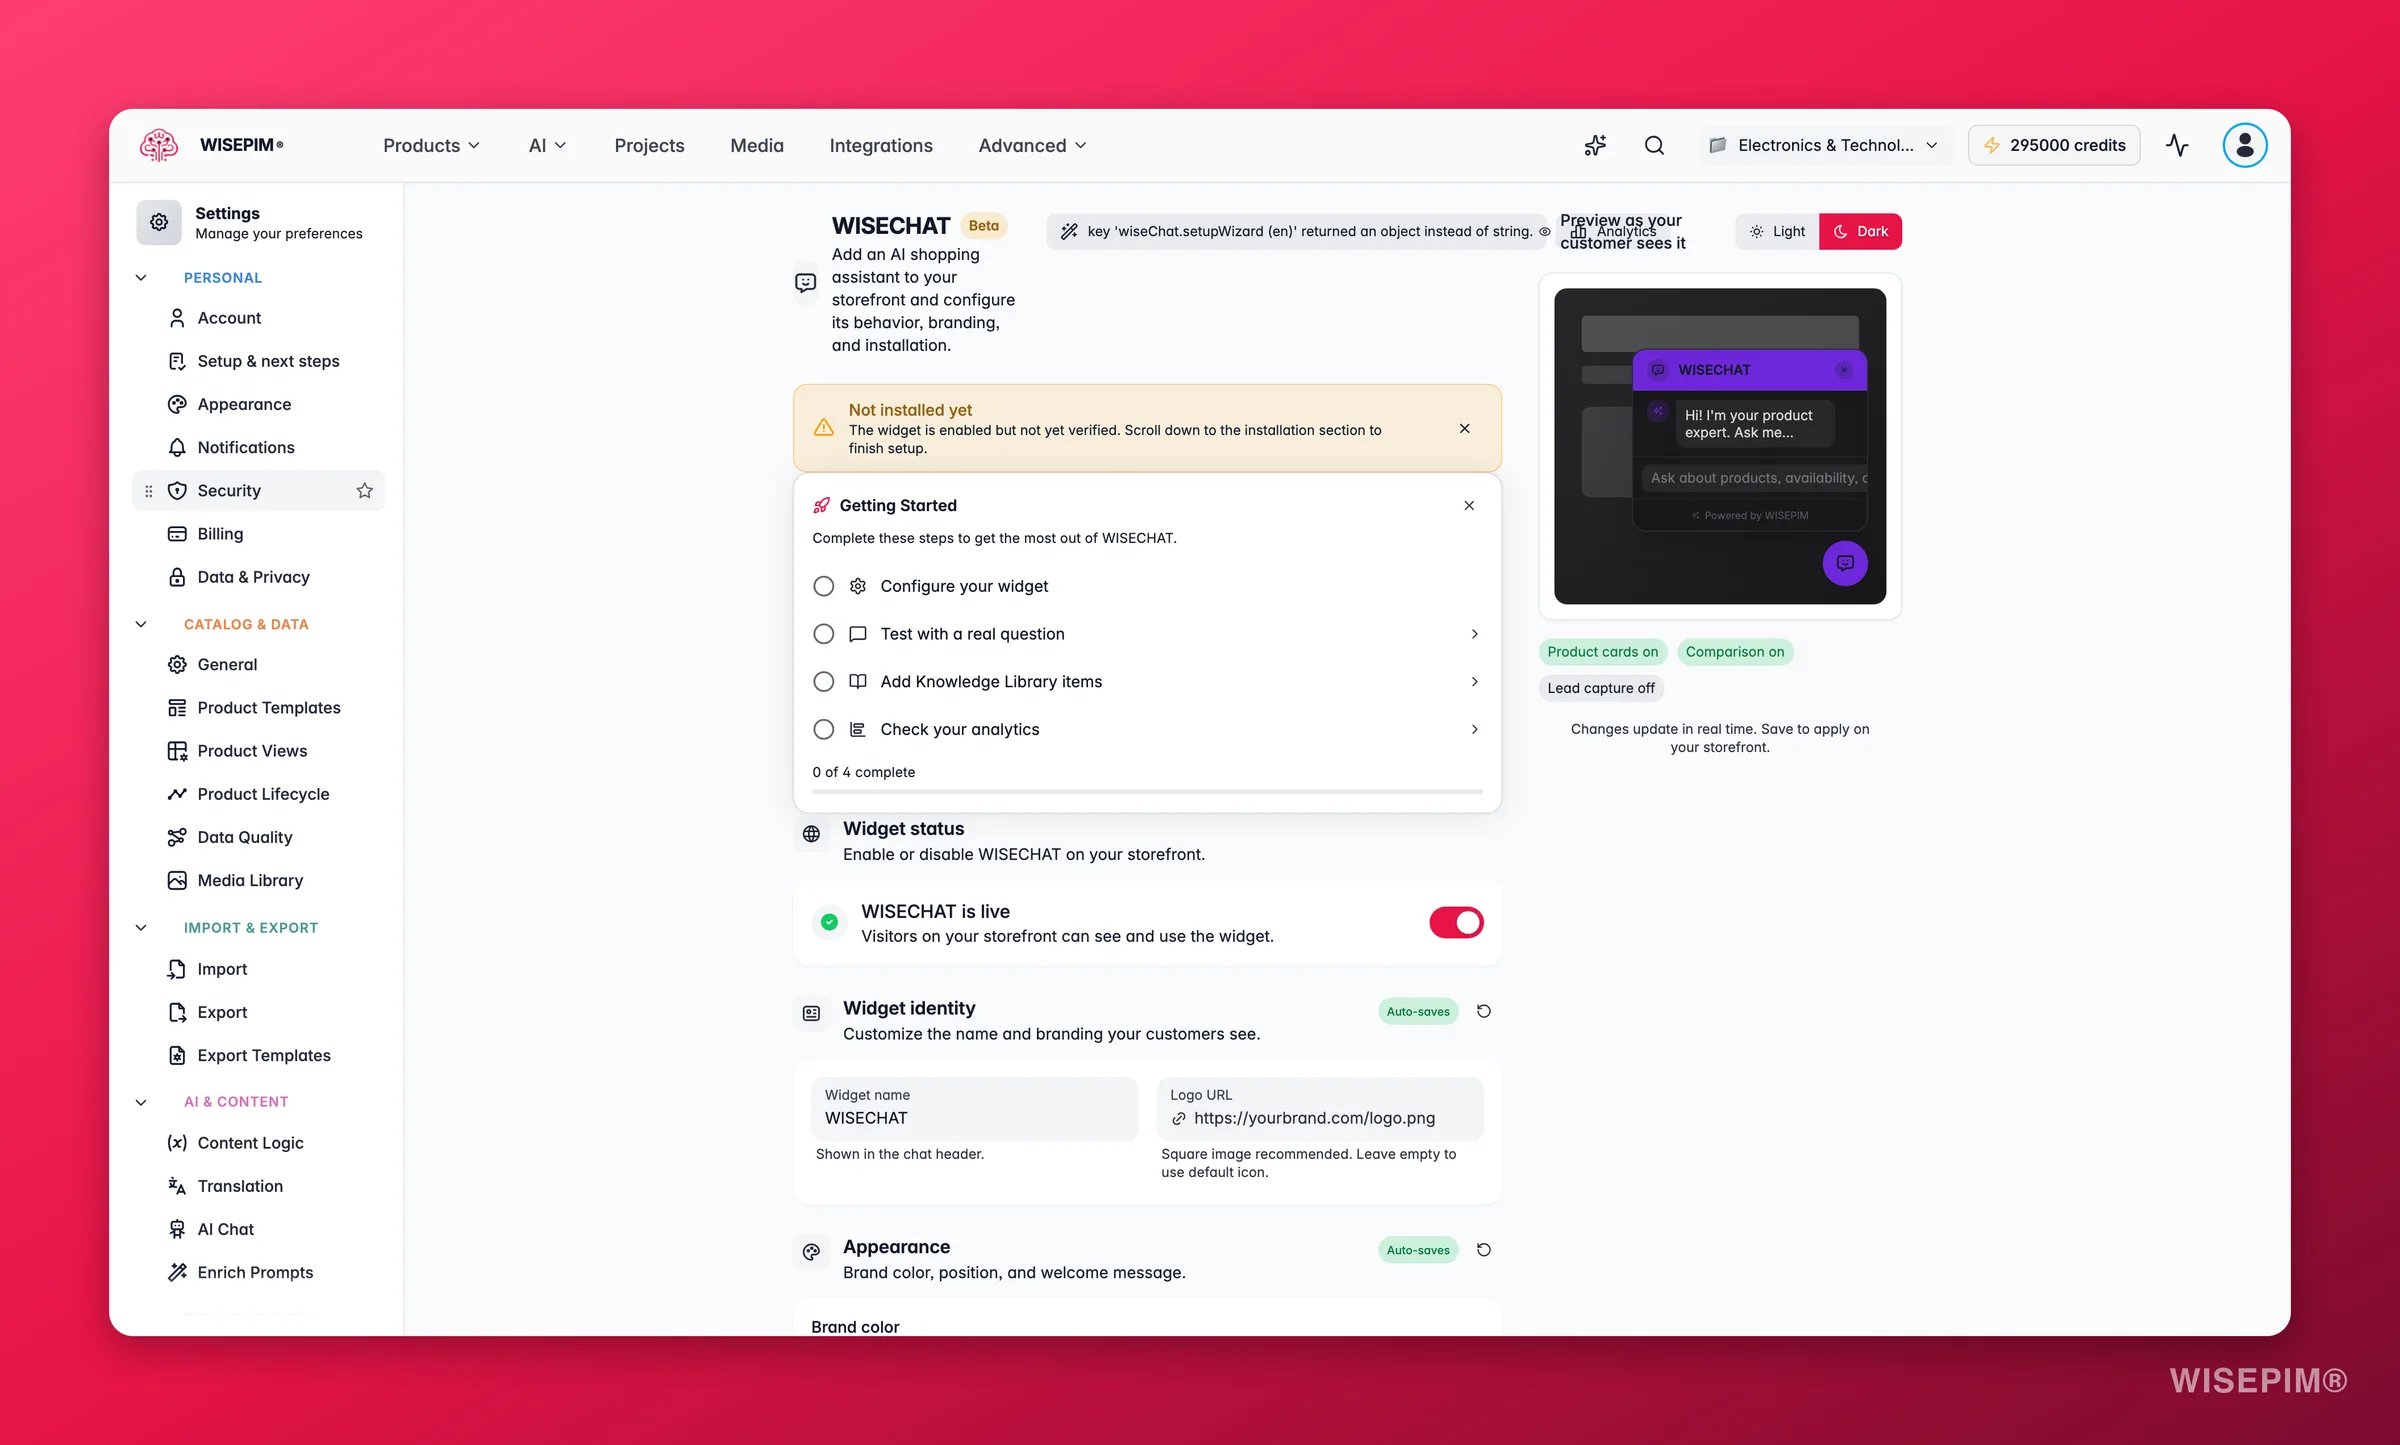
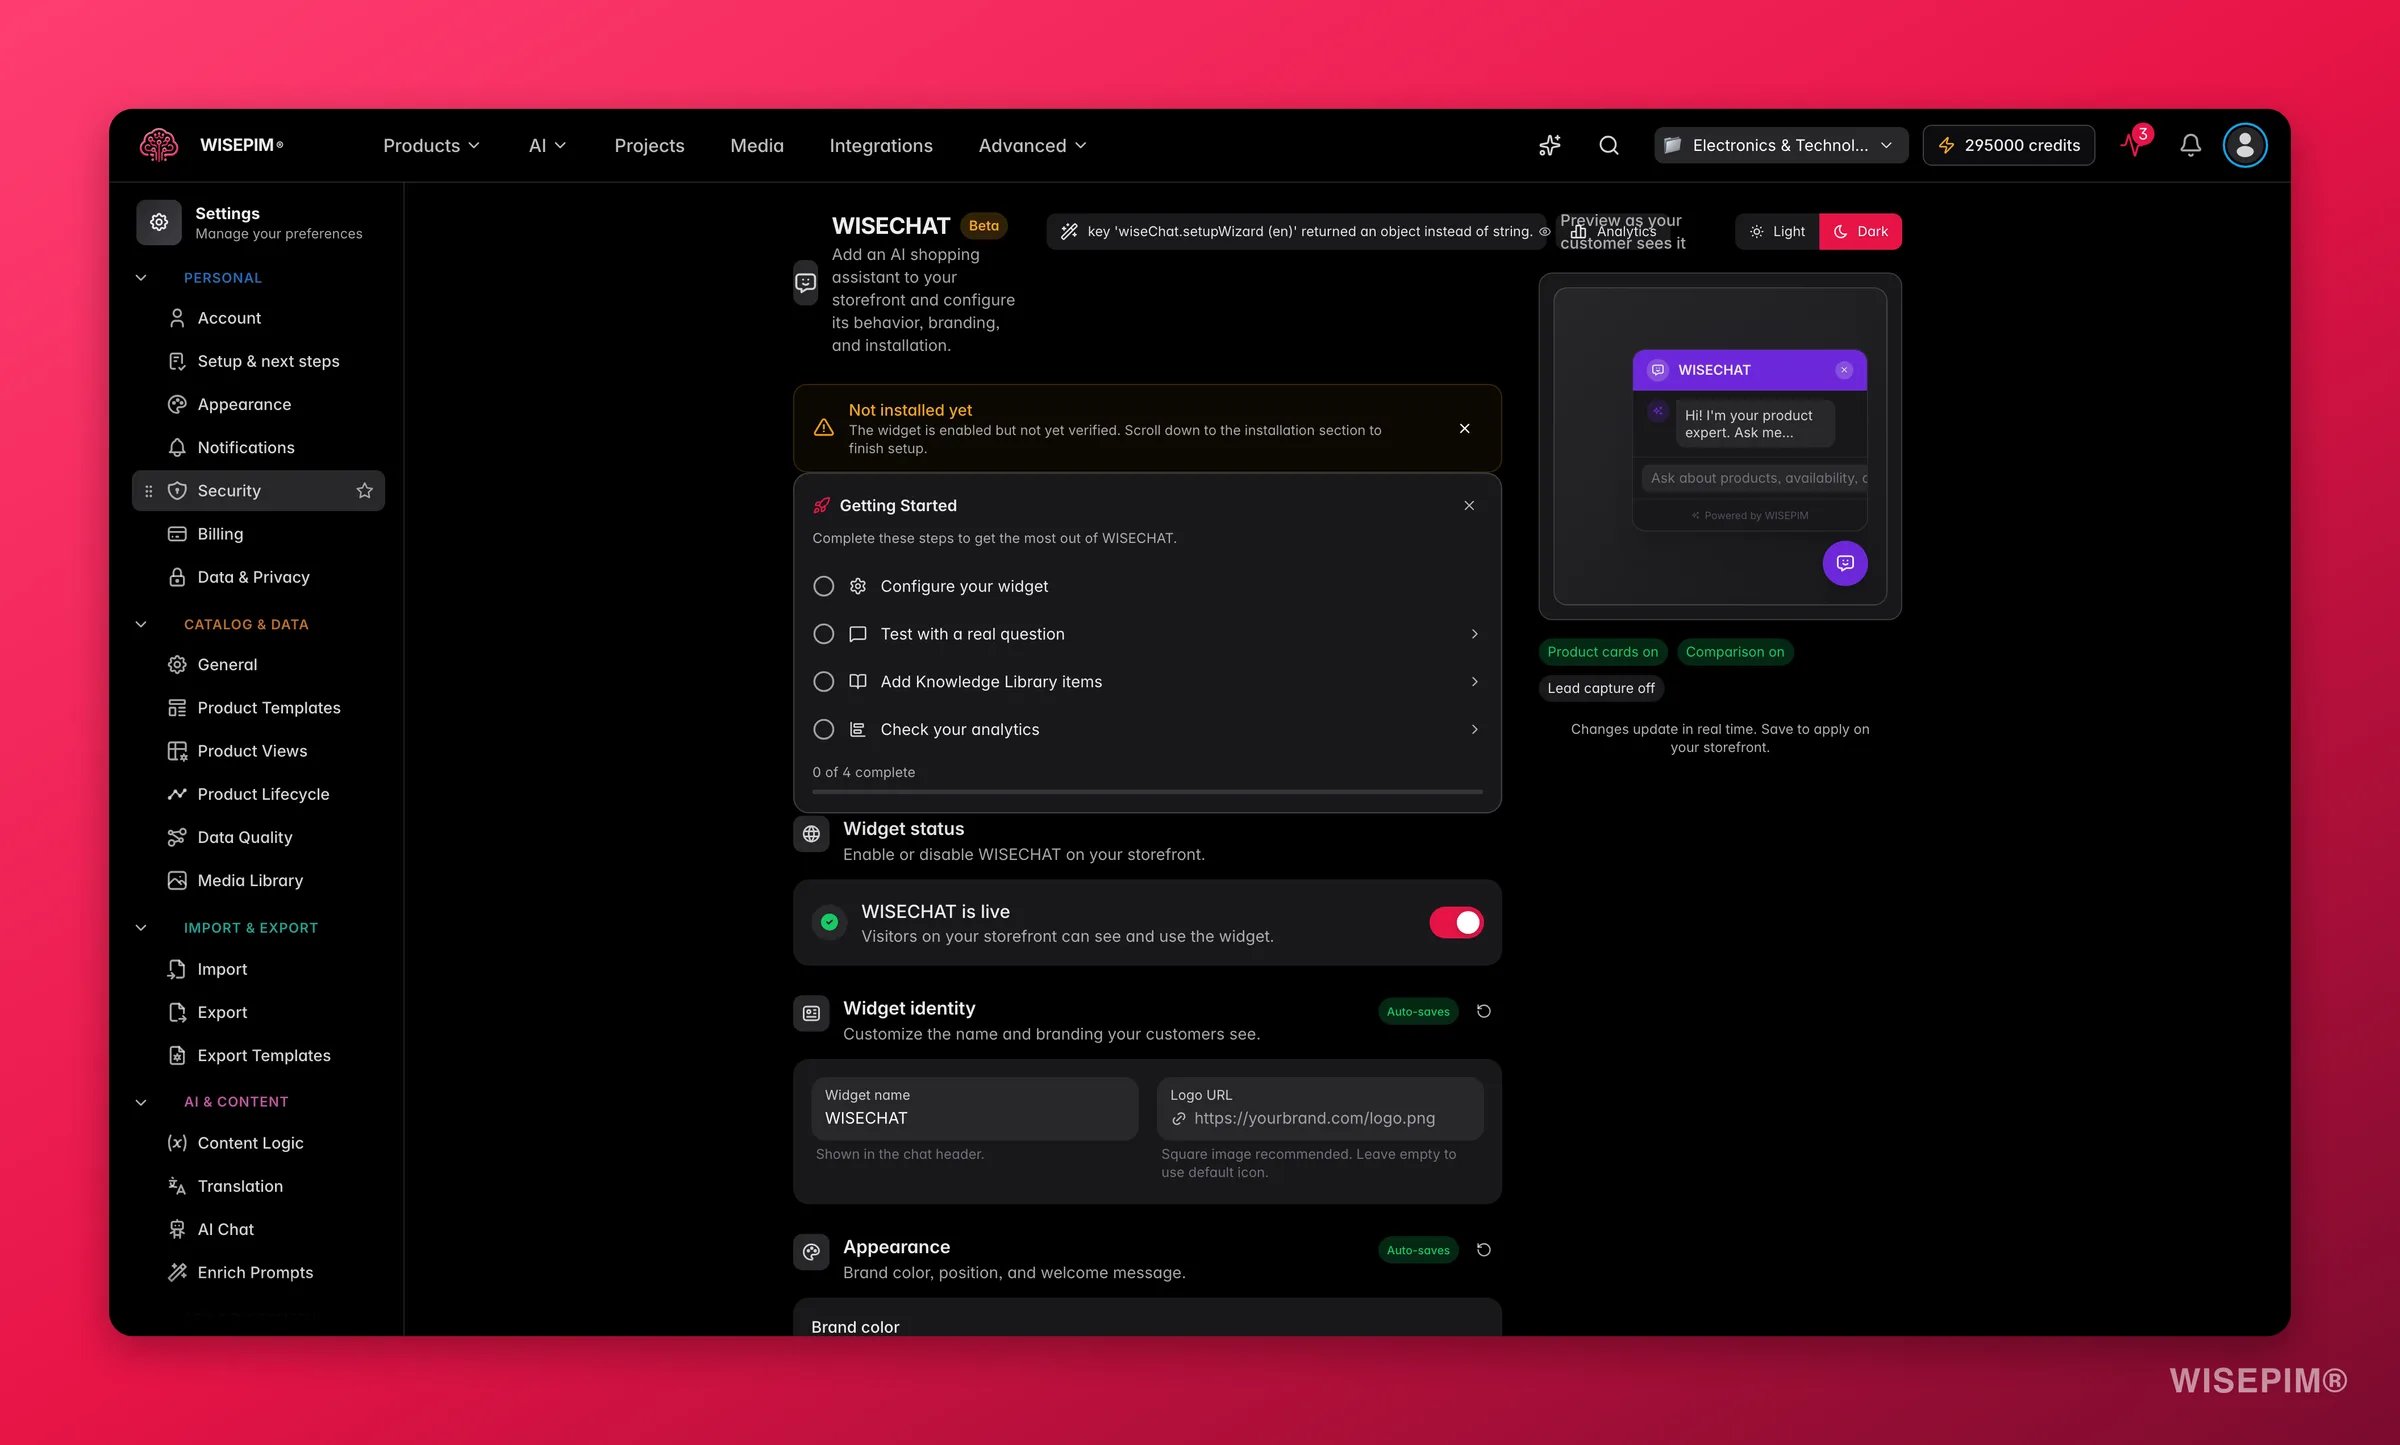 These settings are project-level. Pick a project from the project switcher first. Each project gets its own widget configuration, site key, and install snippet.
The page opens as a guided setup wizard the first time, and switches to an advanced settings view once your widget is live. You can reopen the wizard at any time with the **Setup wizard** button, and a sticky **live preview** on the right shows your changes as you make them.
## Brand your widget
The first wizard step matches the assistant to your store's look so it feels like a native part of your site, not a bolted-on chatbot.
* **Widget name**: the assistant's display name, shown in the chat header (up to 40 characters). Use something on-brand like "Ask Sara" or your store name.
* **Logo URL**: a link to your logo image. It appears in the chat header for instant brand recognition.
* **Brand color**: pick your primary color with the color picker or paste a hex value. It tints the launcher button, header, and accents.
The live preview updates instantly, so you can dial in the look before anyone sees it.
Reopen the wizard later to reach more appearance controls in the advanced view: launcher **position** (bottom-right or bottom-left), widget **theme** (auto, light, or dark), a **welcome message**, and the input **placeholder text**.
## Configure behavior
This step decides how the assistant talks and what catalog data it is allowed to share with shoppers. Getting this right keeps answers accurate, on-brand, and safe.
These settings are project-level. Pick a project from the project switcher first. Each project gets its own widget configuration, site key, and install snippet.
The page opens as a guided setup wizard the first time, and switches to an advanced settings view once your widget is live. You can reopen the wizard at any time with the **Setup wizard** button, and a sticky **live preview** on the right shows your changes as you make them.
## Brand your widget
The first wizard step matches the assistant to your store's look so it feels like a native part of your site, not a bolted-on chatbot.
* **Widget name**: the assistant's display name, shown in the chat header (up to 40 characters). Use something on-brand like "Ask Sara" or your store name.
* **Logo URL**: a link to your logo image. It appears in the chat header for instant brand recognition.
* **Brand color**: pick your primary color with the color picker or paste a hex value. It tints the launcher button, header, and accents.
The live preview updates instantly, so you can dial in the look before anyone sees it.
Reopen the wizard later to reach more appearance controls in the advanced view: launcher **position** (bottom-right or bottom-left), widget **theme** (auto, light, or dark), a **welcome message**, and the input **placeholder text**.
## Configure behavior
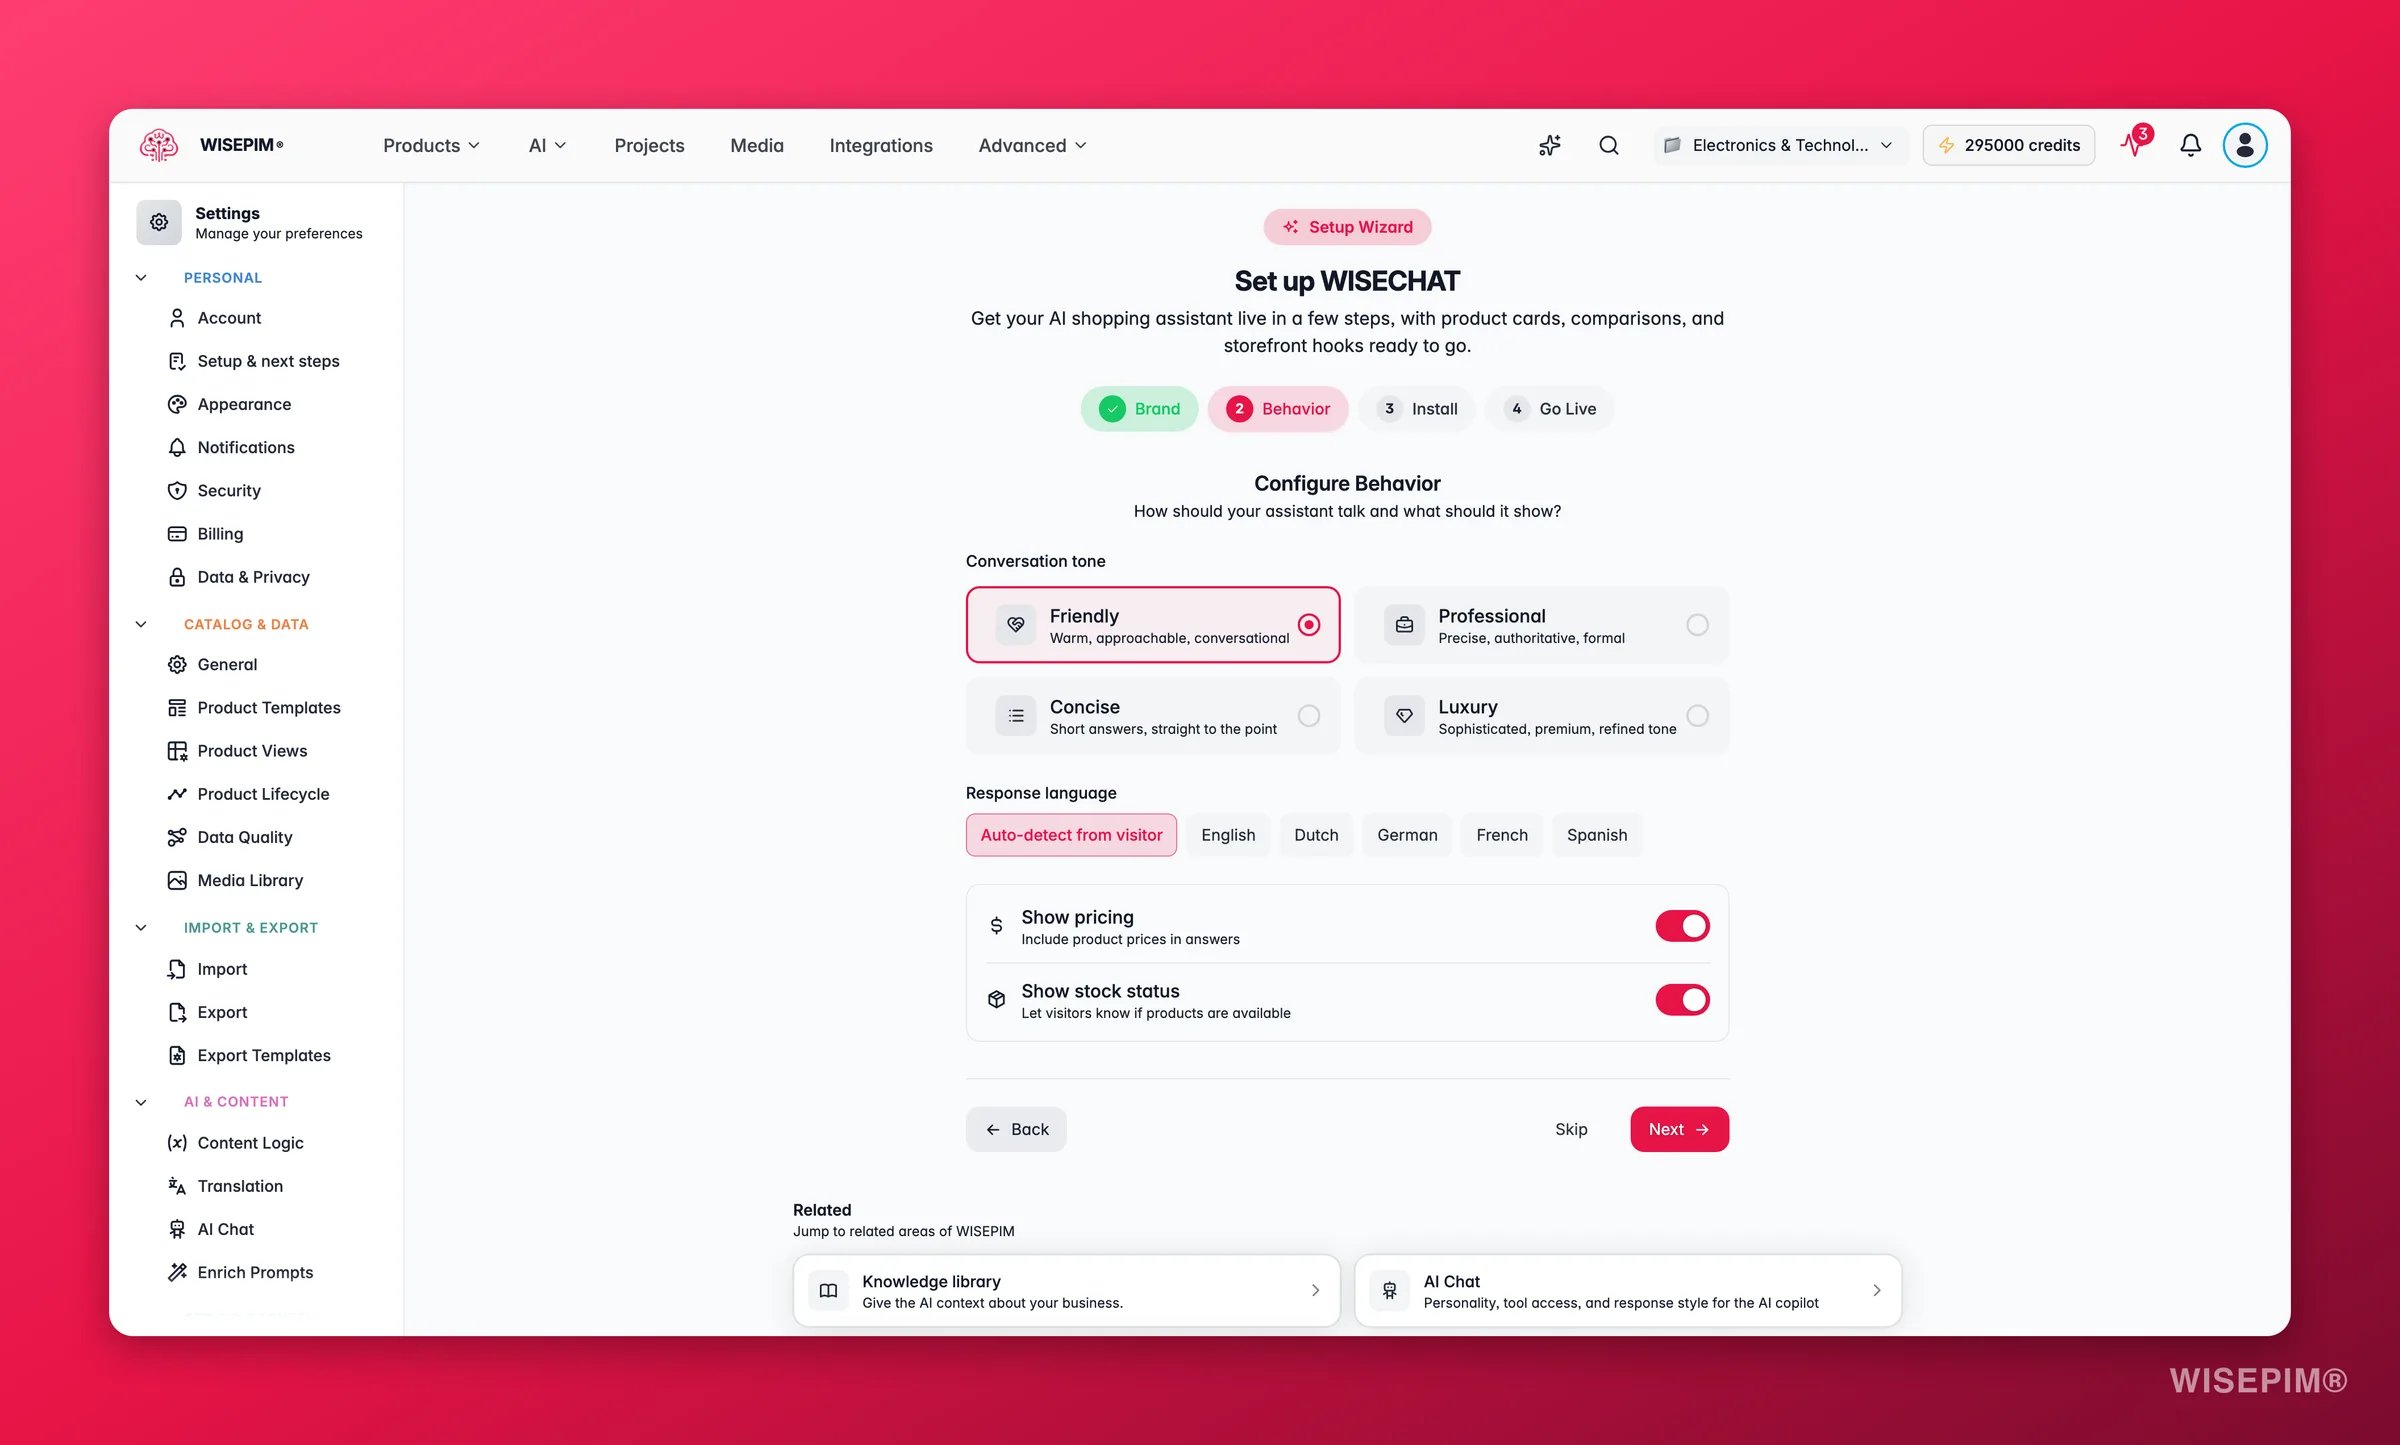
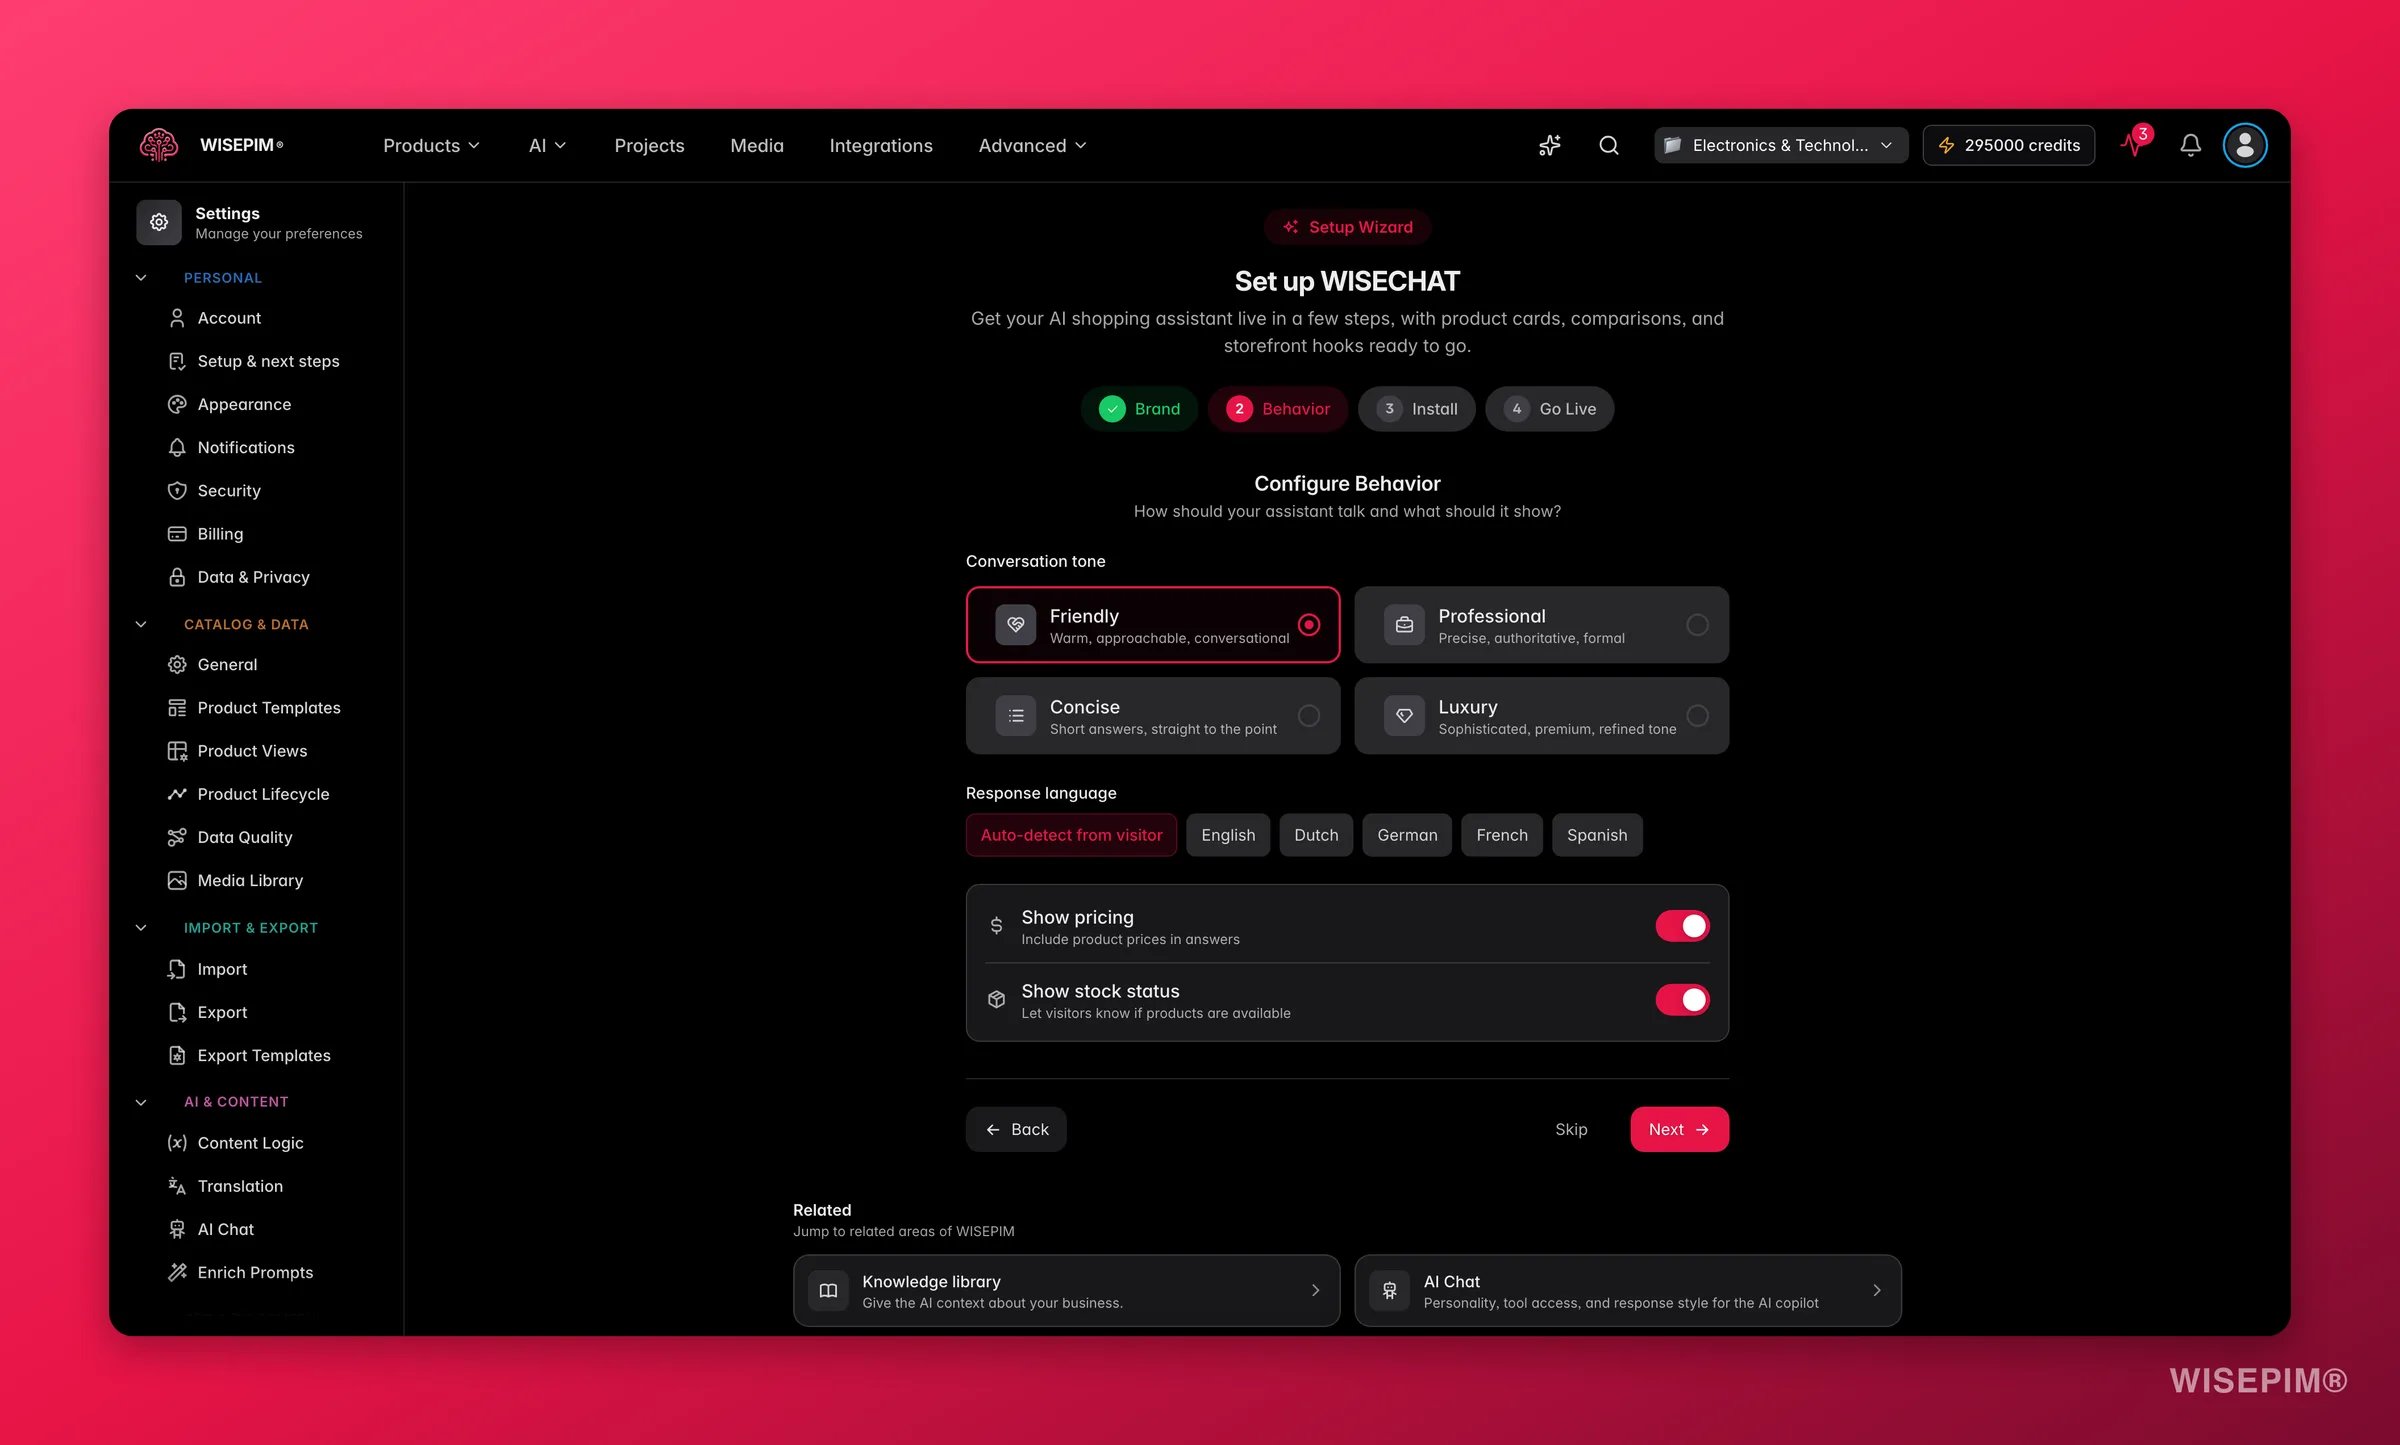
This step decides how the assistant talks and what catalog data it is allowed to share with shoppers. Getting this right keeps answers accurate, on-brand, and safe.
 ### Conversation tone
Choose the personality that fits your brand voice:
| Tone | Best for |
| ---------------- | -------------------------------------------------- |
| **Friendly** | Conversational, approachable stores. The default. |
| **Professional** | Precise, business-like, and authoritative replies. |
| **Concise** | Short, to-the-point answers for quick shoppers. |
| **Luxury** | Refined, premium wording for high-end catalogs. |
### Response language
Pick the language the assistant replies in, or leave it on **Auto-detect** so it matches the shopper's own language. Auto-detect is ideal for stores that serve multiple markets.
### Data access toggles
Control which live catalog facts the assistant is allowed to surface:
| Toggle | What it does | Default |
| ---------------- | ------------------------------------------------------------- | ------- |
| **Show pricing** | Lets the assistant quote product prices in chat. | On |
| **Show stock** | Lets the assistant tell shoppers whether an item is in stock. | On |
Turn **Show pricing** or **Show stock** off if your storefront hides those details or if prices vary by customer. The assistant will then avoid quoting them, even if asked.
When you move past this step, your branding and behavior choices are saved automatically.
The advanced view adds more controls: a **persona** with custom instructions, **capabilities** (product comparison, rich product cards, deep links, and lead capture), a fallback **call-to-action**, and a **Knowledge Library** selector so the assistant can answer using your shipping, returns, and brand content.
## Install on your store
The install step gives you a one-line embed snippet and step-by-step instructions for your platform. WISEPIM detects your connected store and highlights the matching guide automatically.
### Conversation tone
Choose the personality that fits your brand voice:
| Tone | Best for |
| ---------------- | -------------------------------------------------- |
| **Friendly** | Conversational, approachable stores. The default. |
| **Professional** | Precise, business-like, and authoritative replies. |
| **Concise** | Short, to-the-point answers for quick shoppers. |
| **Luxury** | Refined, premium wording for high-end catalogs. |
### Response language
Pick the language the assistant replies in, or leave it on **Auto-detect** so it matches the shopper's own language. Auto-detect is ideal for stores that serve multiple markets.
### Data access toggles
Control which live catalog facts the assistant is allowed to surface:
| Toggle | What it does | Default |
| ---------------- | ------------------------------------------------------------- | ------- |
| **Show pricing** | Lets the assistant quote product prices in chat. | On |
| **Show stock** | Lets the assistant tell shoppers whether an item is in stock. | On |
Turn **Show pricing** or **Show stock** off if your storefront hides those details or if prices vary by customer. The assistant will then avoid quoting them, even if asked.
When you move past this step, your branding and behavior choices are saved automatically.
The advanced view adds more controls: a **persona** with custom instructions, **capabilities** (product comparison, rich product cards, deep links, and lead capture), a fallback **call-to-action**, and a **Knowledge Library** selector so the assistant can answer using your shipping, returns, and brand content.
## Install on your store
The install step gives you a one-line embed snippet and step-by-step instructions for your platform. WISEPIM detects your connected store and highlights the matching guide automatically.
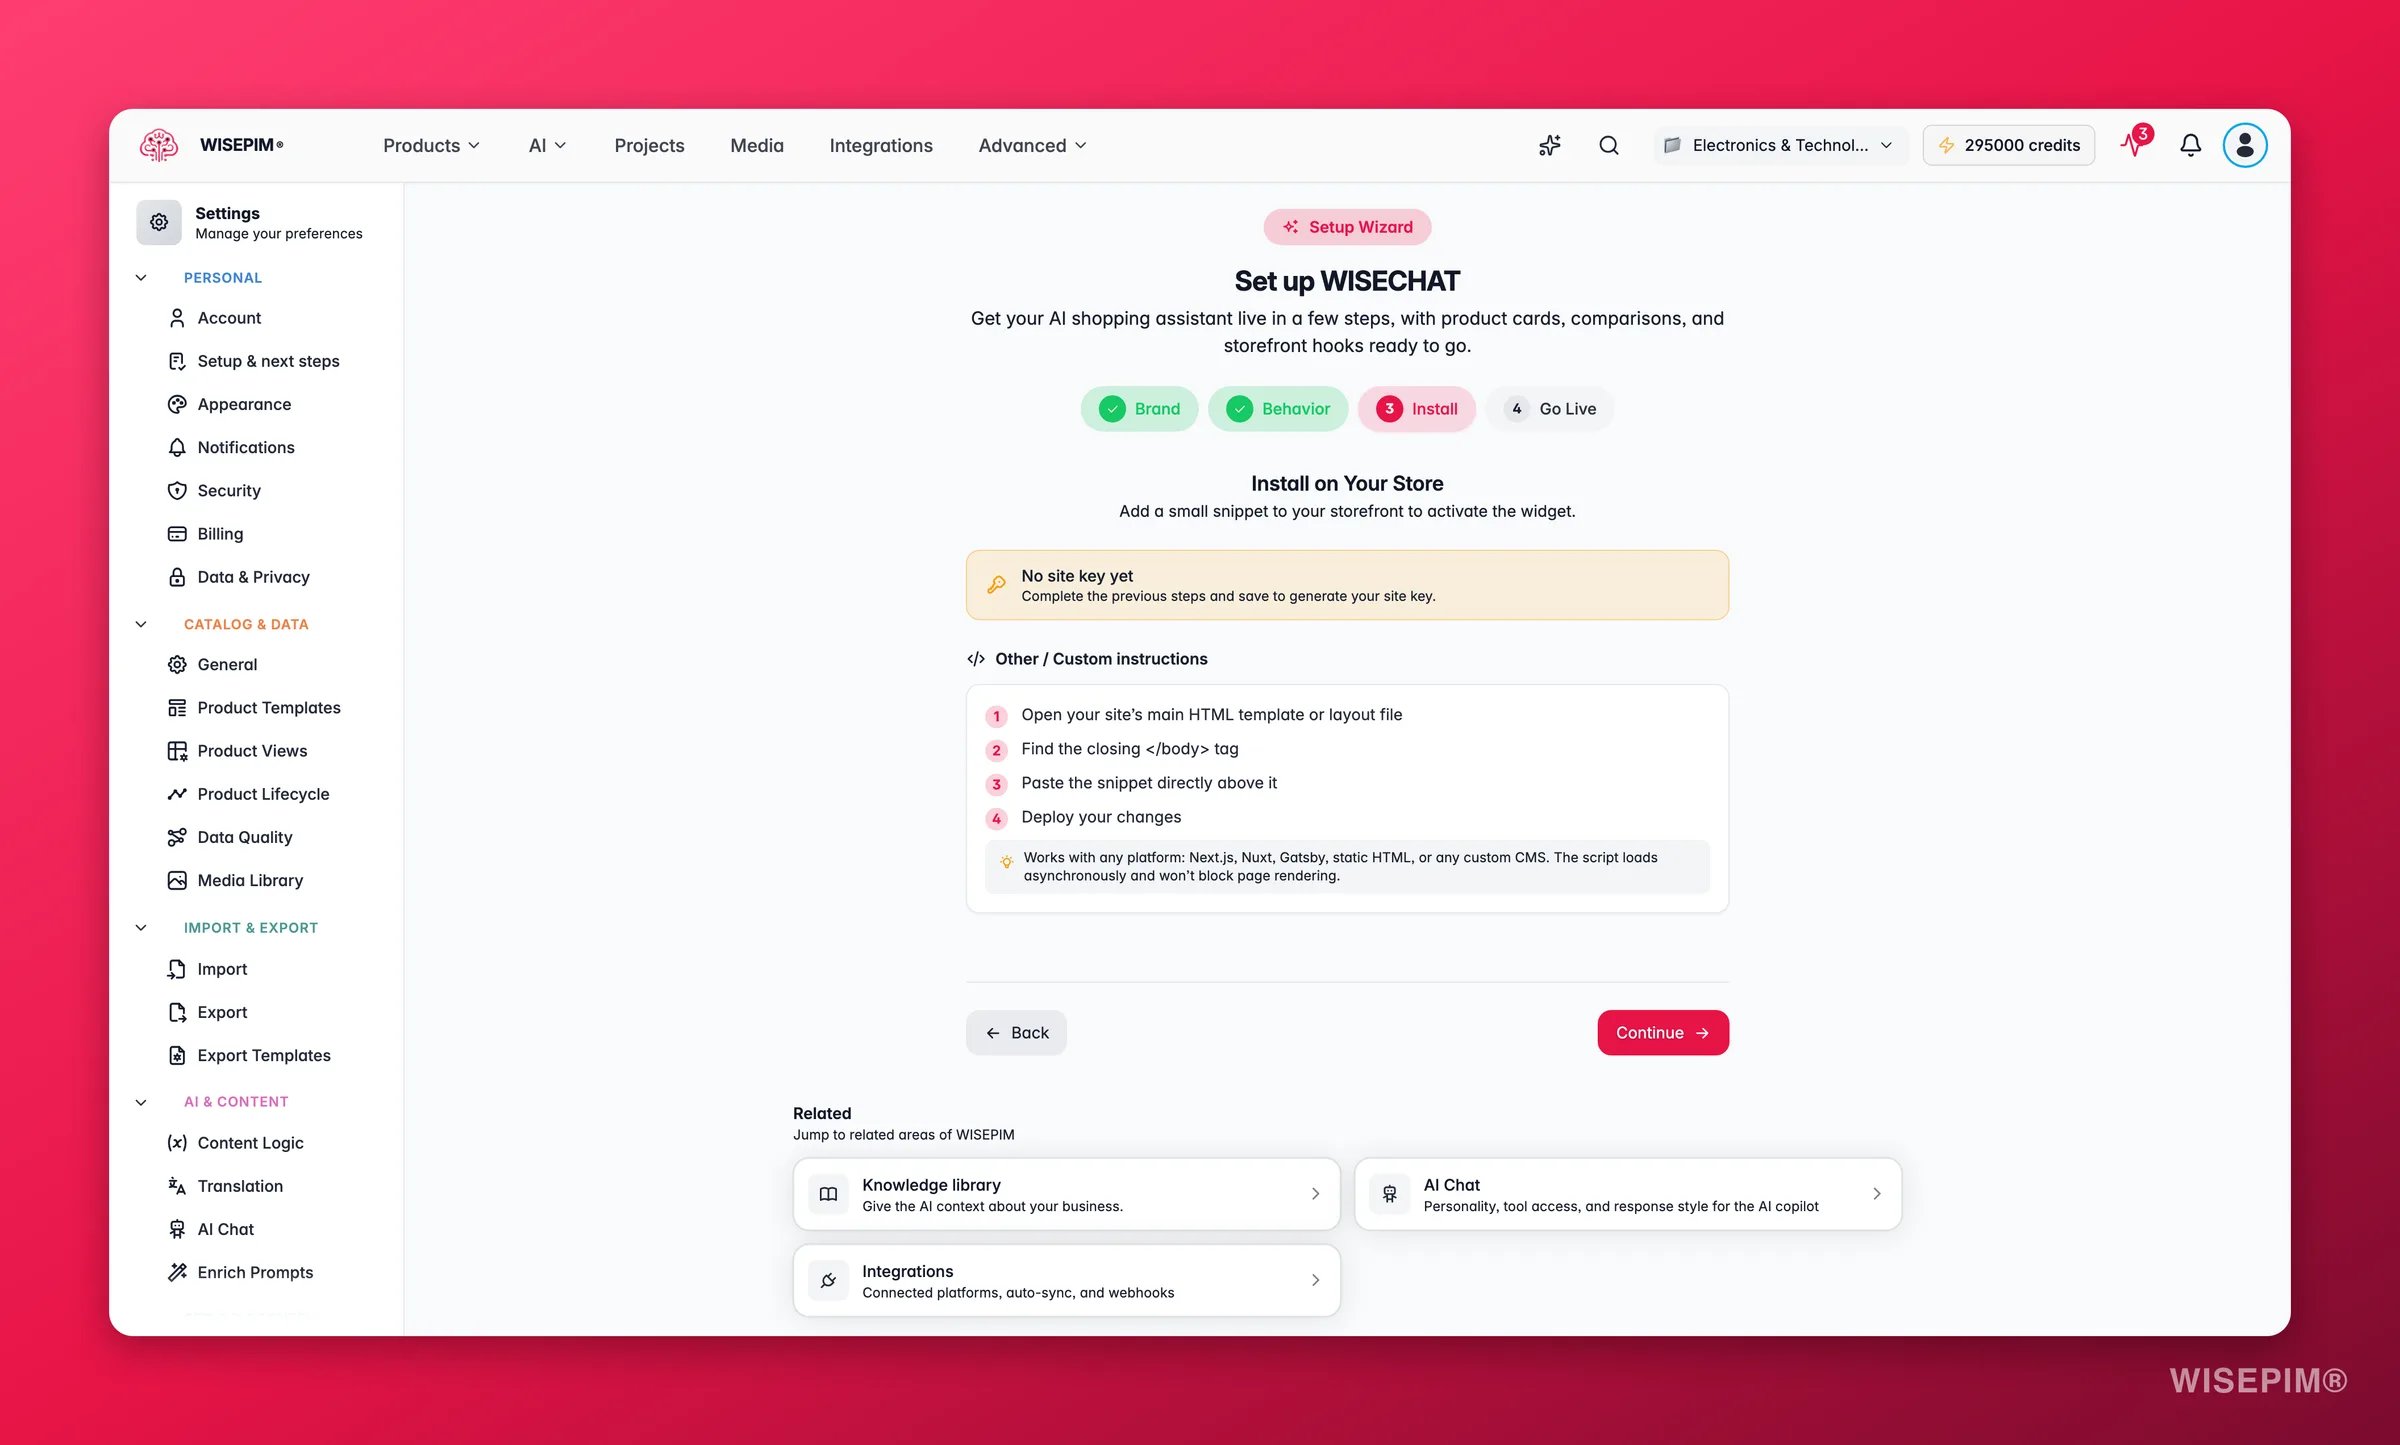
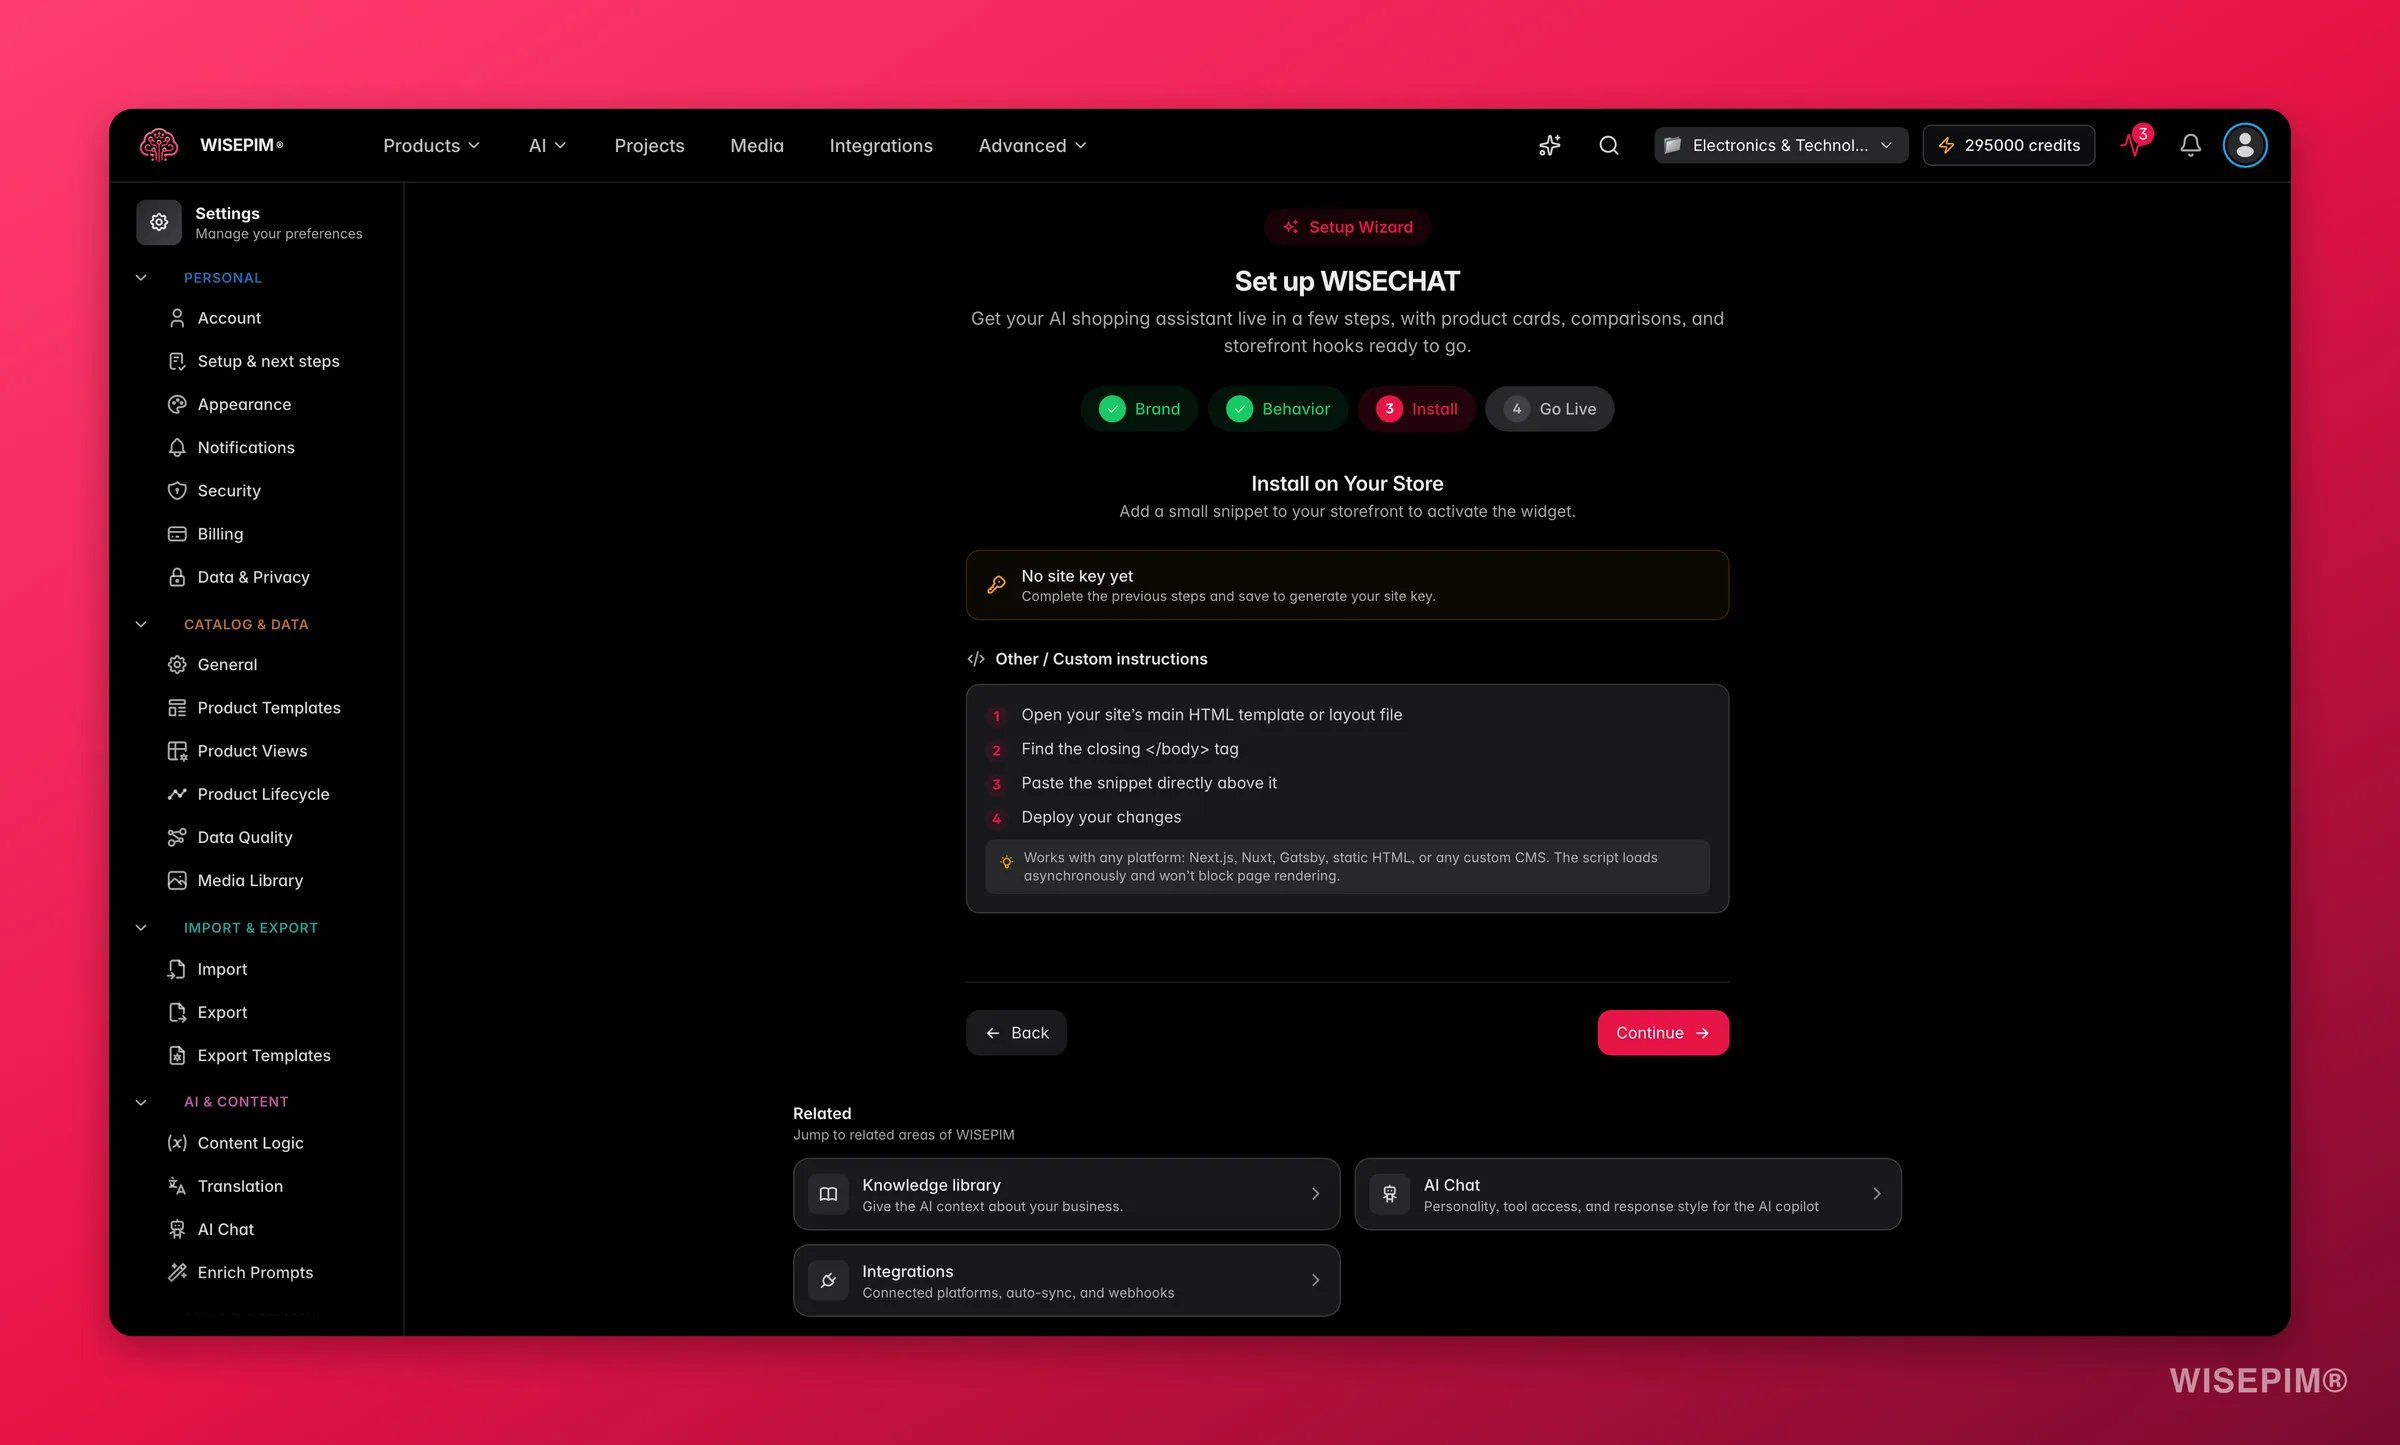 Click **Copy** to grab the script. It already includes your unique site key, so the widget knows which project's catalog to use.
Add the snippet to your site's HTML, ideally just before the closing `</body>` tag (or inside `<head>`). Use the platform guide for your store:
| Platform | Where the snippet goes |
| ------------------ | --------------------------------------------------------------------------- |
| **Shopify** | `theme.liquid`, before `</body>` (Online Store > Themes > Edit code). |
| **WooCommerce** | The Footer section of the free WPCode "Insert Headers and Footers" plugin. |
| **Magento** | Content > Design > Configuration > HTML Head > Scripts and Style Sheets. |
| **Lightspeed** | Settings > Web extras > Custom JavaScript. |
| **CCV Shop** | Settings > My web shop > Tweaking > Custom footer HTML. |
| **Other / Custom** | Above `</body>` in your main template, then deploy. |
Enter your store URL and click **Verify**. WISEPIM loads the page and confirms the widget is detected, so you know it's live before you tell shoppers about it.
The snippet loads asynchronously, so it won't slow down your page. If your project has no site key yet, save your settings first and one is generated automatically.
## Go live
The final step shows a summary of your configuration (name, brand color, tone, language, pricing, stock, product cards, and comparison) so you can confirm everything at a glance.
Check that the tone, language, and data toggles match what you want shoppers to experience.
Click **Enable WISECHAT** to switch the assistant on. The widget only appears on your storefront once it is enabled.
Enabling the widget makes it visible to every shopper on the pages where the snippet is installed. Run a quick test conversation first to confirm it answers well.
After going live, you can jump to **View analytics** to track conversations and outcomes, or open **Advanced settings** to fine-tune the assistant.
## Manage your live widget
Once WISECHAT is enabled, the page becomes the advanced settings view, with the same live preview on the right. From here you can:
* **Update appearance and behavior** at any time. Changes take effect on your storefront after you save.
* **Restrict allowed domains** so the embed snippet only works on the hostnames you list. Leave it empty to allow any domain, or add exact hosts and wildcard subdomains for tighter control.
* **Open analytics** to see how shoppers use the assistant and where it drives conversions.
Use the **Setup wizard** button whenever you want to re-run the guided flow, for example after rebranding or moving to a new platform.
## Related
Configure the in-app AI copilot that helps you manage your catalog.
Add brand, shipping, and returns content the assistant can answer from.
Connect the store platform where your widget gets installed.
See every project setting in one place.
Click **Copy** to grab the script. It already includes your unique site key, so the widget knows which project's catalog to use.
Add the snippet to your site's HTML, ideally just before the closing `</body>` tag (or inside `<head>`). Use the platform guide for your store:
| Platform | Where the snippet goes |
| ------------------ | --------------------------------------------------------------------------- |
| **Shopify** | `theme.liquid`, before `</body>` (Online Store > Themes > Edit code). |
| **WooCommerce** | The Footer section of the free WPCode "Insert Headers and Footers" plugin. |
| **Magento** | Content > Design > Configuration > HTML Head > Scripts and Style Sheets. |
| **Lightspeed** | Settings > Web extras > Custom JavaScript. |
| **CCV Shop** | Settings > My web shop > Tweaking > Custom footer HTML. |
| **Other / Custom** | Above `</body>` in your main template, then deploy. |
Enter your store URL and click **Verify**. WISEPIM loads the page and confirms the widget is detected, so you know it's live before you tell shoppers about it.
The snippet loads asynchronously, so it won't slow down your page. If your project has no site key yet, save your settings first and one is generated automatically.
## Go live
The final step shows a summary of your configuration (name, brand color, tone, language, pricing, stock, product cards, and comparison) so you can confirm everything at a glance.
Check that the tone, language, and data toggles match what you want shoppers to experience.
Click **Enable WISECHAT** to switch the assistant on. The widget only appears on your storefront once it is enabled.
Enabling the widget makes it visible to every shopper on the pages where the snippet is installed. Run a quick test conversation first to confirm it answers well.
After going live, you can jump to **View analytics** to track conversations and outcomes, or open **Advanced settings** to fine-tune the assistant.
## Manage your live widget
Once WISECHAT is enabled, the page becomes the advanced settings view, with the same live preview on the right. From here you can:
* **Update appearance and behavior** at any time. Changes take effect on your storefront after you save.
* **Restrict allowed domains** so the embed snippet only works on the hostnames you list. Leave it empty to allow any domain, or add exact hosts and wildcard subdomains for tighter control.
* **Open analytics** to see how shoppers use the assistant and where it drives conversions.
Use the **Setup wizard** button whenever you want to re-run the guided flow, for example after rebranding or moving to a new platform.
## Related
Configure the in-app AI copilot that helps you manage your catalog.
Add brand, shipping, and returns content the assistant can answer from.
Connect the store platform where your widget gets installed.
See every project setting in one place.