> ## Documentation Index
> Fetch the complete documentation index at: https://docs.wisepim.com/llms.txt
> Use this file to discover all available pages before exploring further.
# Product Views
> Set the default product table for your whole team: which columns show, how rows sort, what search covers, and which filters apply on load.
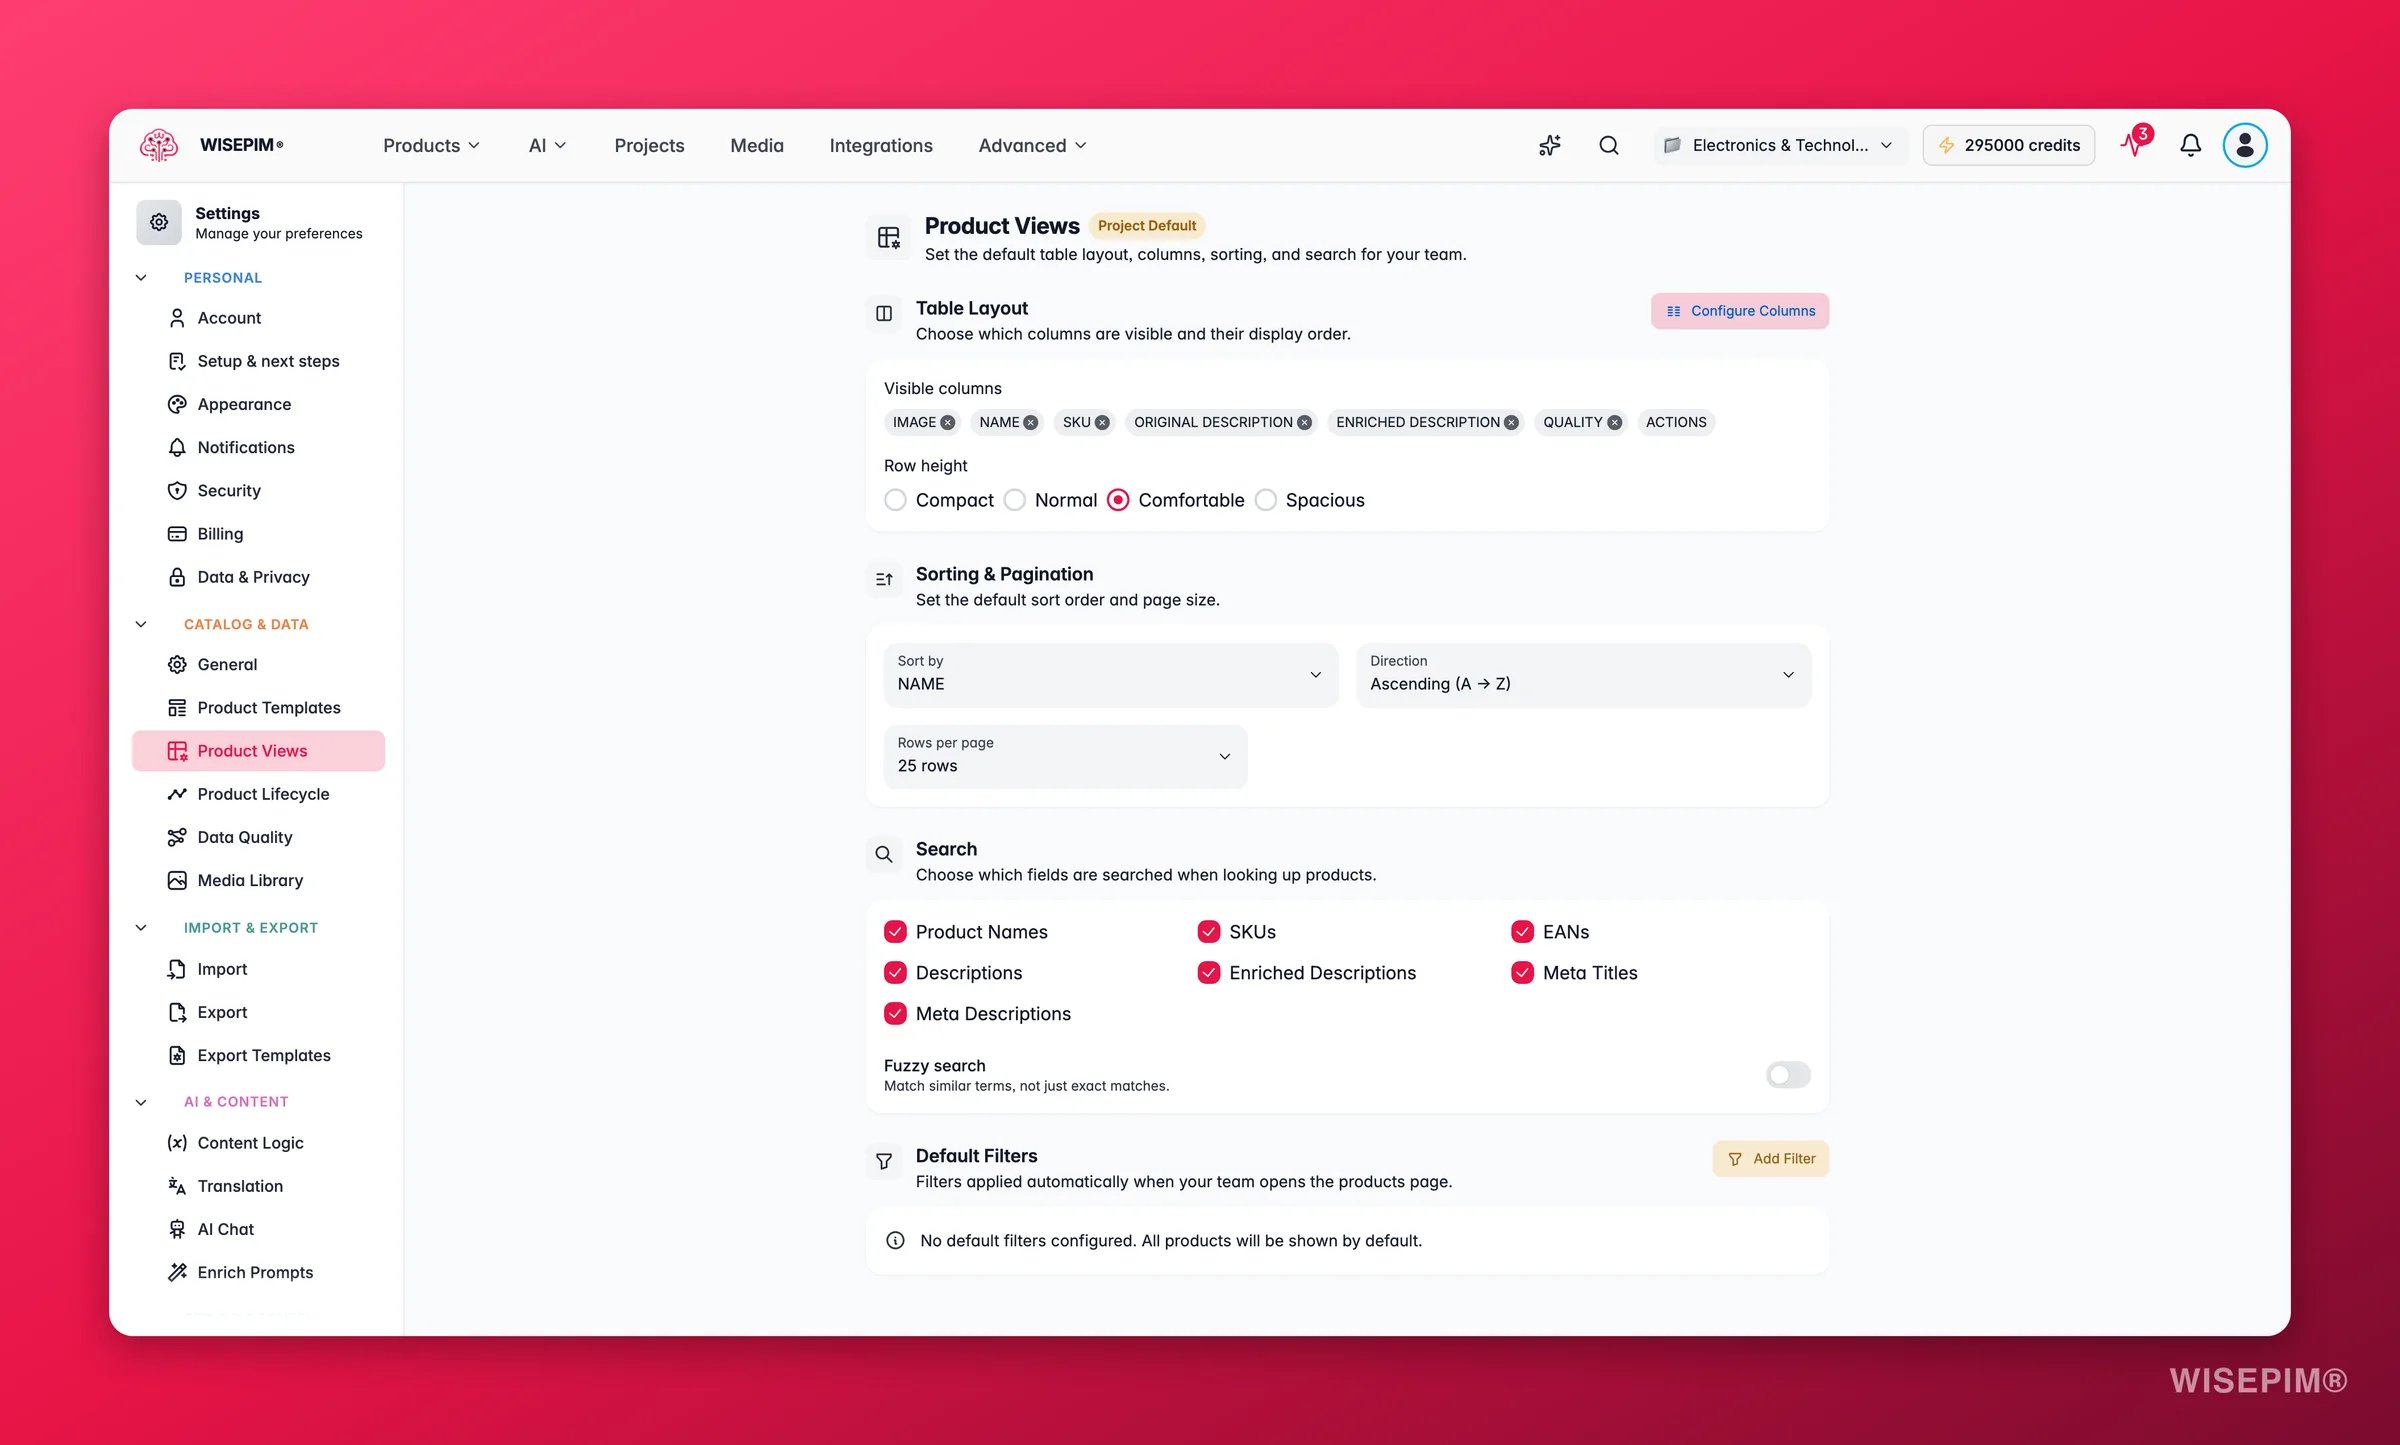
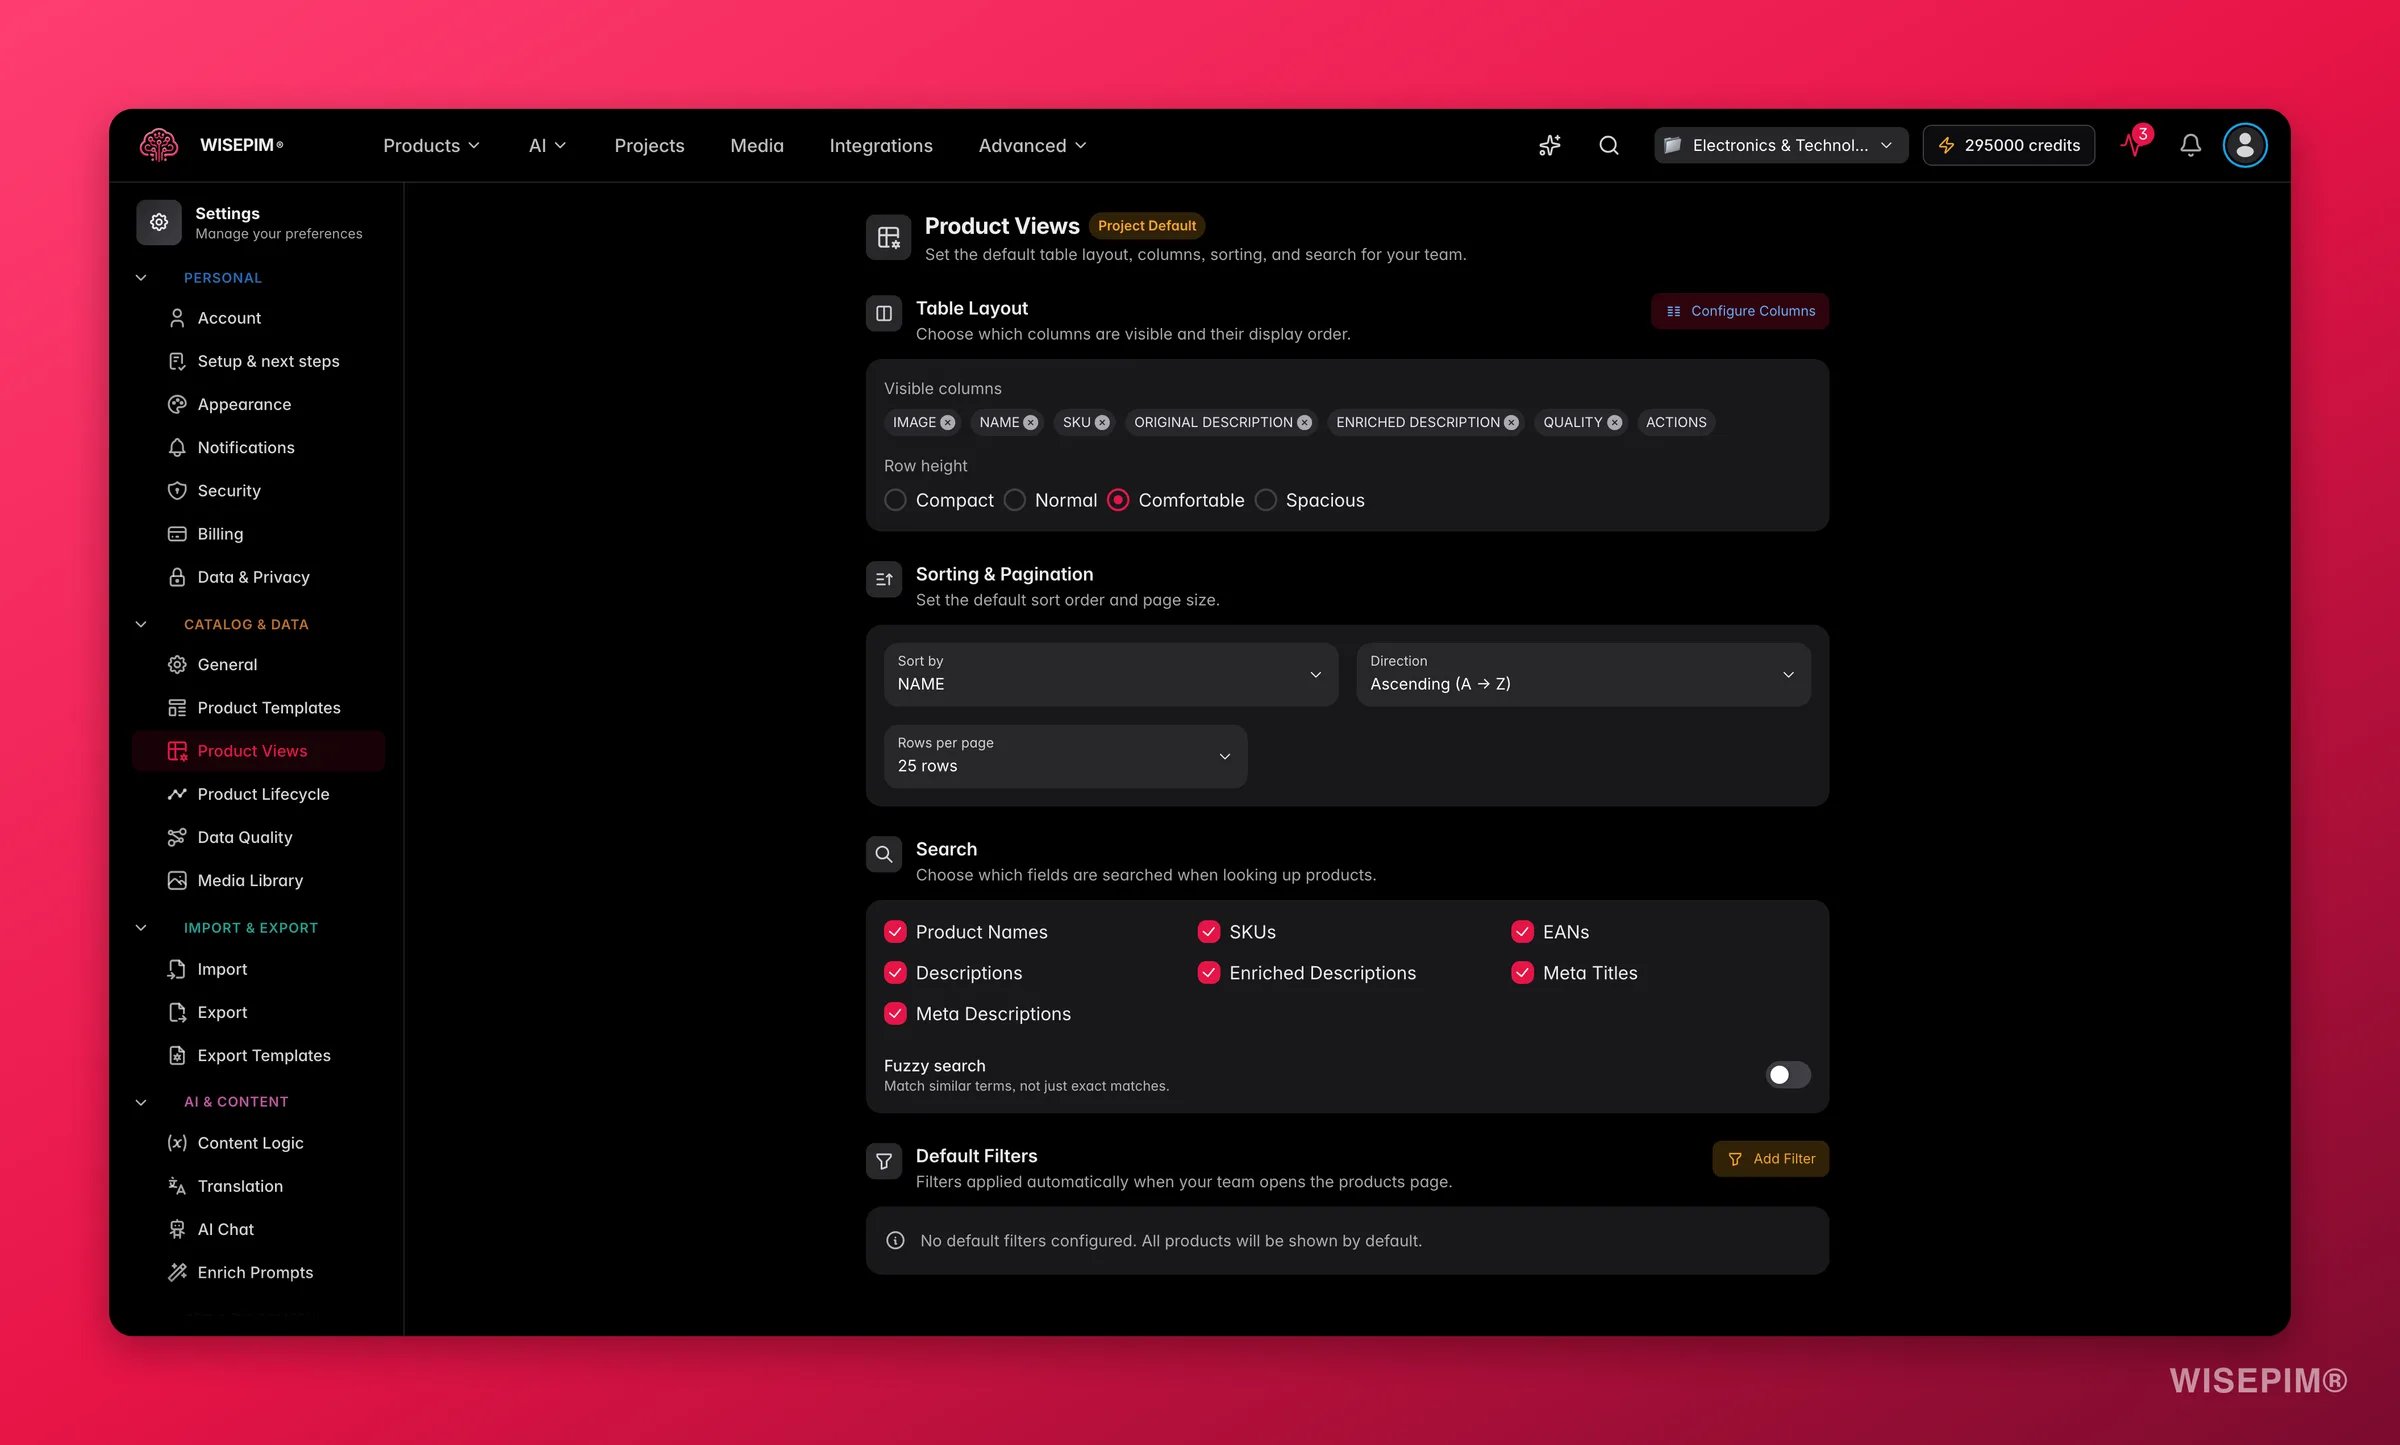
Product View settings decide how the product table looks the first time anyone on your team opens it. They are **project-level defaults**, so they give everyone the same starting point. Team members can still tweak their own personal view on top of these.
 Changes take effect the next time a team member loads the products page. They never overwrite personal customizations a user has already saved.
## Choose which columns show
Click **Configure Columns** to open the column picker. From there you can:
* Browse all available columns, grouped by category.
* Toggle columns on or off.
* Drag columns to reorder them.
* Reset to the default column set.
Visible columns appear as chips. To remove one fast, click the close icon on its chip.
## Set the row height
Row height controls how much space each row takes. Pick the density that fits how your team works.
| Option | Best for |
| --------------- | --------------------------------------------------------------- |
| **Compact** | Tight rows for scanning large datasets quickly |
| **Comfortable** | Balanced spacing for everyday use (default) |
| **Spacious** | Taller rows when product images or long text need to be visible |
Choose **Compact** when your team mostly scans data. Switch to **Spacious** when product images or long descriptions need to show inline.
## Set the default sort and page size
### Default sort
Pick the column the table sorts by on first load, and the direction:
* **Sort by**: any sortable column, such as Product Name, Price, Created Date, or Quality Score.
* **Direction**: ascending (A to Z, low to high) or descending (Z to A, high to low).
### Rows per page
Set how many products show per page: **25**, **50**, or **100** rows.
Bigger page sizes load more data at once. If your team has slow connections, stick with 25 or 50 rows.
## Tune what search covers
### Search fields
Choose which product fields the search bar looks through. Turn each field on or off, for example:
* Product Name, SKU, EAN, Brand, Supplier
* Description, Short Description
* Meta Title, Meta Description, Meta Keywords
### Fuzzy search
Decide how strict search should be:
* **Off**: only exact matches are returned (faster and more precise).
* **On**: similar terms match too, allowing for typos and variations.
Fuzzy search can surface unexpected results when product names contain similar-looking codes or abbreviations. Test it against your own data before turning it on project-wide.
## Apply default filters
Default filters pre-filter the products page, so your team lands on the subset that matters instead of the full catalog.
To add a filter condition:
This opens the advanced filter dialog.
Choose the product field to filter on.
Set the comparison logic, such as equals, contains, is empty, or greater than.
Add the value to compare against.
Combine conditions with **AND** (all must match) or **OR** (any can match).
Default filters are handy for hiding archived products, showing only low quality-score products, or focusing on one category.
## Save your changes
Edit any setting on this page and a save bar appears at the bottom:
* **Save**: stores your product view settings on the project.
* **Undo**: reverts every change to the last saved state.
## Related
Search, filter, and sort the product table you just configured.
Set default values for every new product you create.
Decide how the Quality Score column is calculated.
Browse every personal and project setting in one place.
Changes take effect the next time a team member loads the products page. They never overwrite personal customizations a user has already saved.
## Choose which columns show
Click **Configure Columns** to open the column picker. From there you can:
* Browse all available columns, grouped by category.
* Toggle columns on or off.
* Drag columns to reorder them.
* Reset to the default column set.
Visible columns appear as chips. To remove one fast, click the close icon on its chip.
## Set the row height
Row height controls how much space each row takes. Pick the density that fits how your team works.
| Option | Best for |
| --------------- | --------------------------------------------------------------- |
| **Compact** | Tight rows for scanning large datasets quickly |
| **Comfortable** | Balanced spacing for everyday use (default) |
| **Spacious** | Taller rows when product images or long text need to be visible |
Choose **Compact** when your team mostly scans data. Switch to **Spacious** when product images or long descriptions need to show inline.
## Set the default sort and page size
### Default sort
Pick the column the table sorts by on first load, and the direction:
* **Sort by**: any sortable column, such as Product Name, Price, Created Date, or Quality Score.
* **Direction**: ascending (A to Z, low to high) or descending (Z to A, high to low).
### Rows per page
Set how many products show per page: **25**, **50**, or **100** rows.
Bigger page sizes load more data at once. If your team has slow connections, stick with 25 or 50 rows.
## Tune what search covers
### Search fields
Choose which product fields the search bar looks through. Turn each field on or off, for example:
* Product Name, SKU, EAN, Brand, Supplier
* Description, Short Description
* Meta Title, Meta Description, Meta Keywords
### Fuzzy search
Decide how strict search should be:
* **Off**: only exact matches are returned (faster and more precise).
* **On**: similar terms match too, allowing for typos and variations.
Fuzzy search can surface unexpected results when product names contain similar-looking codes or abbreviations. Test it against your own data before turning it on project-wide.
## Apply default filters
Default filters pre-filter the products page, so your team lands on the subset that matters instead of the full catalog.
To add a filter condition:
This opens the advanced filter dialog.
Choose the product field to filter on.
Set the comparison logic, such as equals, contains, is empty, or greater than.
Add the value to compare against.
Combine conditions with **AND** (all must match) or **OR** (any can match).
Default filters are handy for hiding archived products, showing only low quality-score products, or focusing on one category.
## Save your changes
Edit any setting on this page and a save bar appears at the bottom:
* **Save**: stores your product view settings on the project.
* **Undo**: reverts every change to the last saved state.
## Related
Search, filter, and sort the product table you just configured.
Set default values for every new product you create.
Decide how the Quality Score column is calculated.
Browse every personal and project setting in one place.