> ## Documentation Index
> Fetch the complete documentation index at: https://docs.wisepim.com/llms.txt
> Use this file to discover all available pages before exploring further.
# Export Templates
> Build reusable export blueprints that pick exactly which fields and attributes go out, and rename column headers to match any channel or client format.
Export templates are reusable blueprints that decide what each export contains: which product fields and attributes are included, the order they appear in, and the exact column header each one carries. Build a template once, then reuse it every time you export for that channel or client.
Select a project from the project switcher first. Export templates are saved per project, so each catalog keeps its own set.
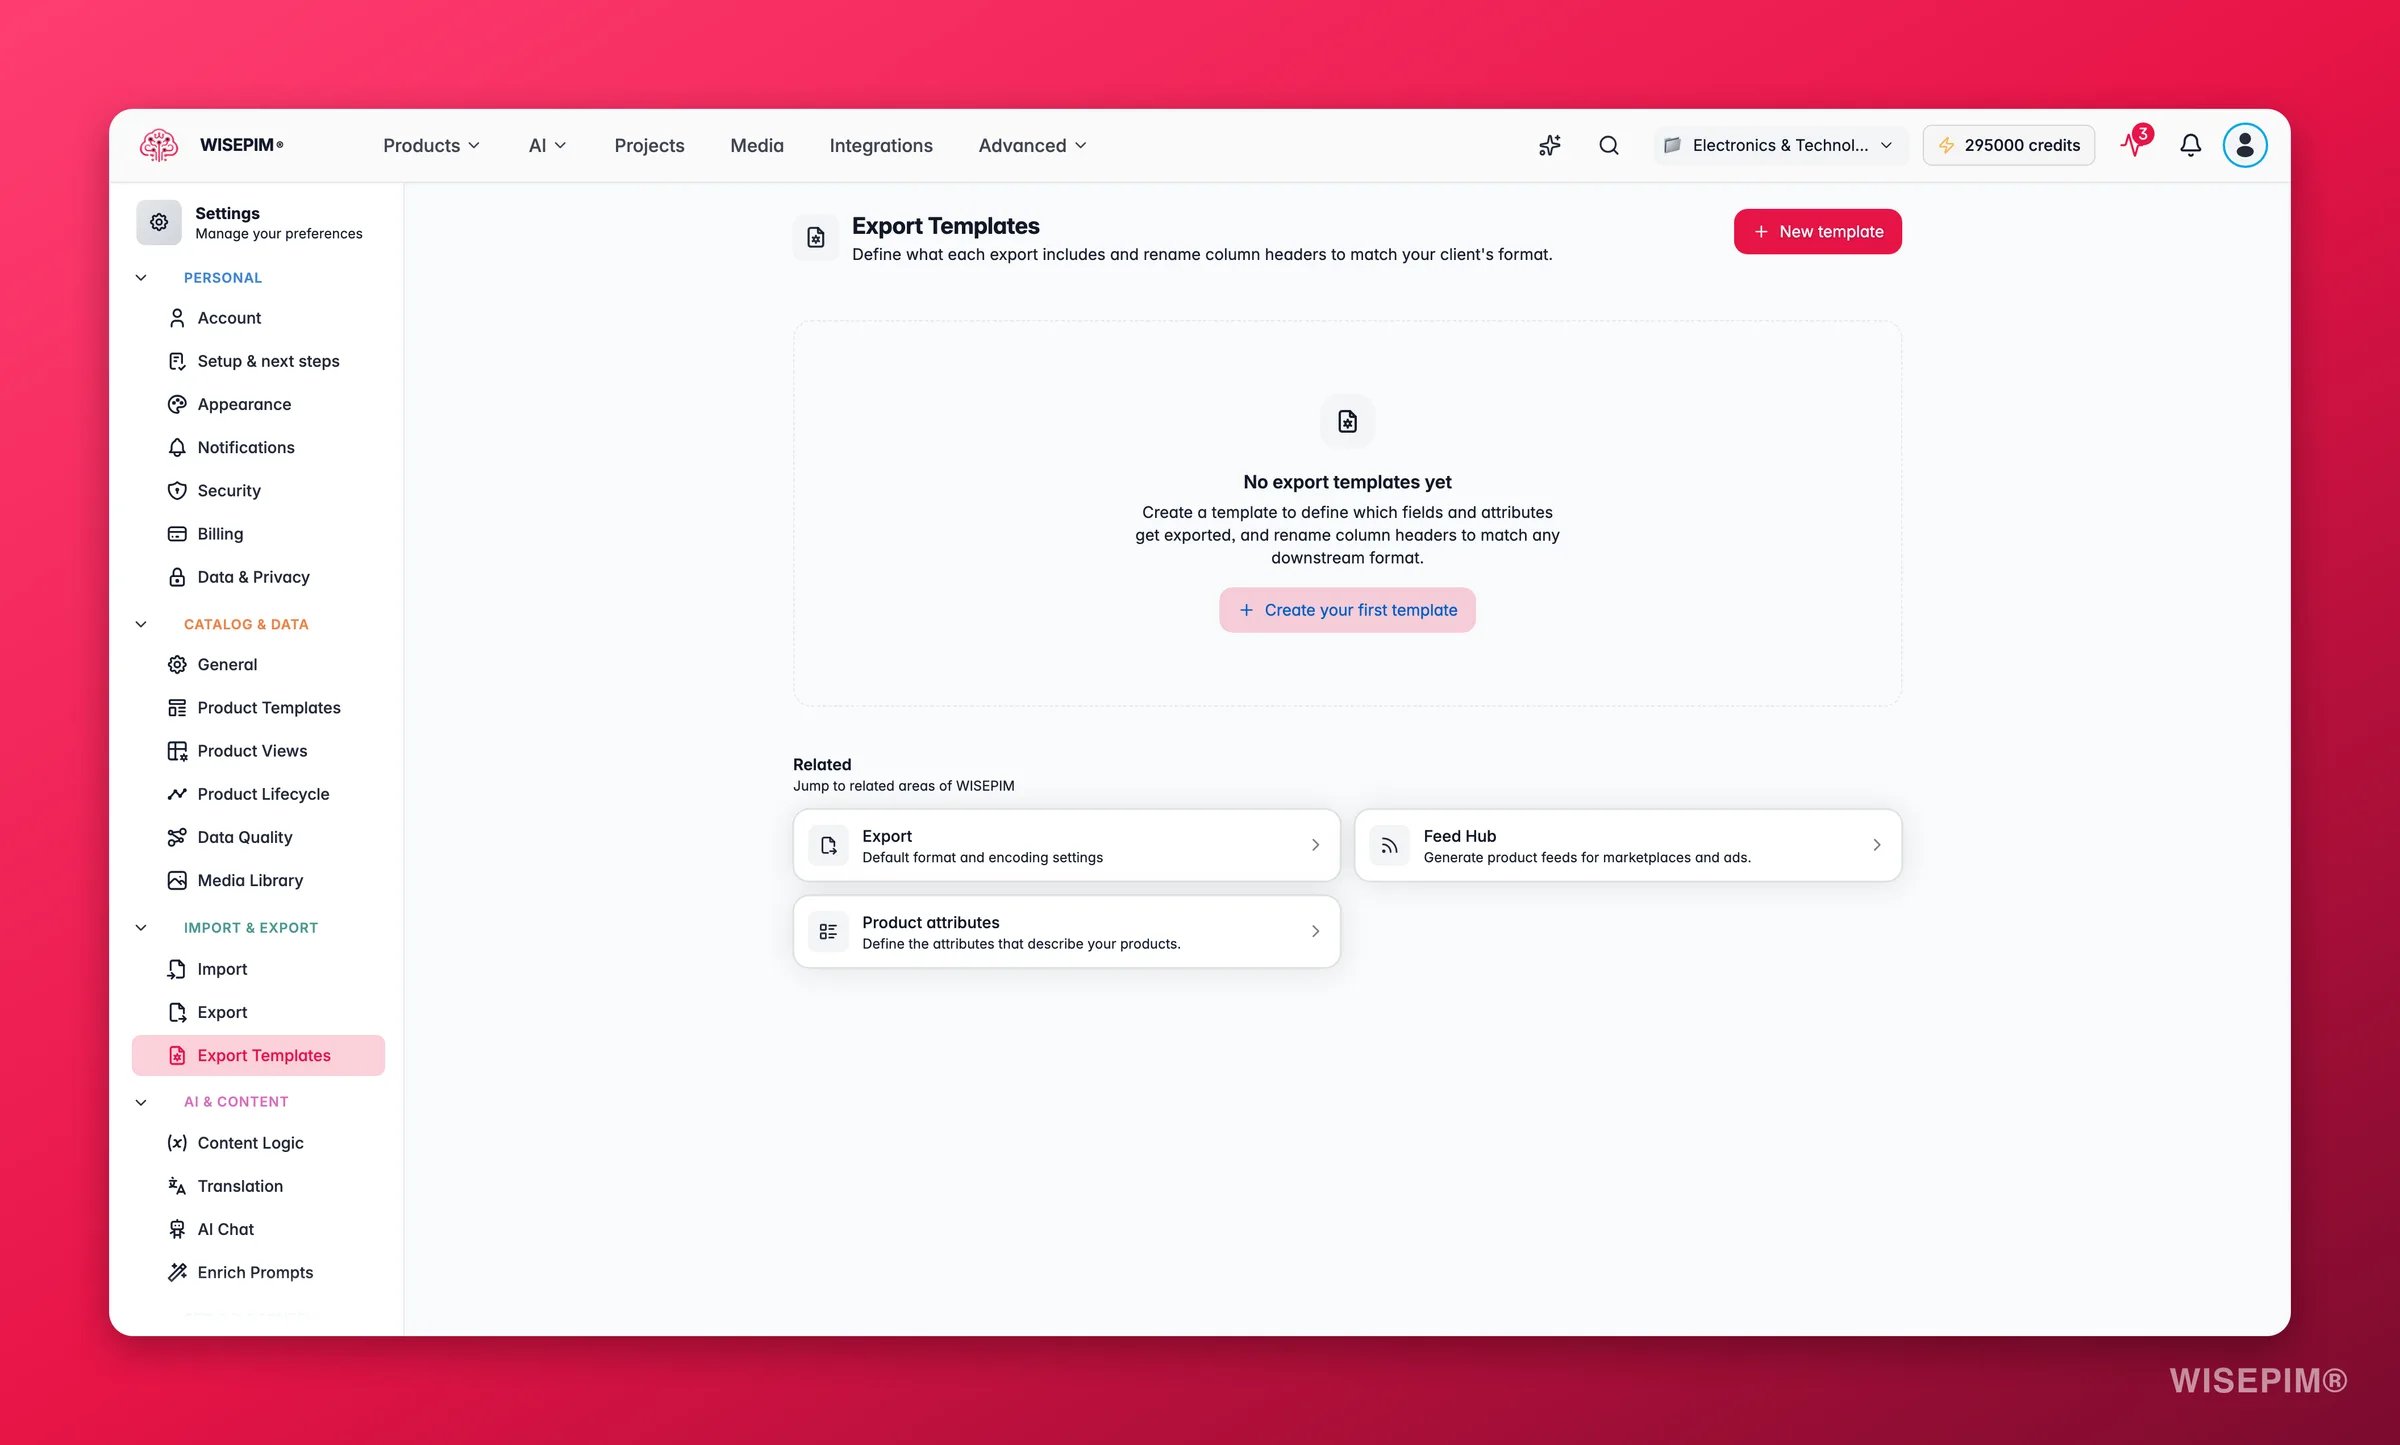
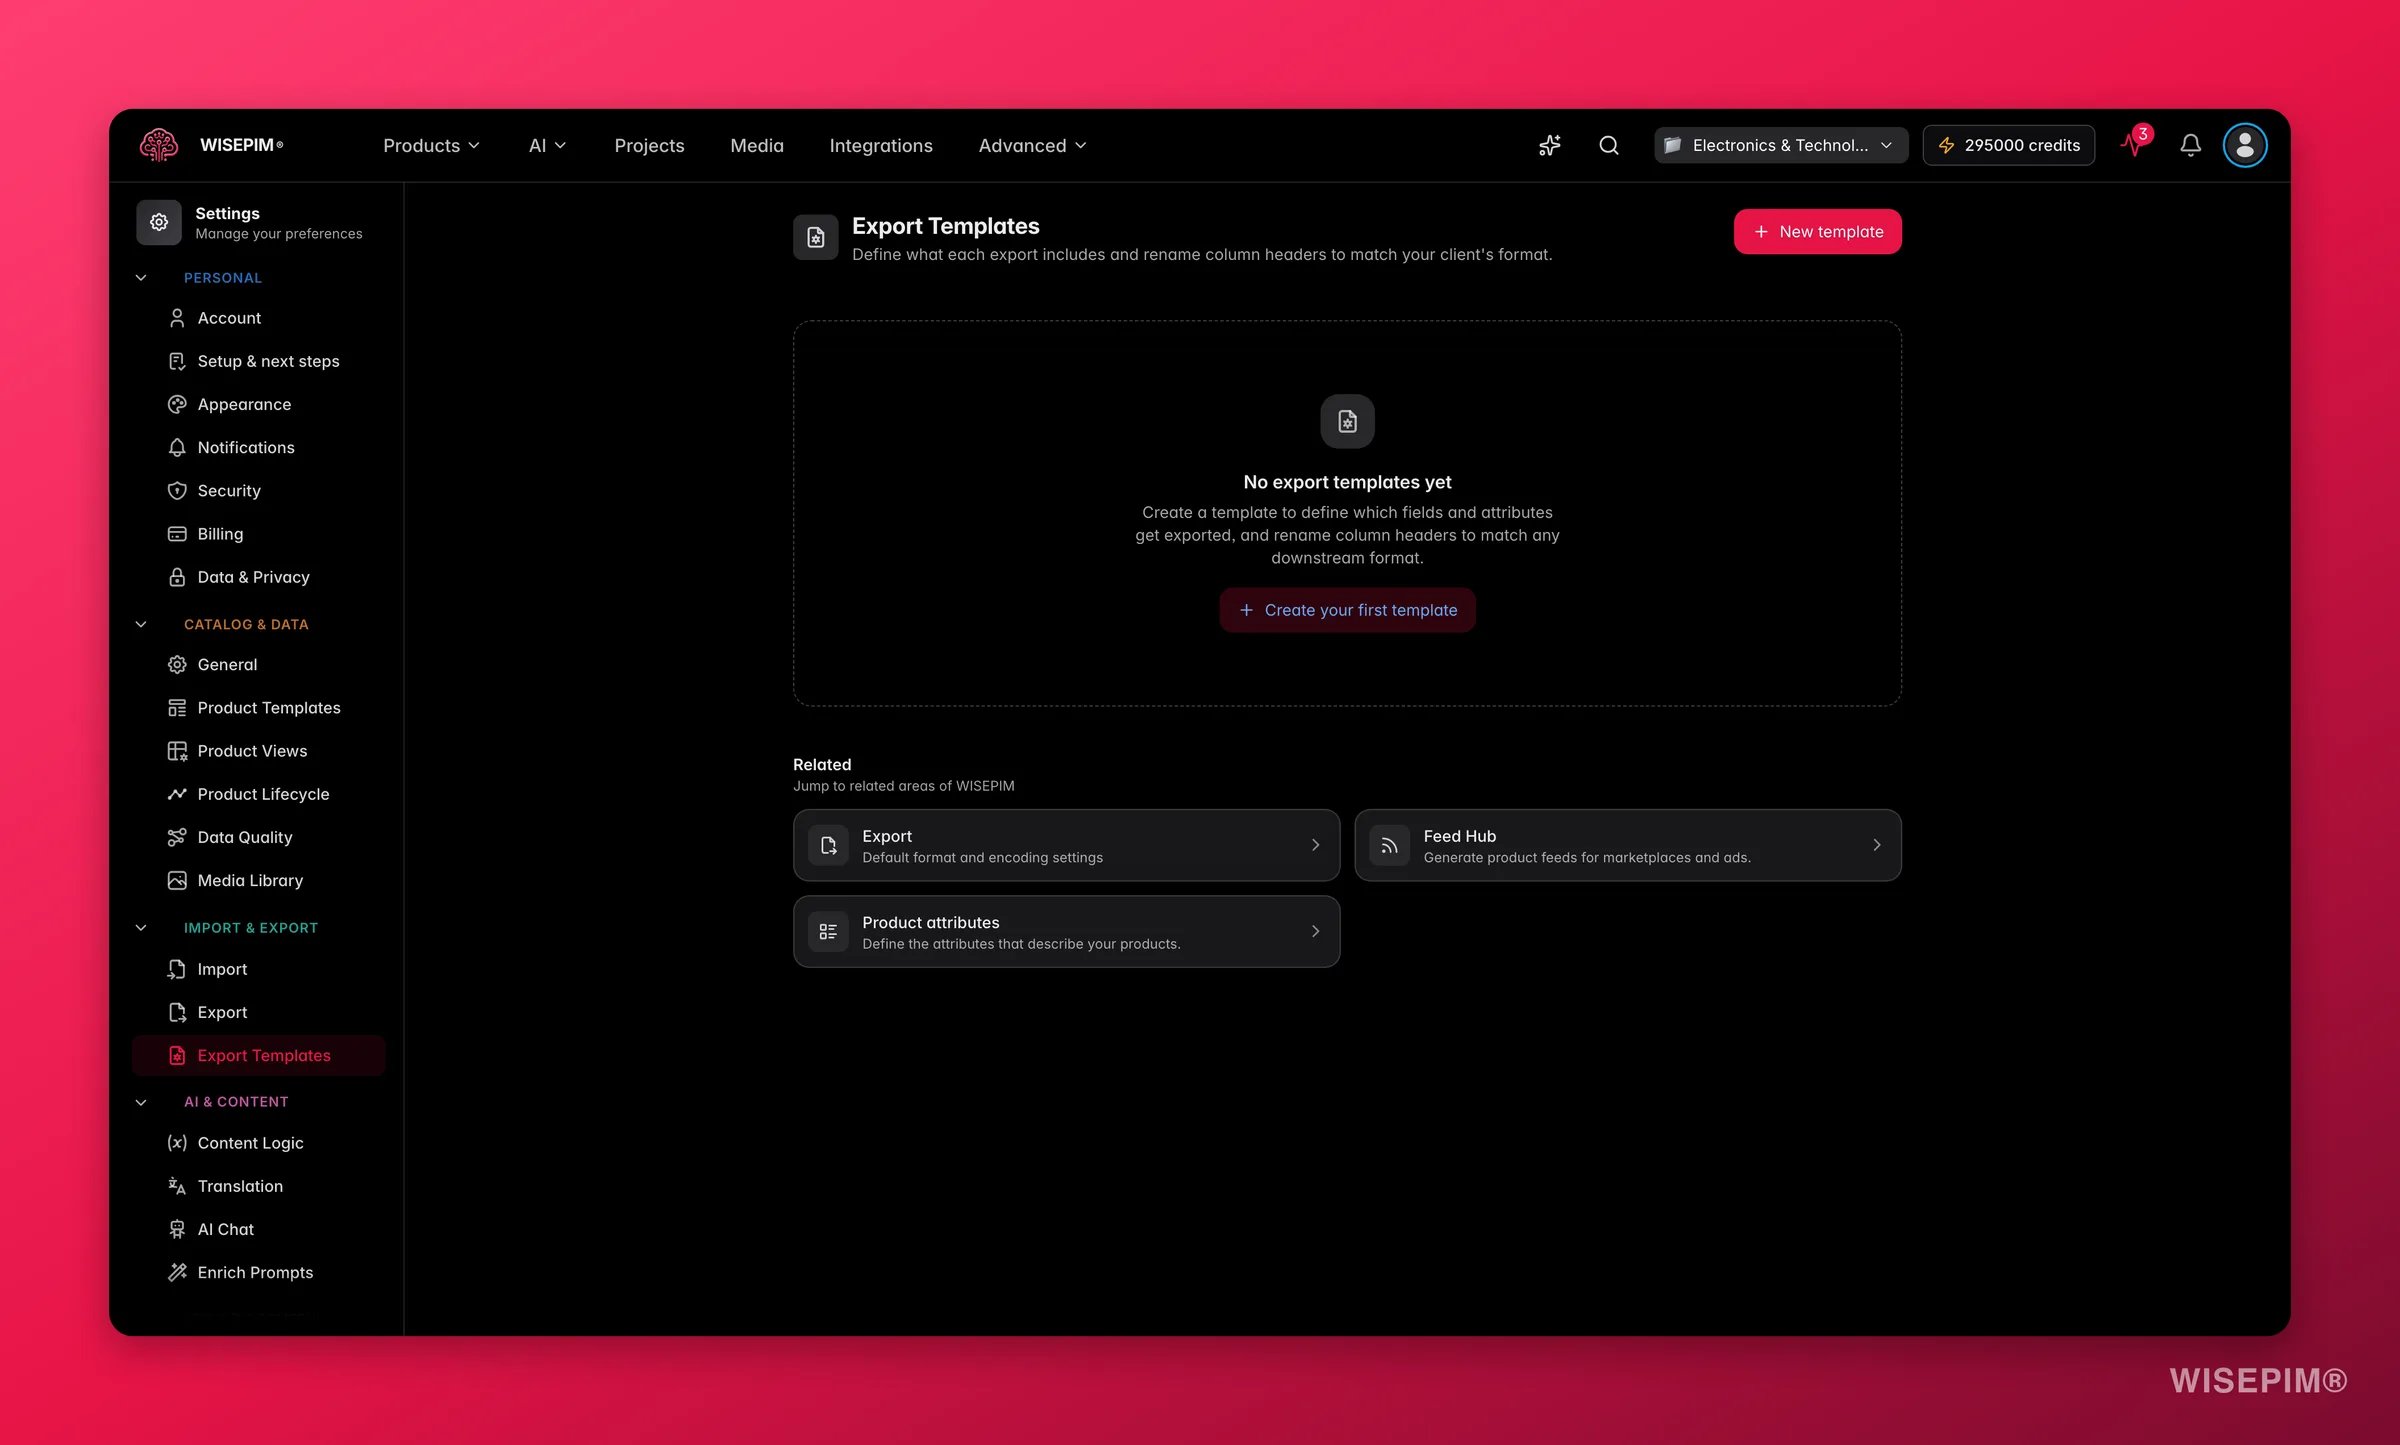 ## The template list
The page opens on a table of every template you have saved for the project. Each row shows the essentials at a glance:
| Column | What it tells you |
| -------------- | ---------------------------------------------------------------------------------------------------------------------------------------------------------------- |
| **Name** | The template name, its code, and an optional description. A star marks the default for its platform; an **Inactive** chip flags templates that are switched off. |
| **Platform** | The channel the template targets, such as Generic, Shopify, or Magento 2. |
| **Attributes** | How many dynamic attributes the template includes. |
| **Layout** | Whether attributes export as **Columnar** (one column each) or **Triplets** (numbered slots). |
| **Updated** | When the template was last changed. |
| **Actions** | Edit, preview, duplicate, or delete the template. |
Each row in the **Actions** column gives you four quick controls:
* **Edit**: open the template to change its fields, headers, or formatting.
* **Preview**: see the first 3 products run through the template before you commit.
* **Duplicate**: copy the template as a starting point for a new variant.
* **Delete**: remove the template for good.
Use **Duplicate** to spin up channel variants fast. Copy your working Generic template, then tweak the copy for Shopify instead of rebuilding from scratch.
## Create a template
Click **New template** in the top right to open the builder. The same form is used when you save a column selection from the products page.
Pick a preset to pre-fill the form with platform-specific defaults, then customize from there. Leave it blank to start clean.
Give the template a clear **Template Name**. The **Template Code** auto-fills from the name as a unique identifier, and you can edit it.
Choose the channel this template is built for, such as Generic (CSV/Excel), Shopify, WooCommerce, or Google Merchant Center. This sets sensible defaults for that platform.
Select which product fields and dynamic attributes to include, and rename their column headers. The sections below cover each part.
A template needs a name, a code, and at least one product field or attribute before you can save it.
## Product fields and column headers
The **Product Fields** section is where you choose the core product data to include, fields like name, SKU, price, brand, or description, and rename the header each one carries in the exported file.
Every included field shows as a row with the internal field name on the left and a rename box on the right:
* Leave the rename box empty to keep the original field name as the header.
* Type a new label to override the header, for example mapping `sku` to `Item Number` for a client who expects that wording.
A chip counts how many fields are included and how many have been renamed, so you can see your mapping at a glance. In edit mode, use **Add Product Field** to search for and add more fields, or remove ones you no longer need.
Renaming a header only changes the export file. The field's internal name in WISEPIM stays the same, so nothing else in your catalog is affected.
Column renaming is what makes a template "just work" for a specific buyer. Match their expected spreadsheet headers once, and every future export for that client lines up automatically.
## Attribute layout
Dynamic attributes (your custom product properties) can export in two shapes. Set this with **Attribute Layout** before you add attributes.
| Layout | How it exports | Best for |
| ---------------------------- | --------------------------------------------------------------------------------------------- | ----------------------------------------------------------------------------------------------------------- |
| **One column per attribute** | Each attribute gets its own dedicated column. | Most catalogs and spreadsheet imports, where a clean column per property is easiest to read. |
| **Numbered triplets** | Attributes fill numbered slots, each producing three columns: Attribute Name, Value, and UOM. | Channels that expect a fixed, repeating block of generic attribute columns, such as some marketplace feeds. |
When you choose **Numbered triplets**, set **Max Attribute Slots** to control how many slots the export reserves. Each slot generates 3 columns, so 17 slots produce 51 columns. Products with fewer attributes simply leave the extra slots empty.
With numbered triplets, the order you add attributes decides which slot each one lands in. Add them in the sequence the receiving system expects.
## Dynamic attributes
Use **Add Dynamic Attribute** to search for and include your custom attributes, or **Add All** to pull in everything at once. Each attribute you add can be fine-tuned by expanding its row:
* **Output Column Name**: rename the attribute's column header in the export, without changing its internal name.
* **Locale Override**: for localizable attributes, export a specific language (for example `en` or `nl`) instead of the template's default locale.
* **Resolve Labels**: output human-readable labels instead of raw option codes, so a value reads "Stainless Steel" rather than a code.
* **Include Unit in Value**: append the unit to the value, for example `100 mm` instead of `100`.
* **Target Unit**: convert measurements to a specific unit (such as `mm` or `kg`) before export.
These per-attribute options let one template serve a channel exactly the way it expects, down to readable labels and consistent units.
Turn on **Resolve Labels** for any export a human will read. Codes are fine for system-to-system feeds, but labels make spreadsheets and price lists far clearer.
## Active and default templates
When you edit a template, two checkboxes control how it behaves:
* **Active**: keep the template available for use. Switch it off to retire a template without deleting it; it then shows an **Inactive** chip in the list.
* **Default for platform**: mark this template as the one to reach for first when exporting to that platform.
## Preview before you export
Click the preview action on any template to run your **first 3 products** through it and see the resulting headers and values. This is the fastest way to confirm your field selection, column renames, and attribute formatting all look right before a full export goes out.
Preview after any change to a template. It catches a mismatched header or a missing field in seconds, long before a client opens the file.
## Saving your work
Export templates do not use a page-level save bar. Instead, each template saves on its own:
* In the create or edit dialog, click **Save Template** (or **Save Changes**) to store it. The new or updated template appears in the list right away.
* **Delete** and **Duplicate** apply immediately from the row actions, with a confirmation before anything is removed.
## Related
Set the default file format, encoding, and quality check for every export.
Run an export and apply the template you just built.
Push product feeds to channels on a schedule.
Connect the stores and marketplaces your templates feed.
## The template list
The page opens on a table of every template you have saved for the project. Each row shows the essentials at a glance:
| Column | What it tells you |
| -------------- | ---------------------------------------------------------------------------------------------------------------------------------------------------------------- |
| **Name** | The template name, its code, and an optional description. A star marks the default for its platform; an **Inactive** chip flags templates that are switched off. |
| **Platform** | The channel the template targets, such as Generic, Shopify, or Magento 2. |
| **Attributes** | How many dynamic attributes the template includes. |
| **Layout** | Whether attributes export as **Columnar** (one column each) or **Triplets** (numbered slots). |
| **Updated** | When the template was last changed. |
| **Actions** | Edit, preview, duplicate, or delete the template. |
Each row in the **Actions** column gives you four quick controls:
* **Edit**: open the template to change its fields, headers, or formatting.
* **Preview**: see the first 3 products run through the template before you commit.
* **Duplicate**: copy the template as a starting point for a new variant.
* **Delete**: remove the template for good.
Use **Duplicate** to spin up channel variants fast. Copy your working Generic template, then tweak the copy for Shopify instead of rebuilding from scratch.
## Create a template
Click **New template** in the top right to open the builder. The same form is used when you save a column selection from the products page.
Pick a preset to pre-fill the form with platform-specific defaults, then customize from there. Leave it blank to start clean.
Give the template a clear **Template Name**. The **Template Code** auto-fills from the name as a unique identifier, and you can edit it.
Choose the channel this template is built for, such as Generic (CSV/Excel), Shopify, WooCommerce, or Google Merchant Center. This sets sensible defaults for that platform.
Select which product fields and dynamic attributes to include, and rename their column headers. The sections below cover each part.
A template needs a name, a code, and at least one product field or attribute before you can save it.
## Product fields and column headers
The **Product Fields** section is where you choose the core product data to include, fields like name, SKU, price, brand, or description, and rename the header each one carries in the exported file.
Every included field shows as a row with the internal field name on the left and a rename box on the right:
* Leave the rename box empty to keep the original field name as the header.
* Type a new label to override the header, for example mapping `sku` to `Item Number` for a client who expects that wording.
A chip counts how many fields are included and how many have been renamed, so you can see your mapping at a glance. In edit mode, use **Add Product Field** to search for and add more fields, or remove ones you no longer need.
Renaming a header only changes the export file. The field's internal name in WISEPIM stays the same, so nothing else in your catalog is affected.
Column renaming is what makes a template "just work" for a specific buyer. Match their expected spreadsheet headers once, and every future export for that client lines up automatically.
## Attribute layout
Dynamic attributes (your custom product properties) can export in two shapes. Set this with **Attribute Layout** before you add attributes.
| Layout | How it exports | Best for |
| ---------------------------- | --------------------------------------------------------------------------------------------- | ----------------------------------------------------------------------------------------------------------- |
| **One column per attribute** | Each attribute gets its own dedicated column. | Most catalogs and spreadsheet imports, where a clean column per property is easiest to read. |
| **Numbered triplets** | Attributes fill numbered slots, each producing three columns: Attribute Name, Value, and UOM. | Channels that expect a fixed, repeating block of generic attribute columns, such as some marketplace feeds. |
When you choose **Numbered triplets**, set **Max Attribute Slots** to control how many slots the export reserves. Each slot generates 3 columns, so 17 slots produce 51 columns. Products with fewer attributes simply leave the extra slots empty.
With numbered triplets, the order you add attributes decides which slot each one lands in. Add them in the sequence the receiving system expects.
## Dynamic attributes
Use **Add Dynamic Attribute** to search for and include your custom attributes, or **Add All** to pull in everything at once. Each attribute you add can be fine-tuned by expanding its row:
* **Output Column Name**: rename the attribute's column header in the export, without changing its internal name.
* **Locale Override**: for localizable attributes, export a specific language (for example `en` or `nl`) instead of the template's default locale.
* **Resolve Labels**: output human-readable labels instead of raw option codes, so a value reads "Stainless Steel" rather than a code.
* **Include Unit in Value**: append the unit to the value, for example `100 mm` instead of `100`.
* **Target Unit**: convert measurements to a specific unit (such as `mm` or `kg`) before export.
These per-attribute options let one template serve a channel exactly the way it expects, down to readable labels and consistent units.
Turn on **Resolve Labels** for any export a human will read. Codes are fine for system-to-system feeds, but labels make spreadsheets and price lists far clearer.
## Active and default templates
When you edit a template, two checkboxes control how it behaves:
* **Active**: keep the template available for use. Switch it off to retire a template without deleting it; it then shows an **Inactive** chip in the list.
* **Default for platform**: mark this template as the one to reach for first when exporting to that platform.
## Preview before you export
Click the preview action on any template to run your **first 3 products** through it and see the resulting headers and values. This is the fastest way to confirm your field selection, column renames, and attribute formatting all look right before a full export goes out.
Preview after any change to a template. It catches a mismatched header or a missing field in seconds, long before a client opens the file.
## Saving your work
Export templates do not use a page-level save bar. Instead, each template saves on its own:
* In the create or edit dialog, click **Save Template** (or **Save Changes**) to store it. The new or updated template appears in the list right away.
* **Delete** and **Duplicate** apply immediately from the row actions, with a confirmation before anything is removed.
## Related
Set the default file format, encoding, and quality check for every export.
Run an export and apply the template you just built.
Push product feeds to channels on a schedule.
Connect the stores and marketplaces your templates feed.